Studio Build


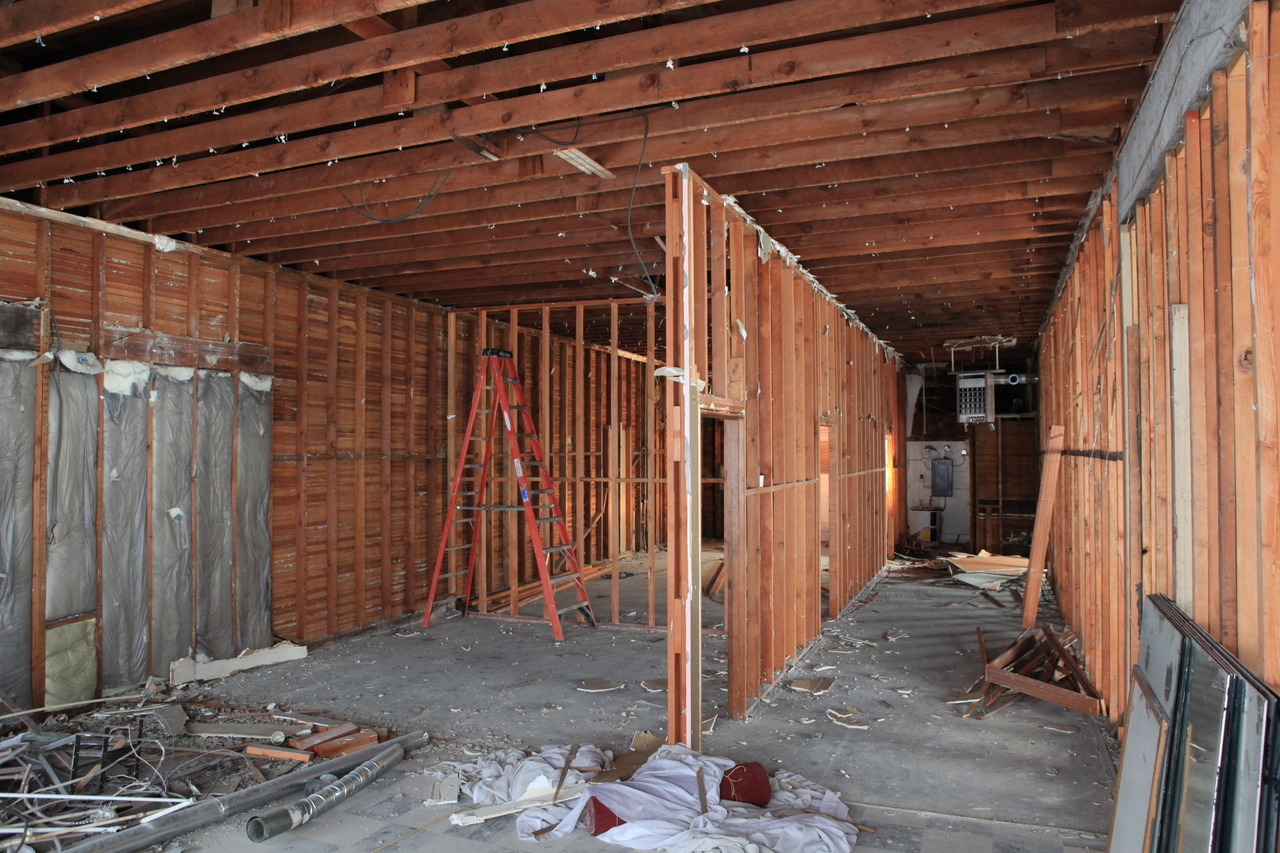
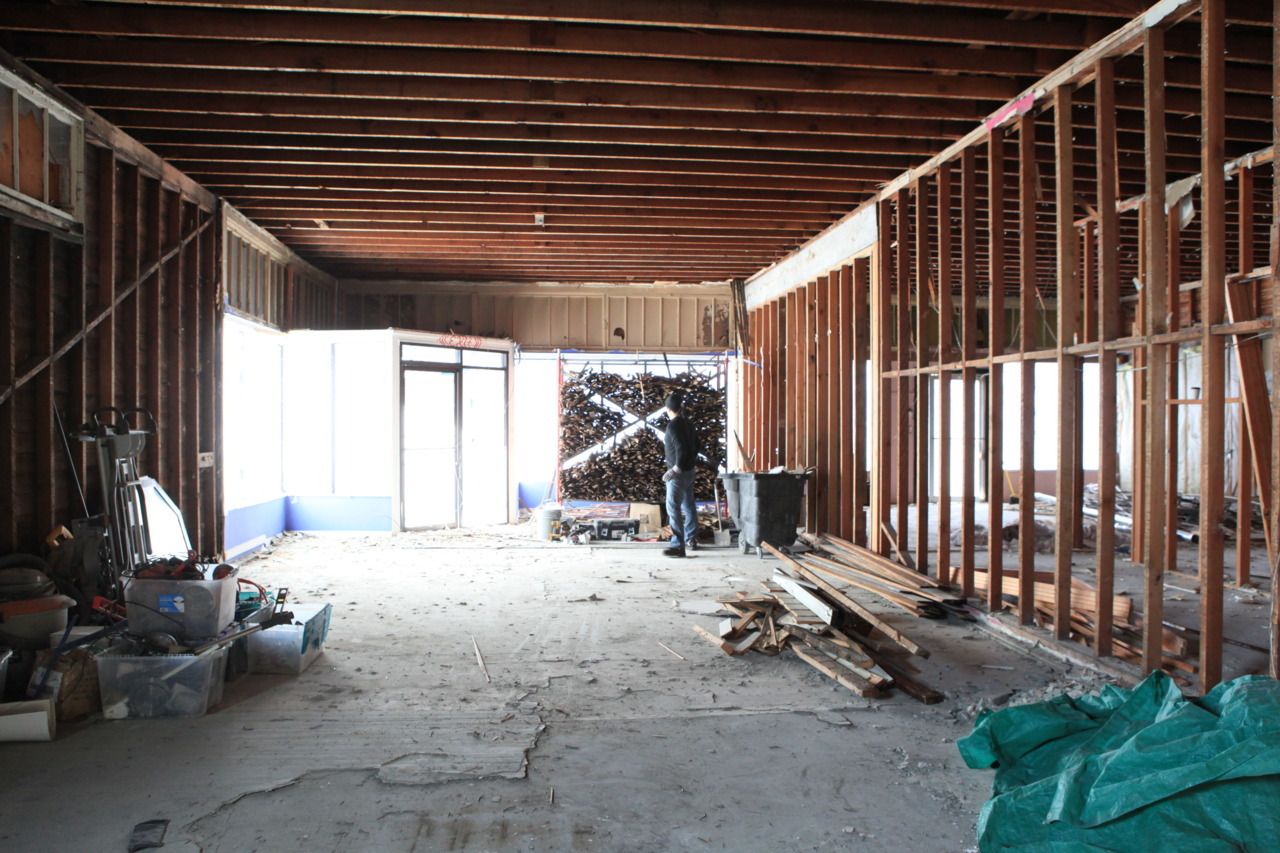
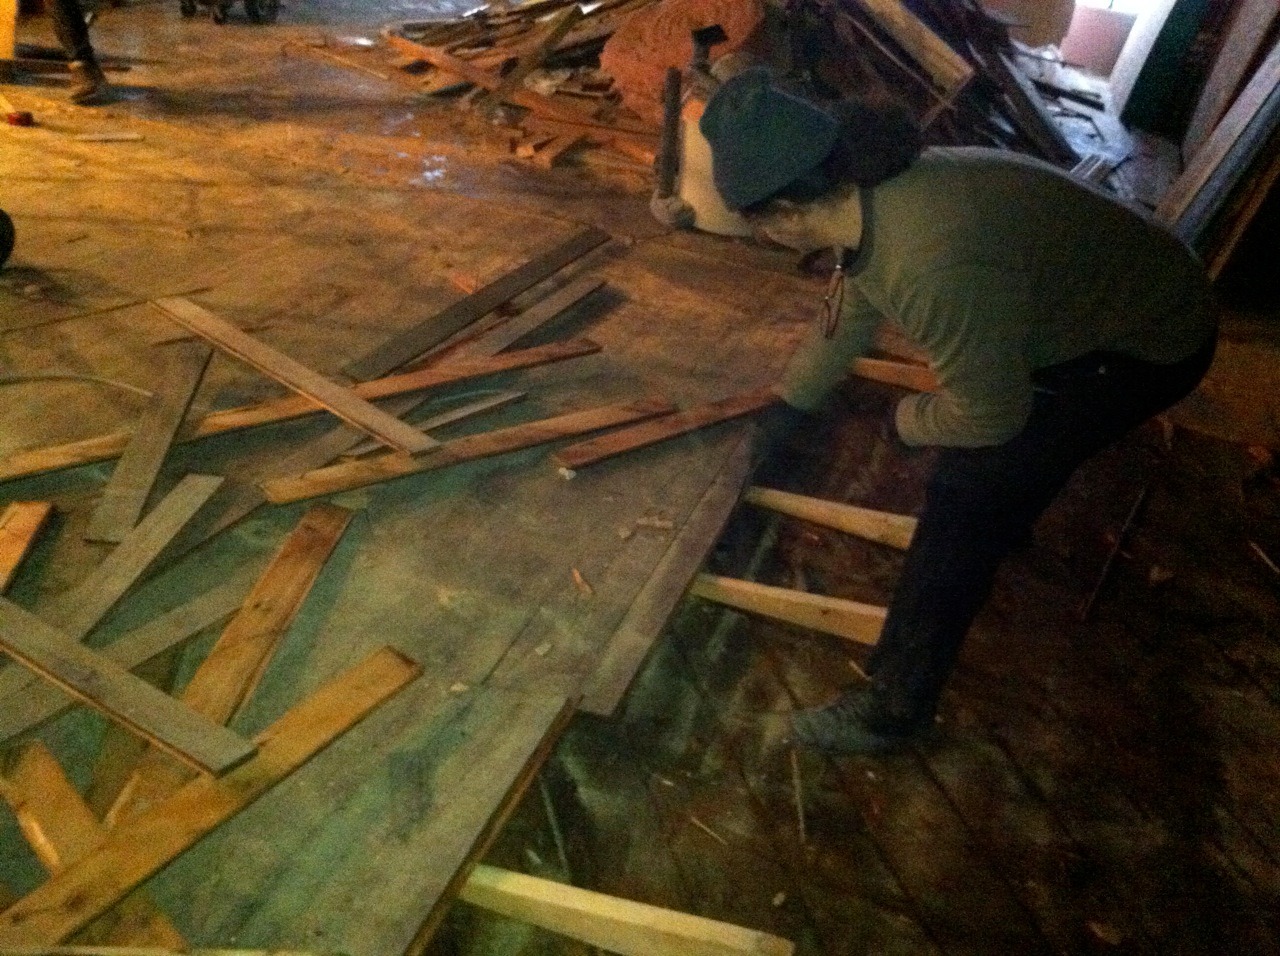
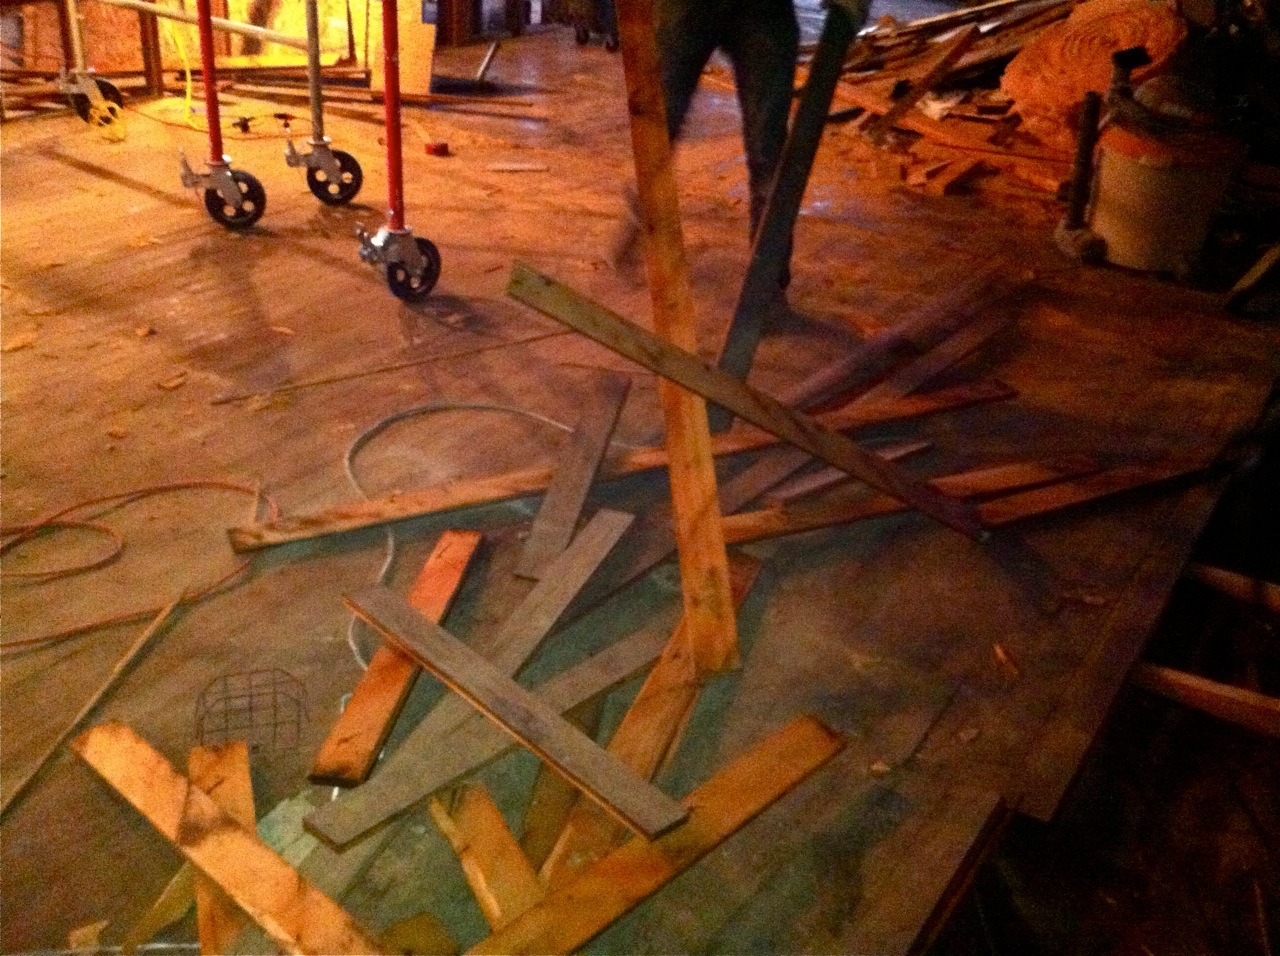
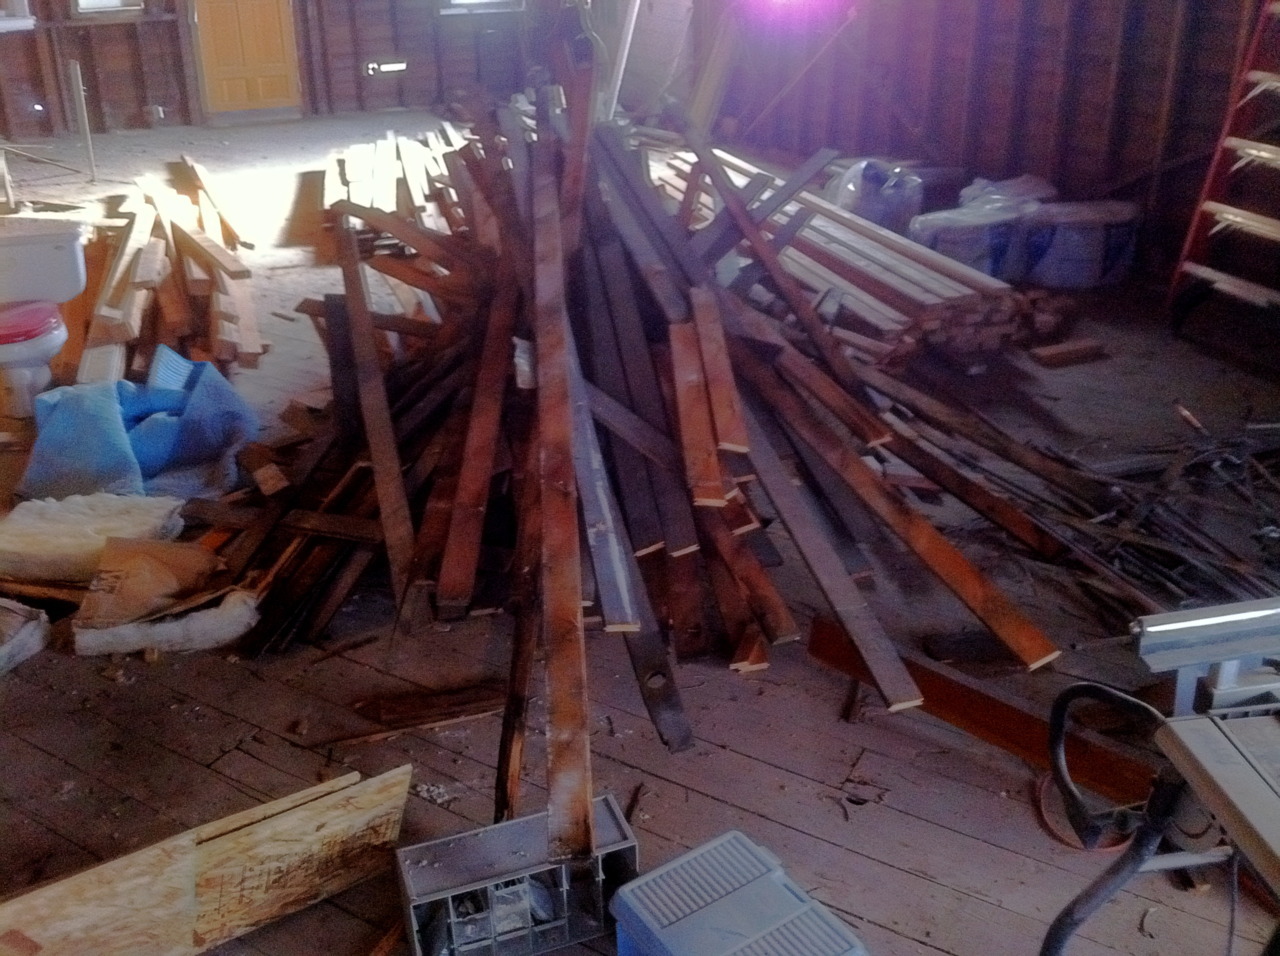
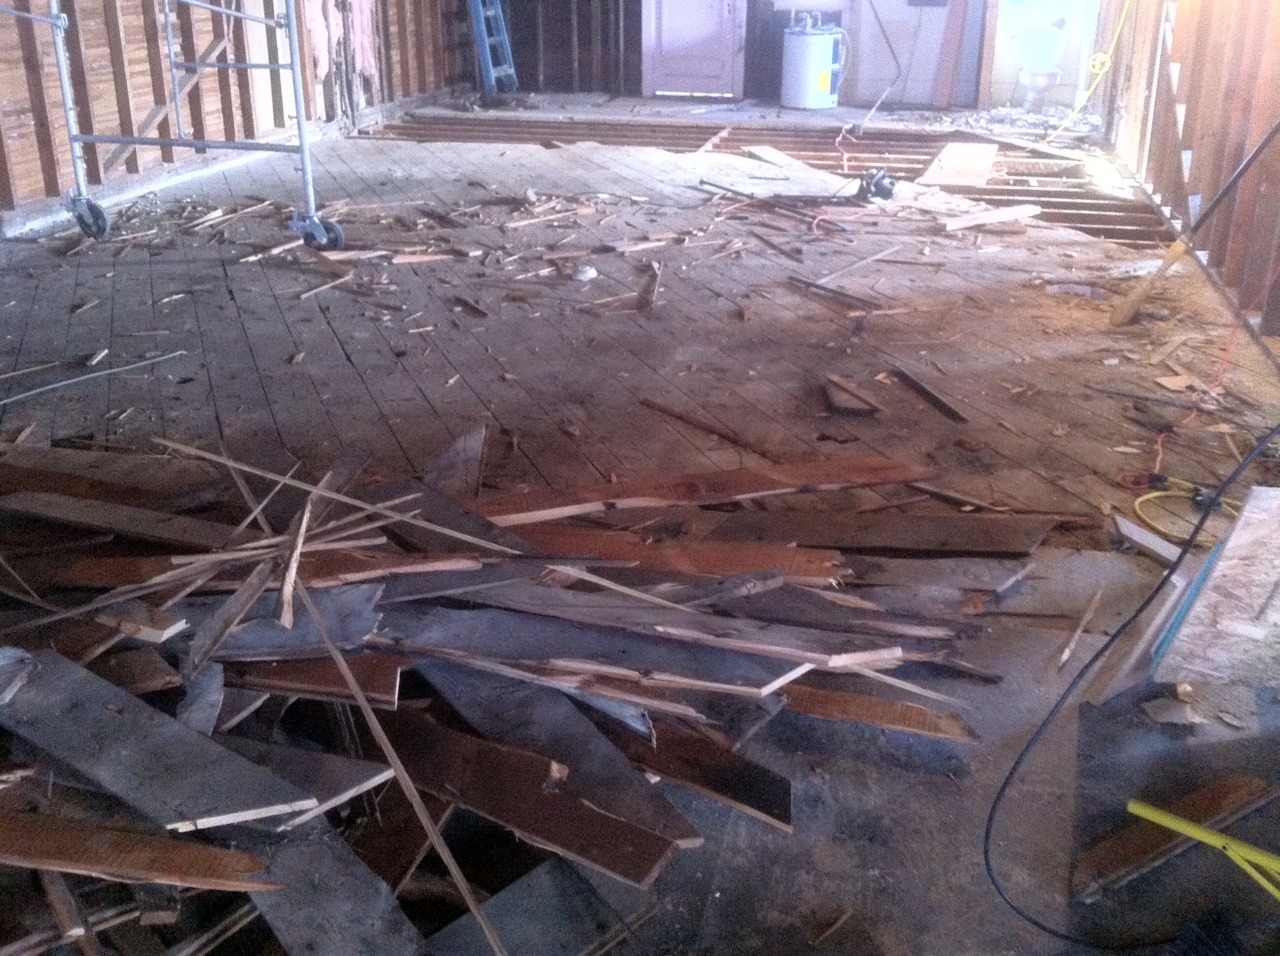
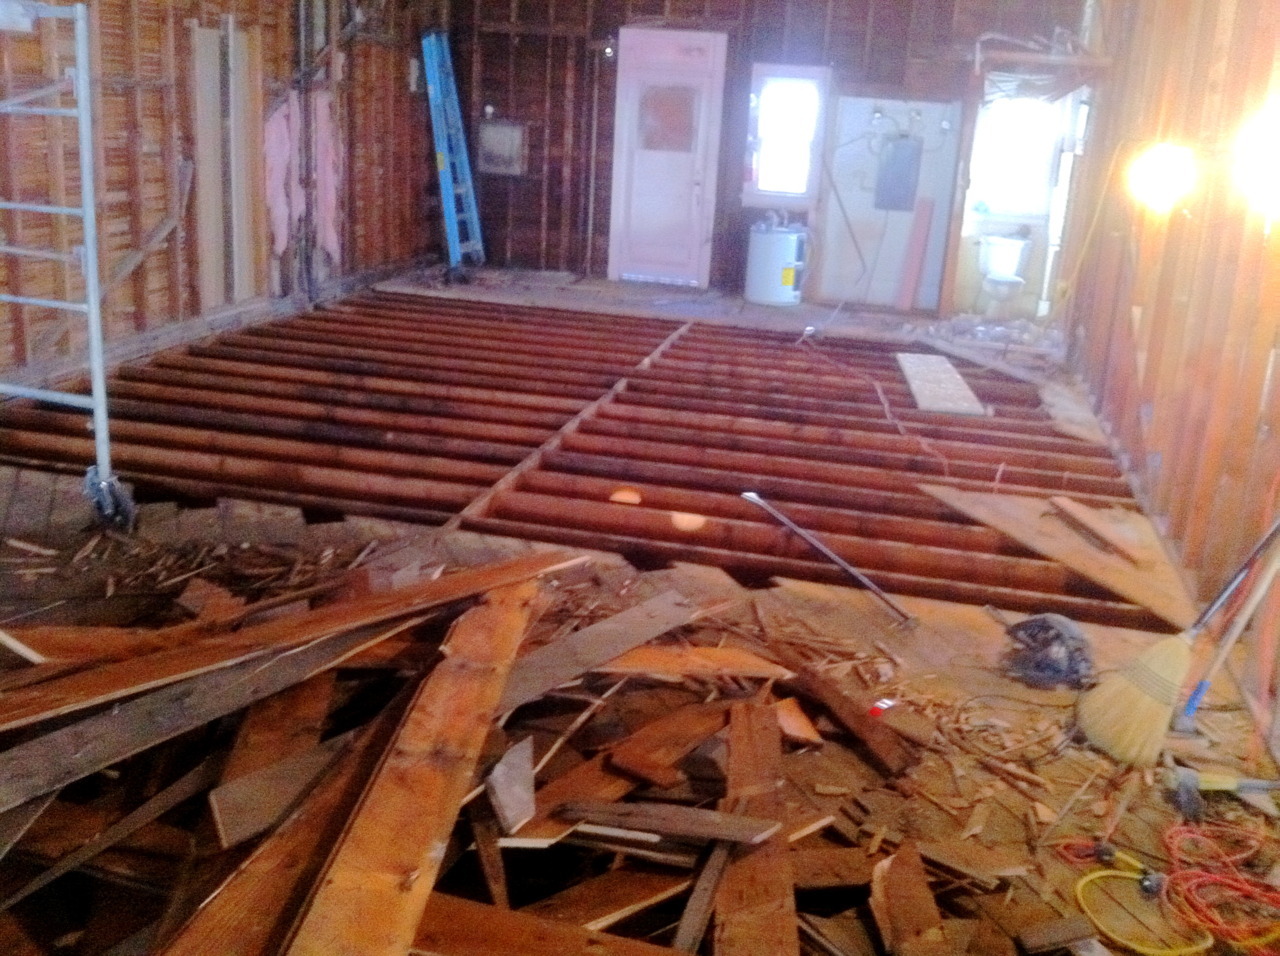
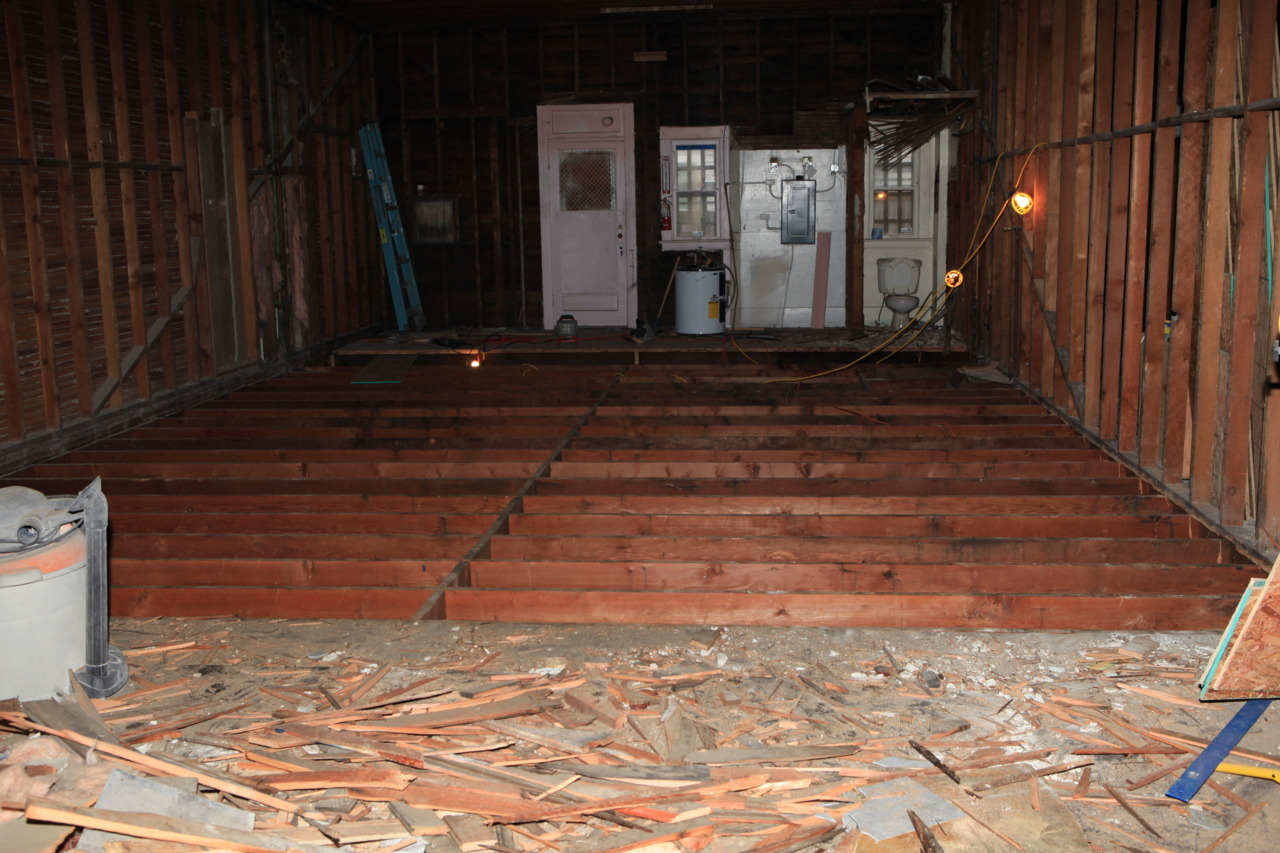
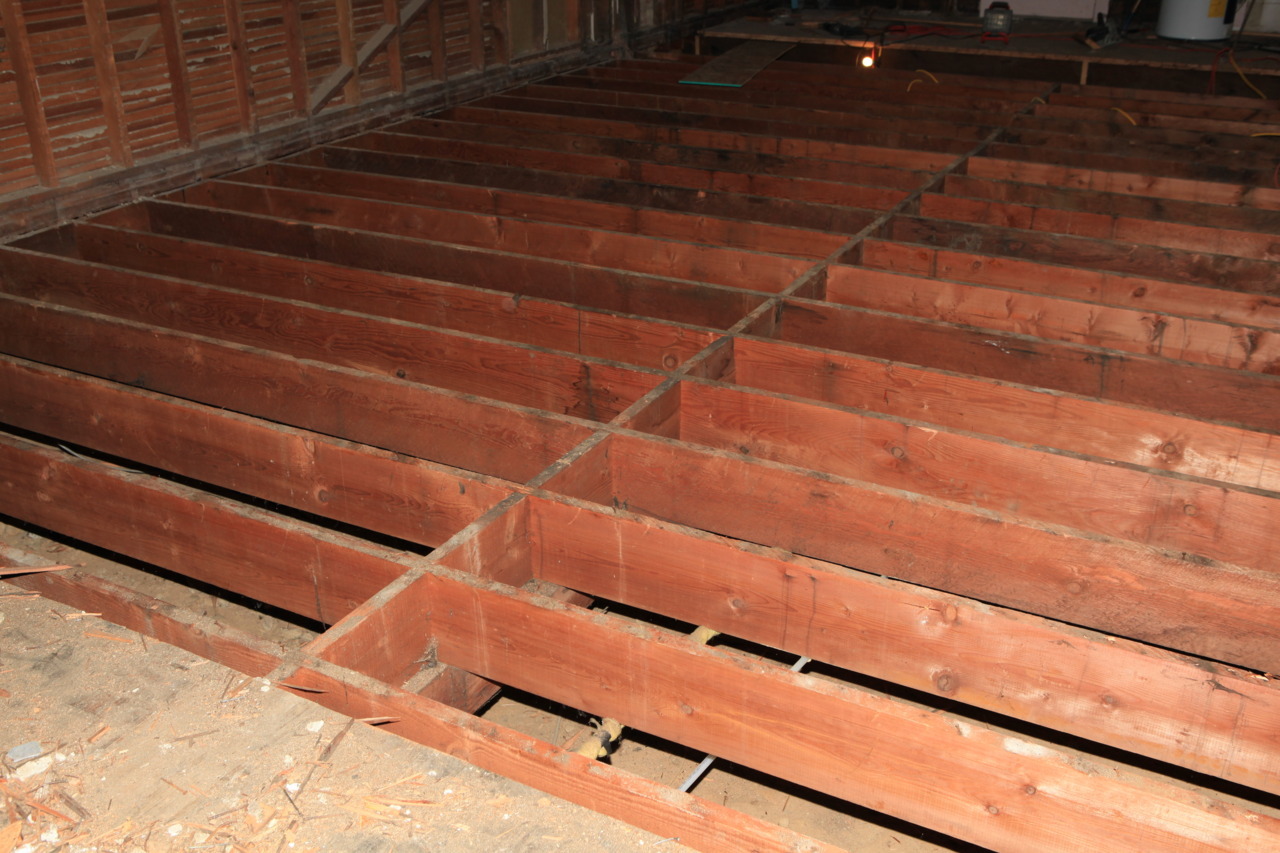
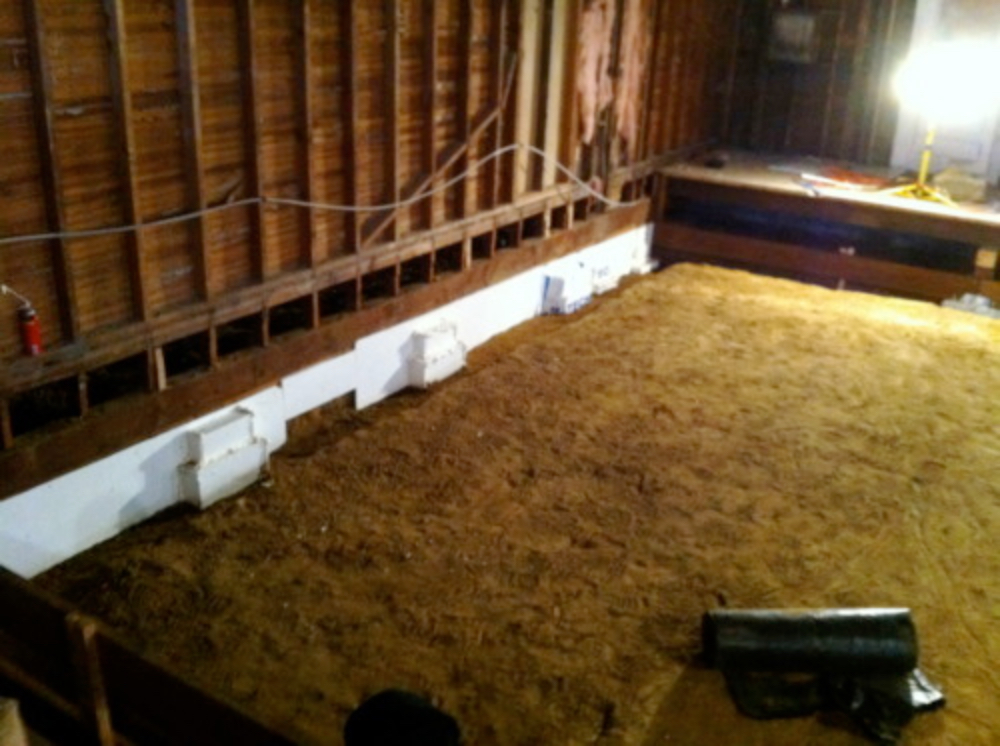
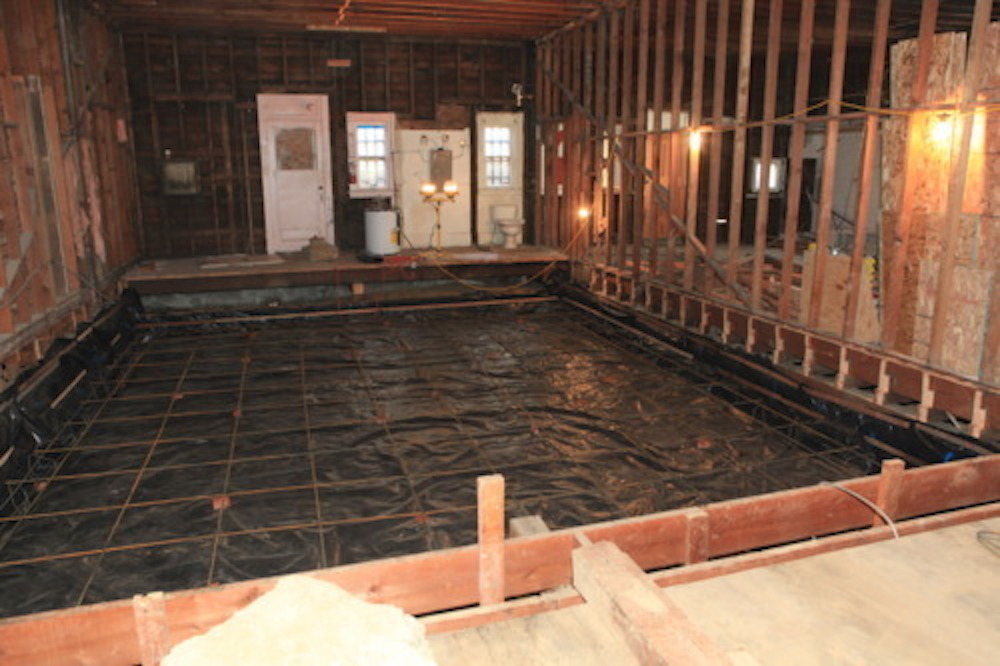
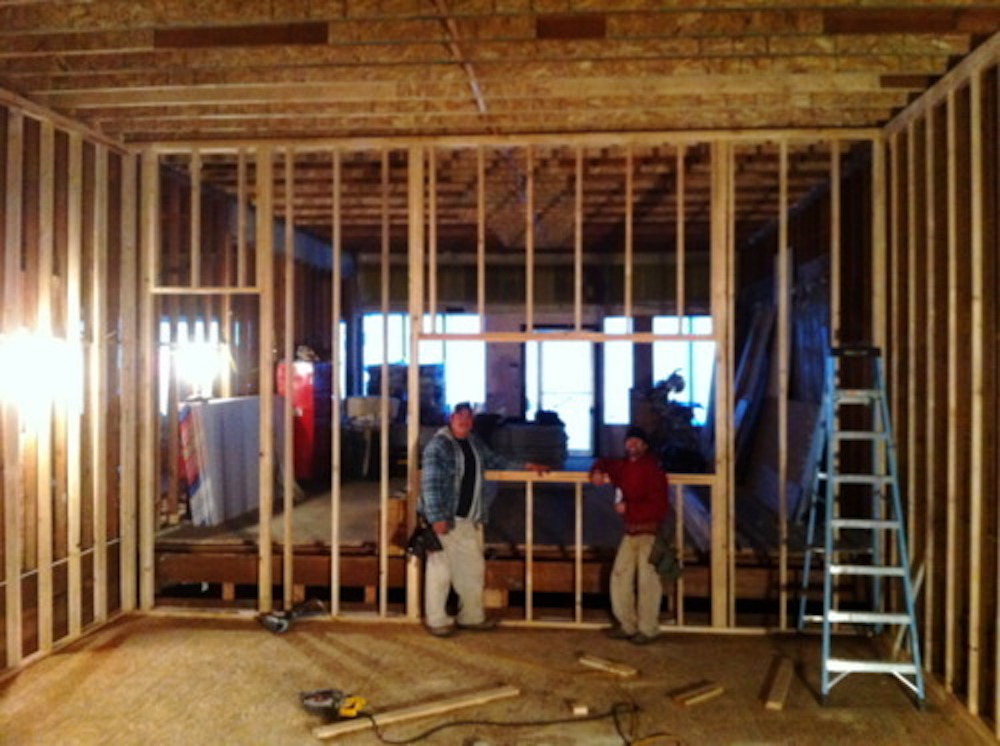
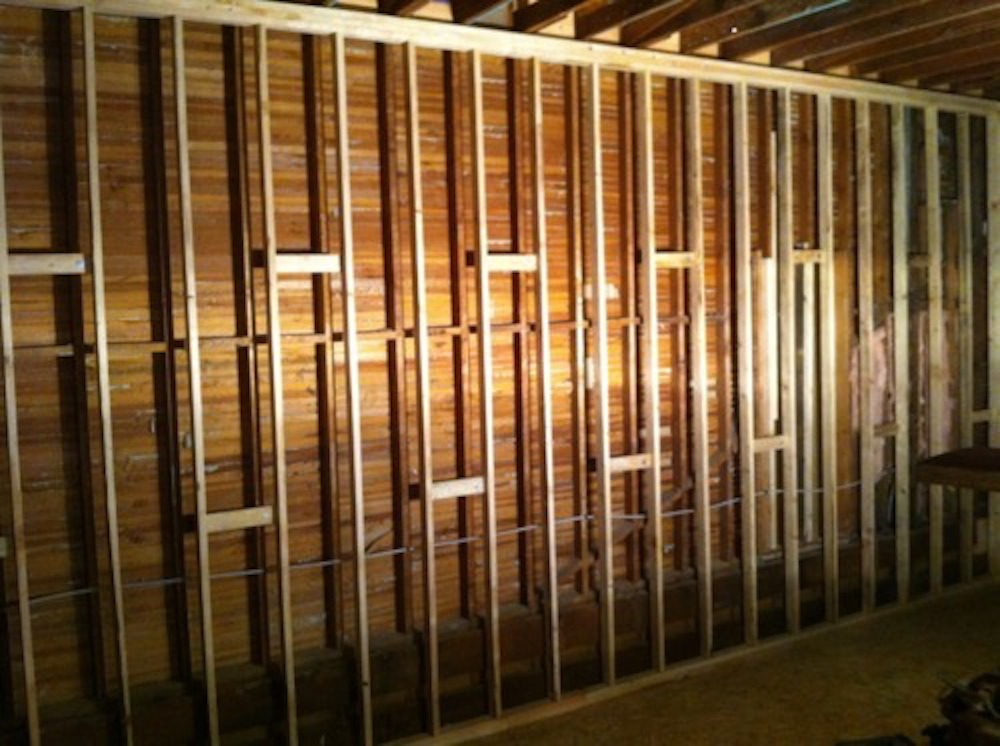
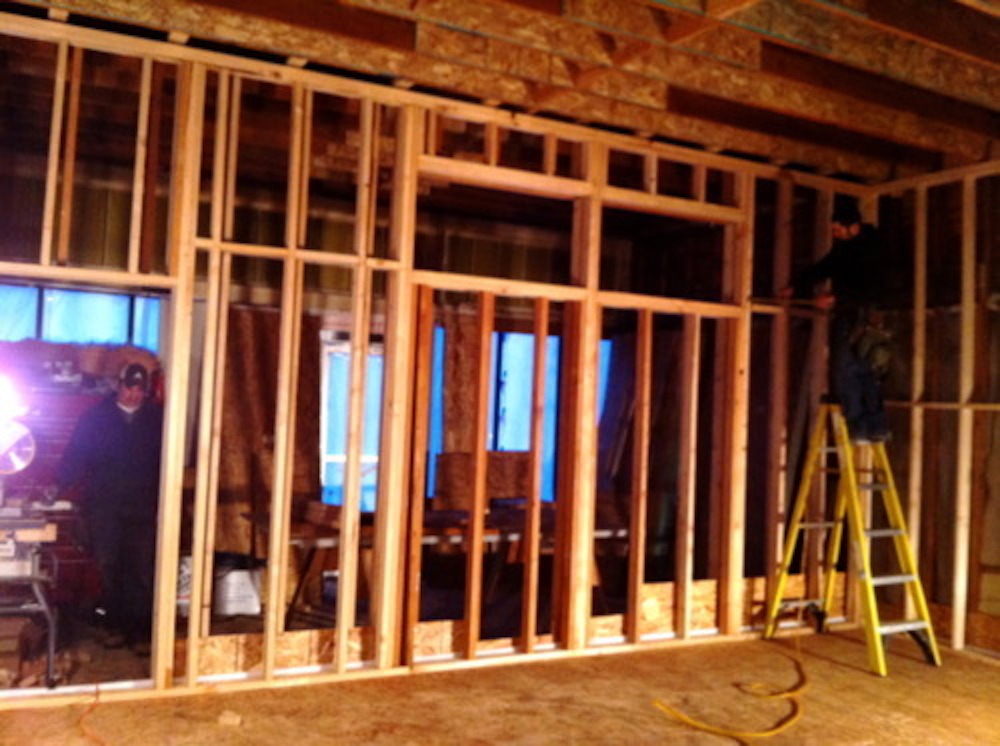
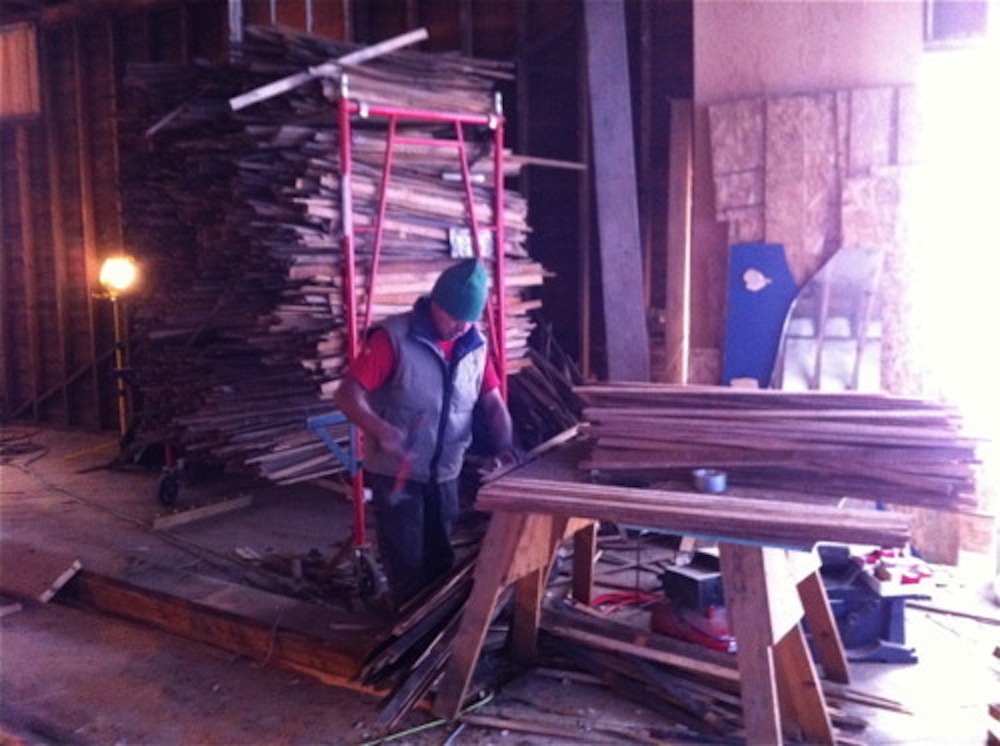
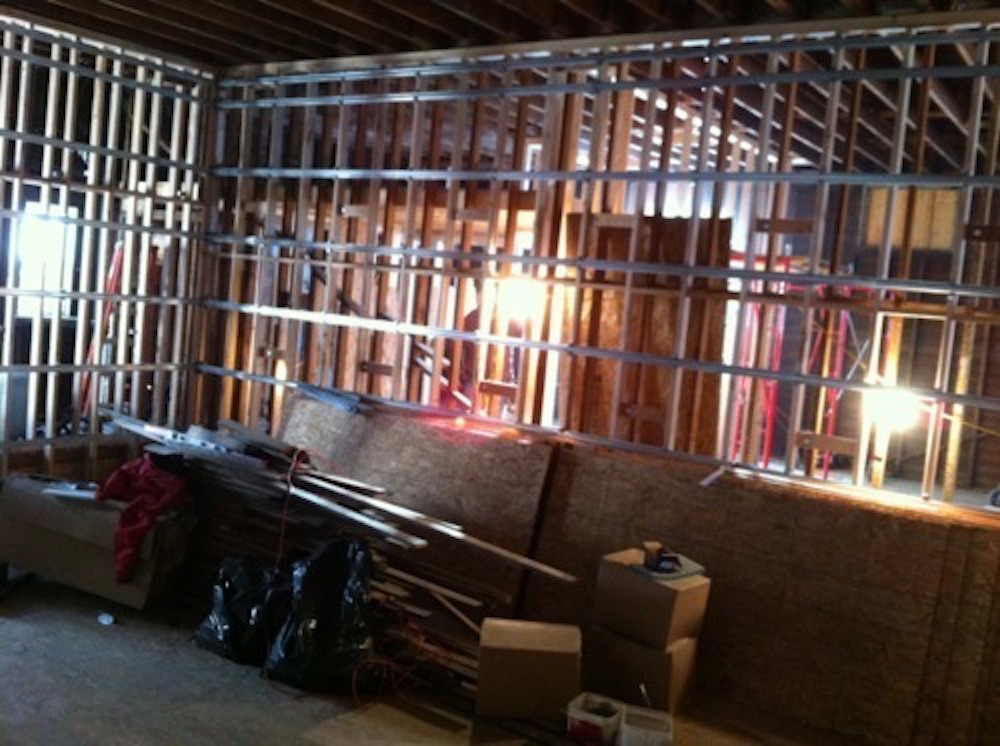
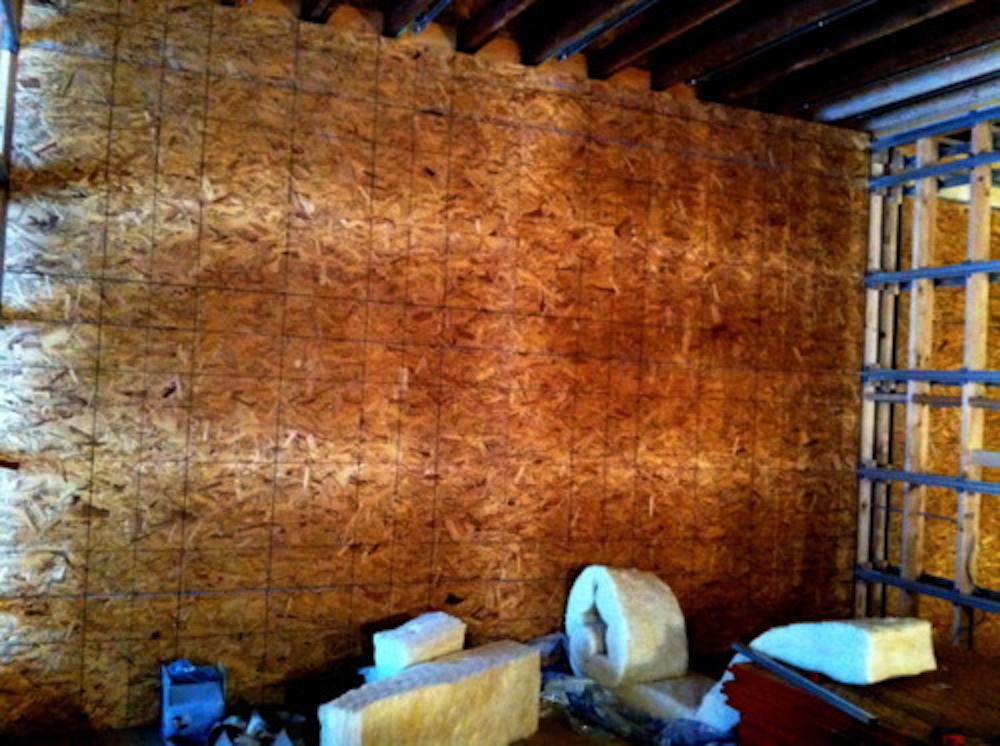
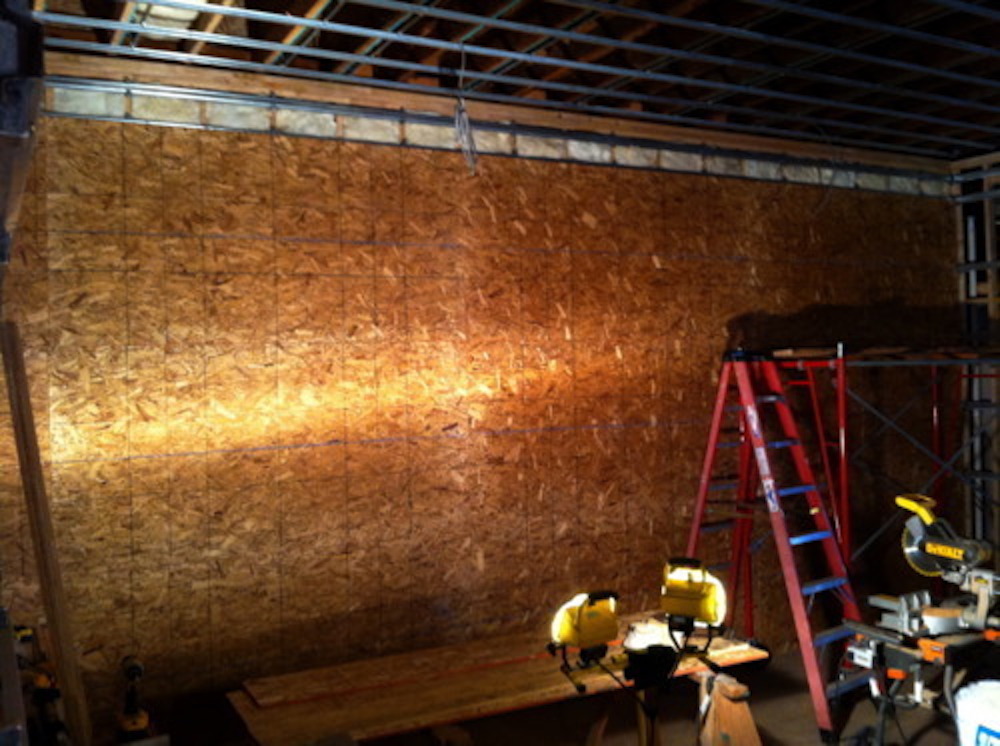
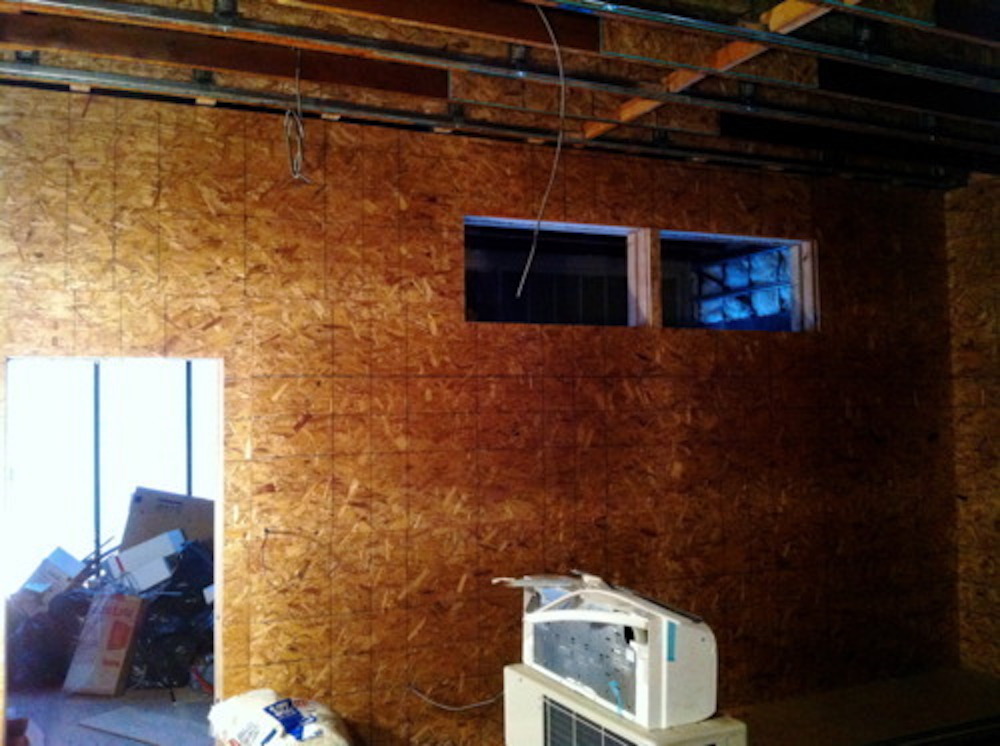
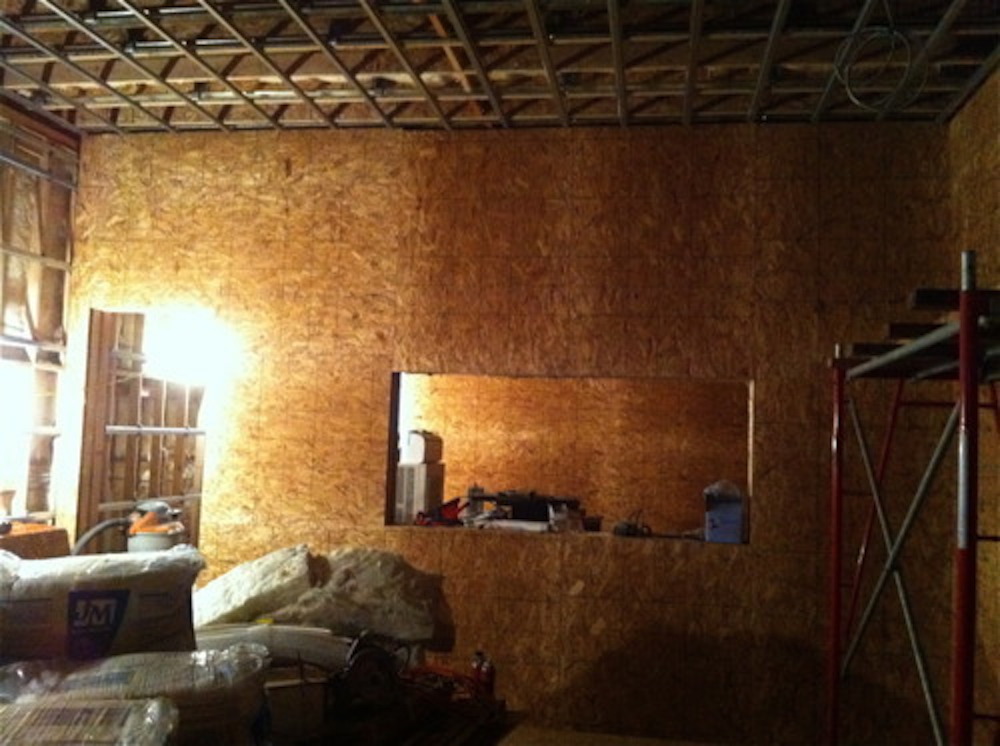
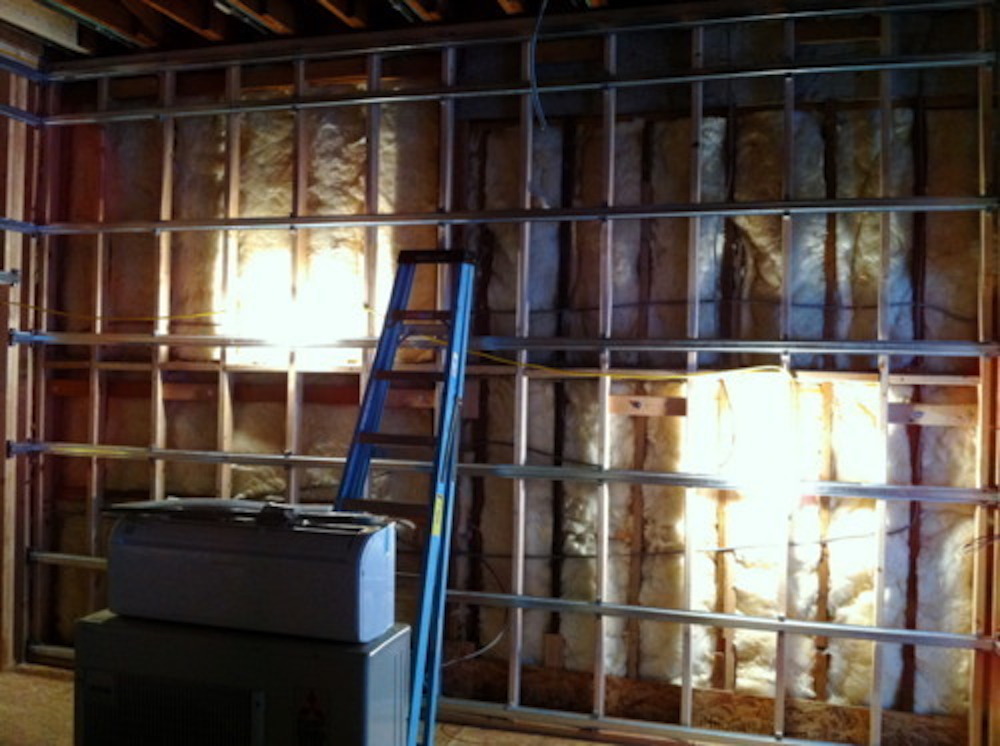
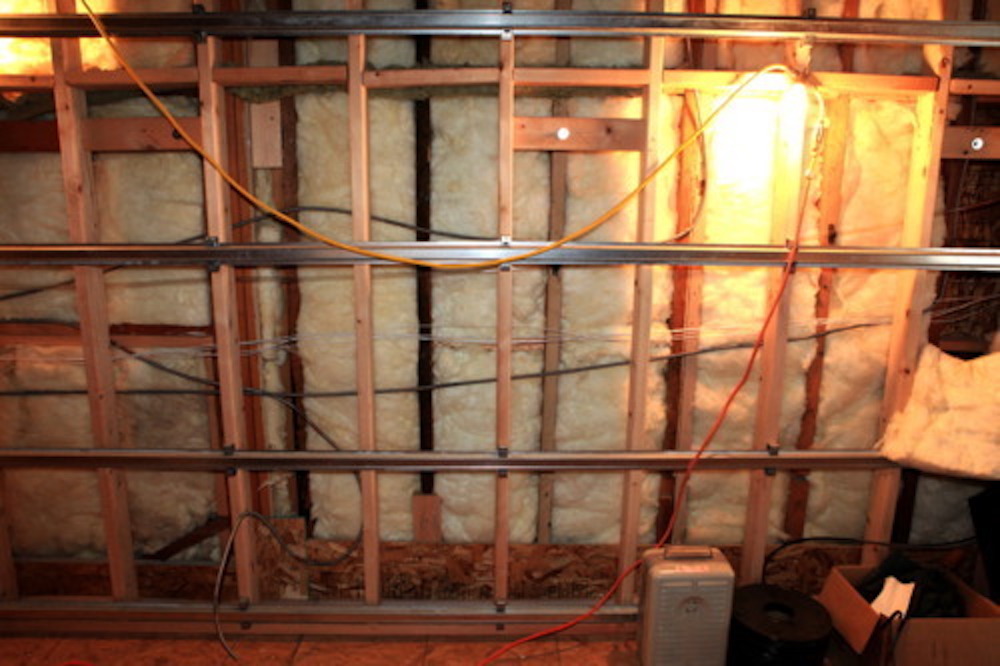
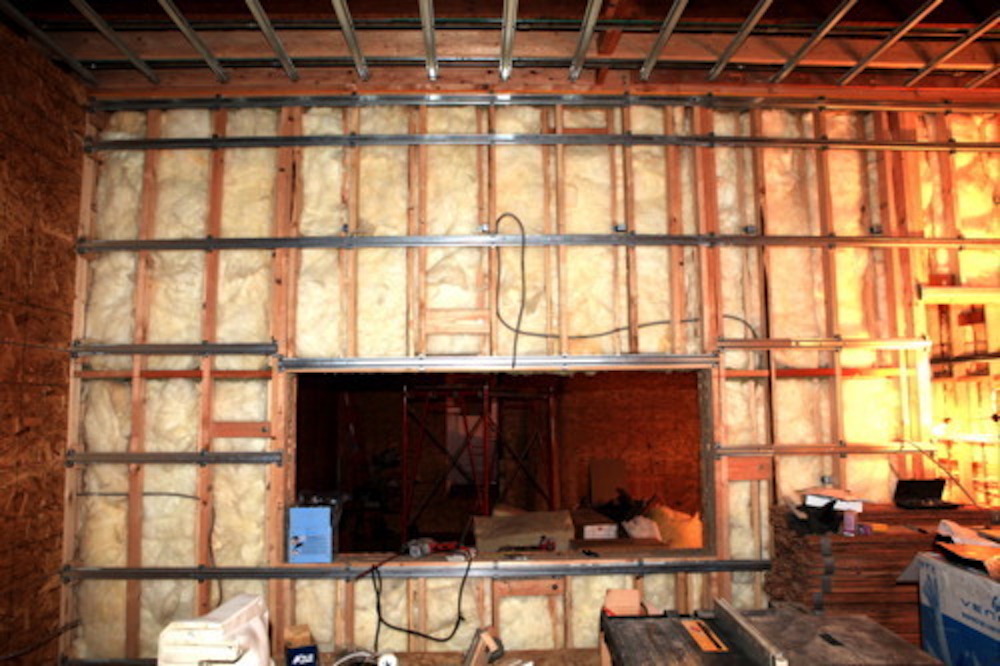
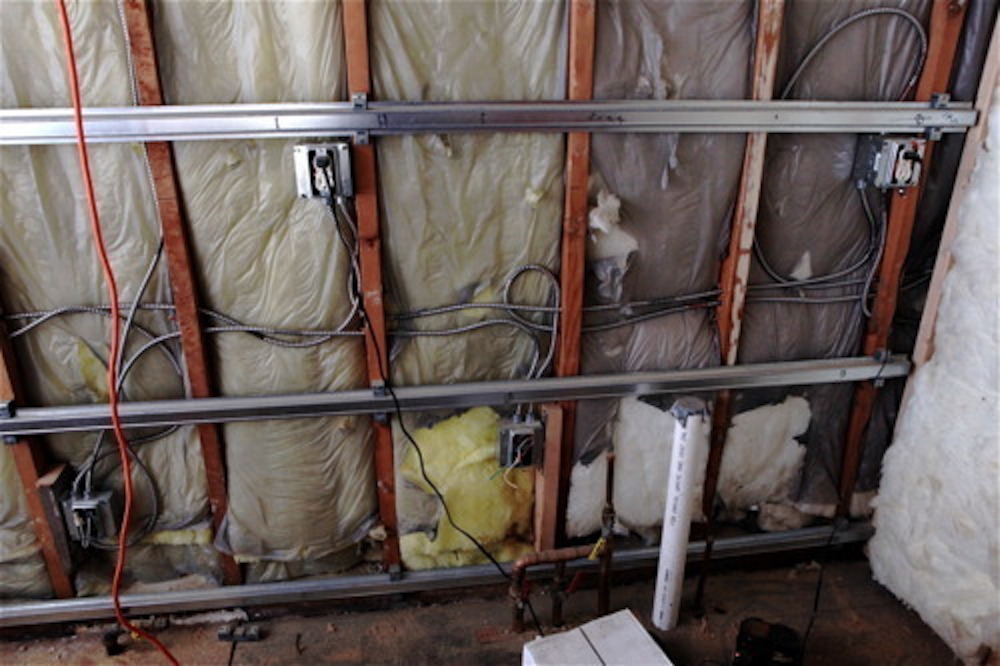
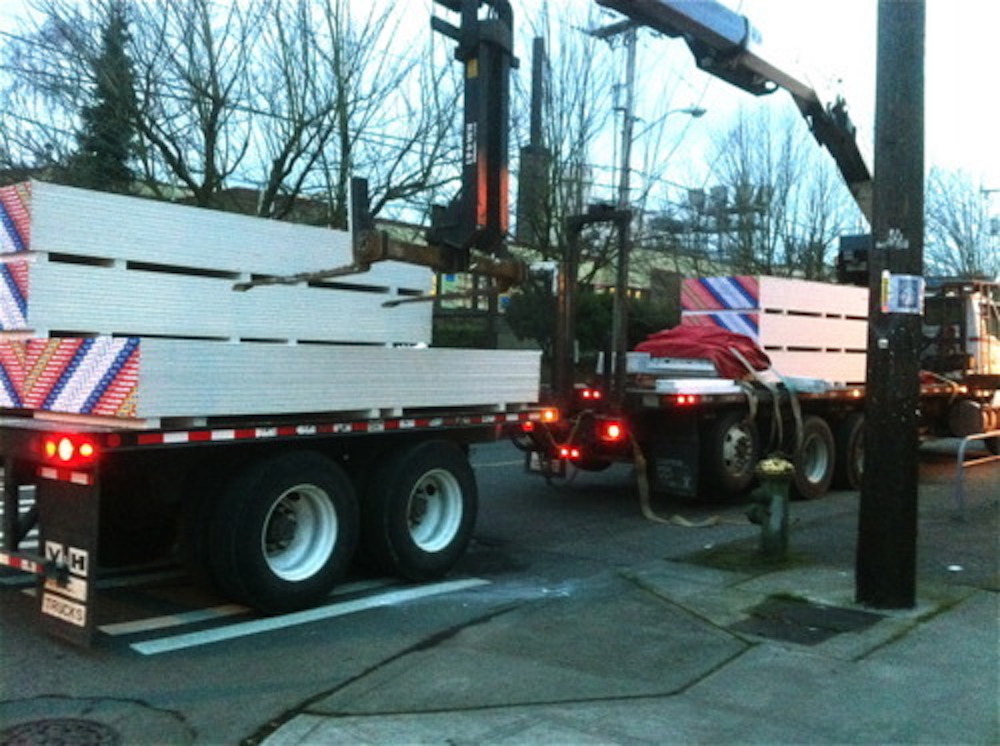
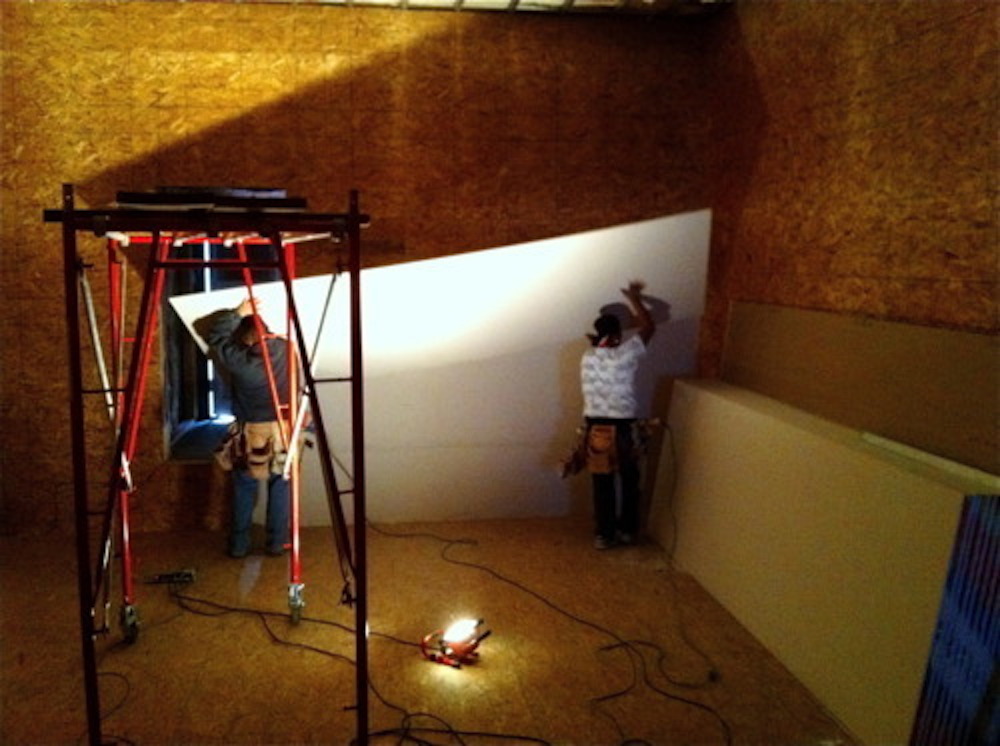
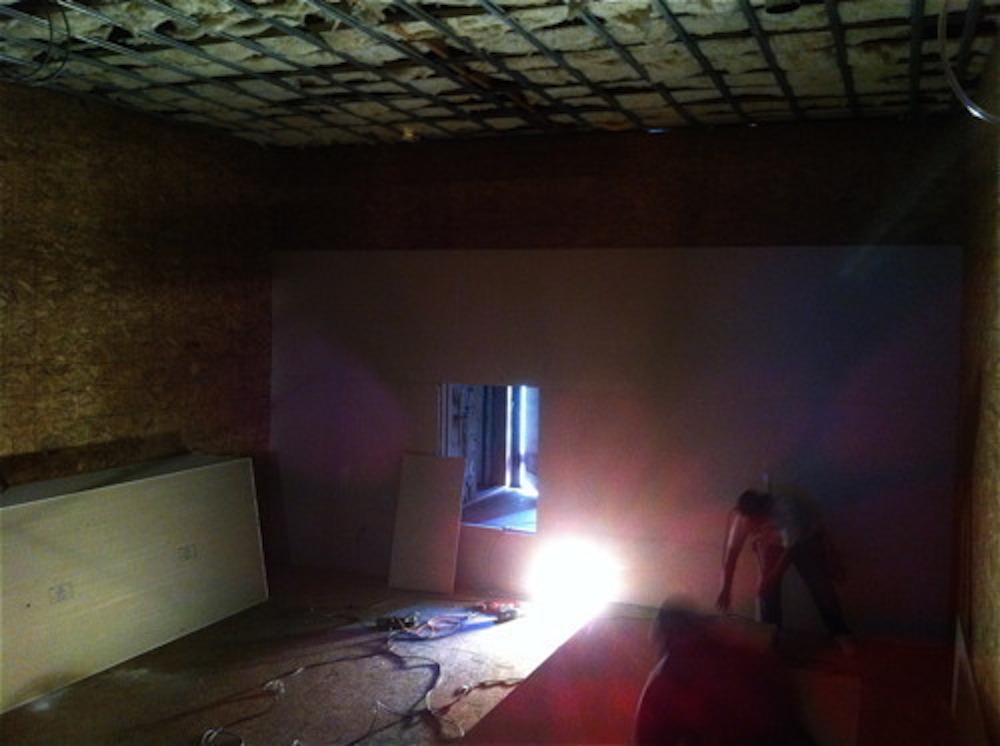
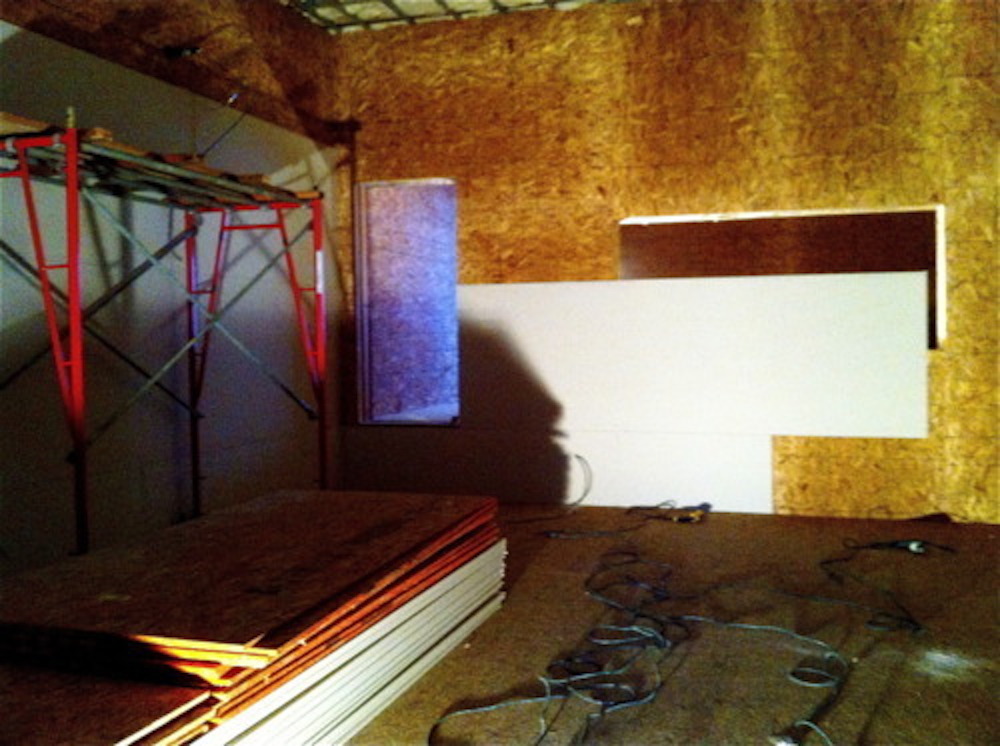
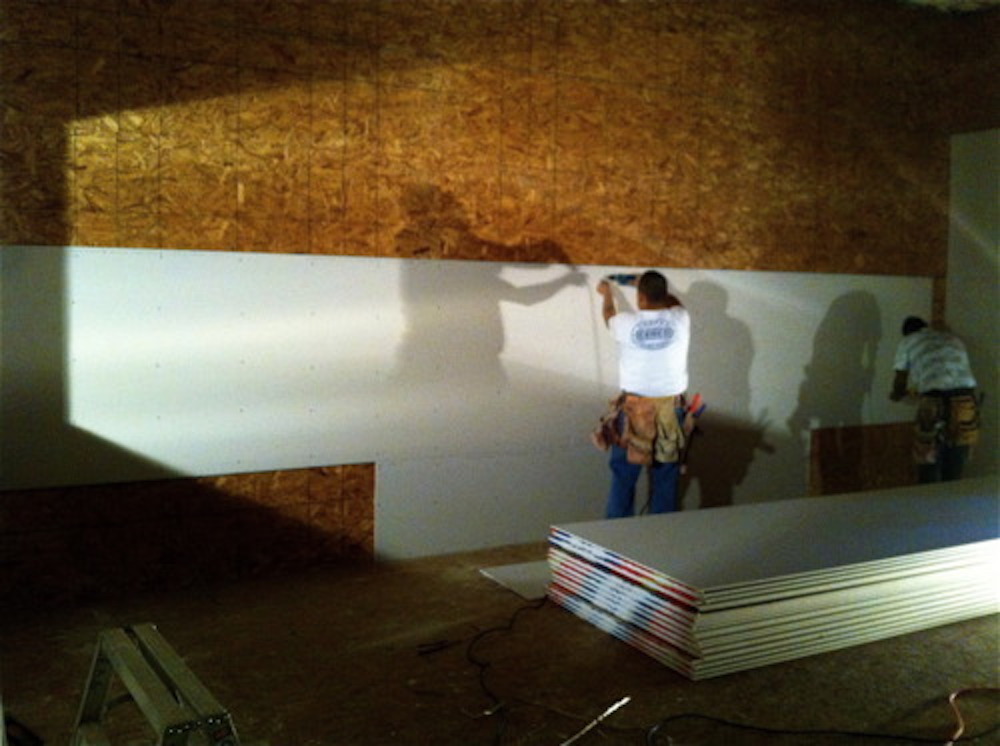
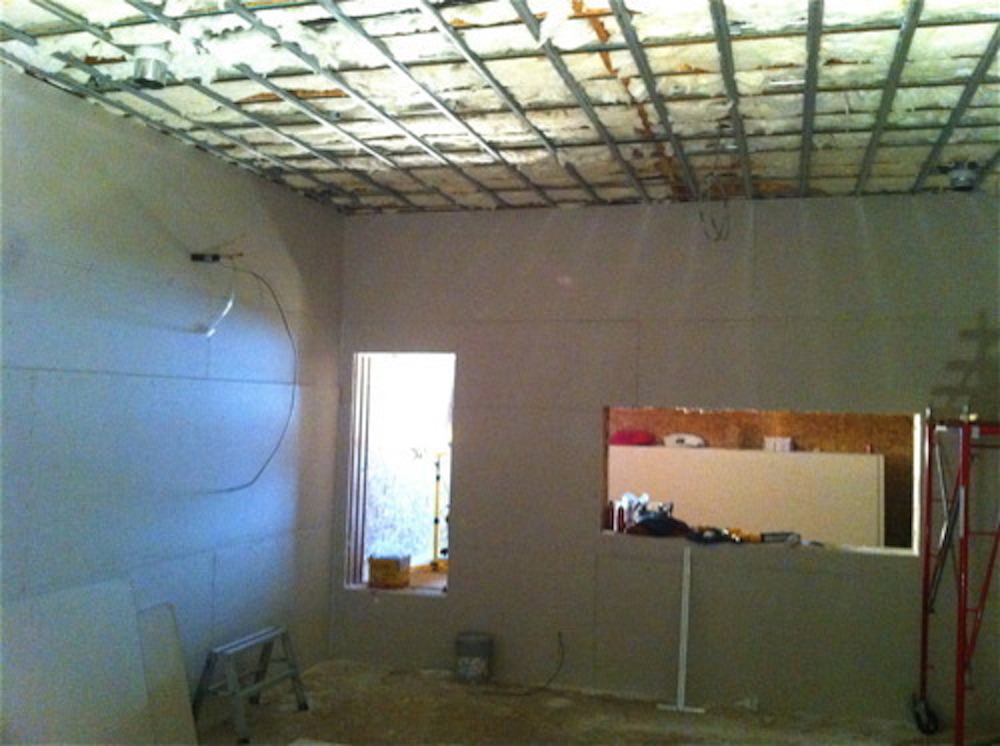
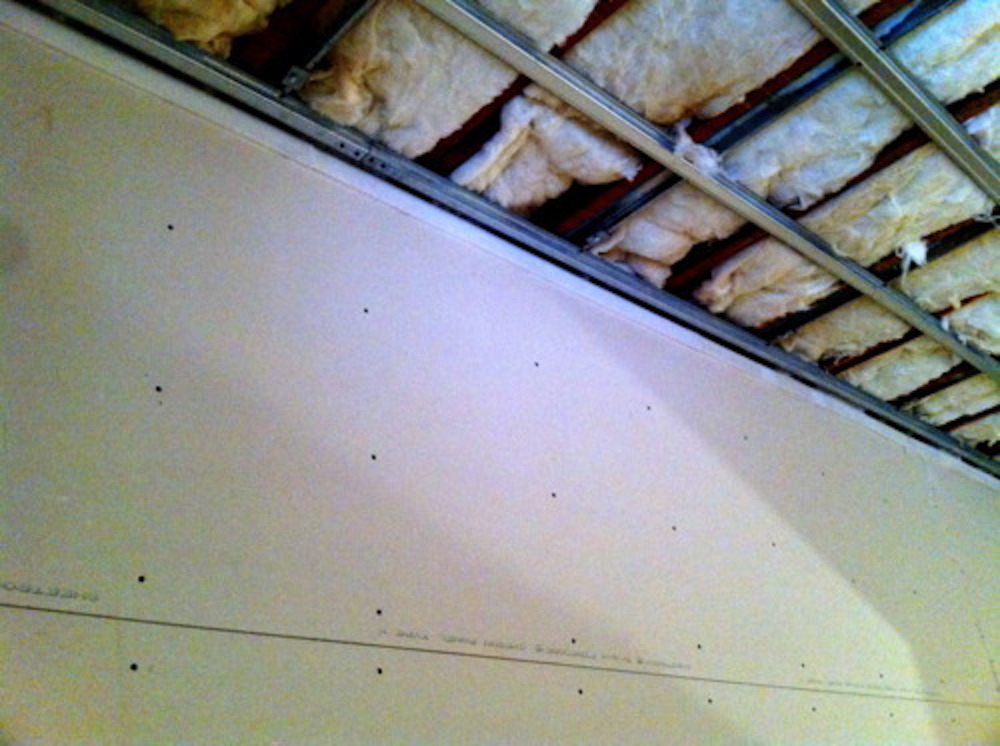
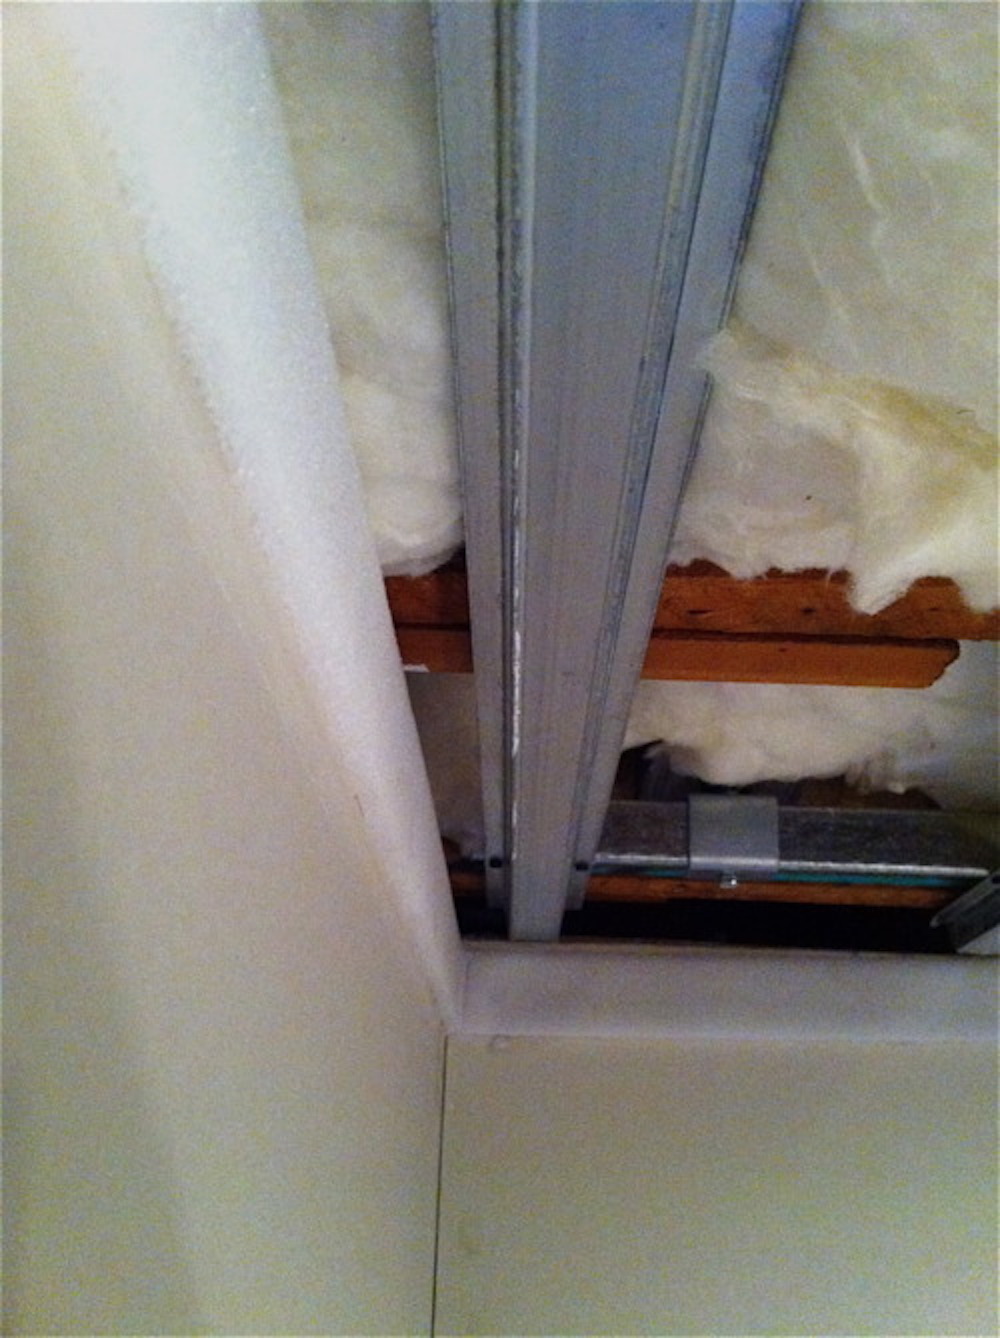
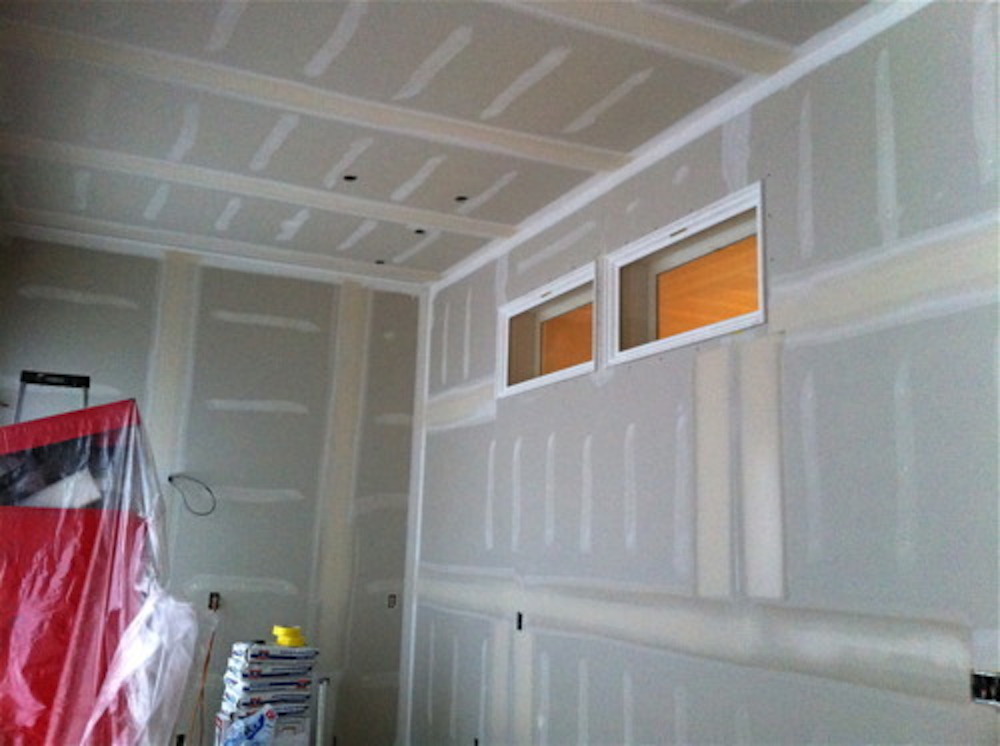
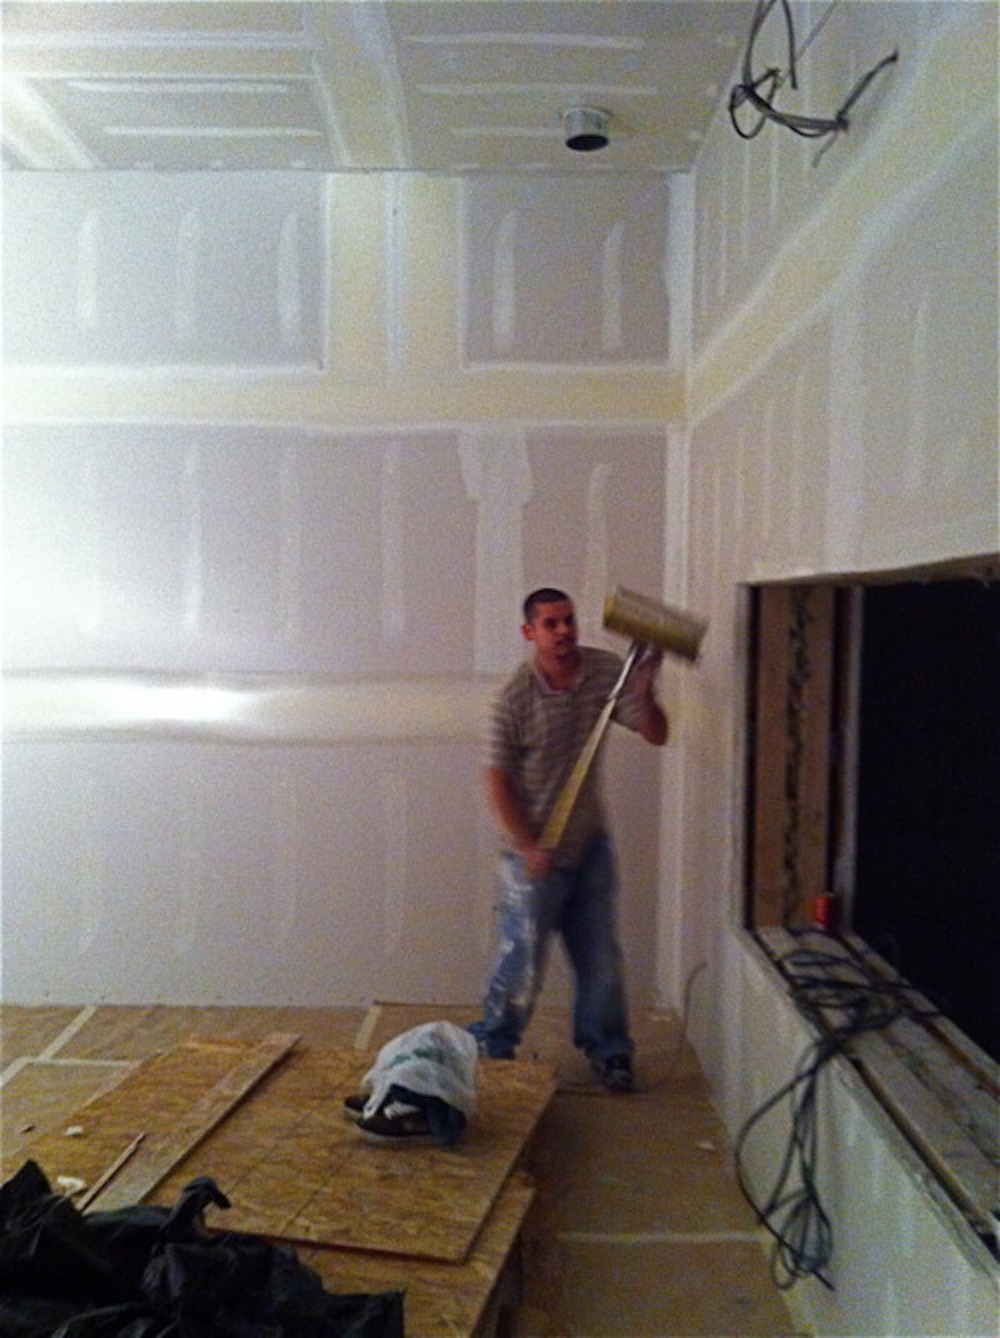
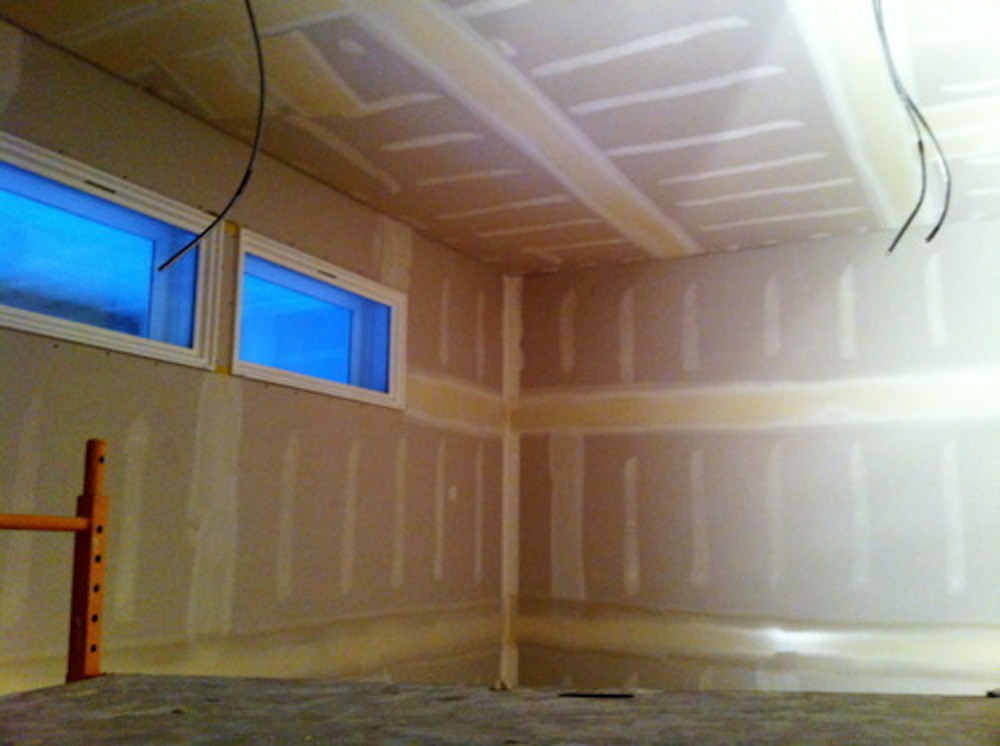
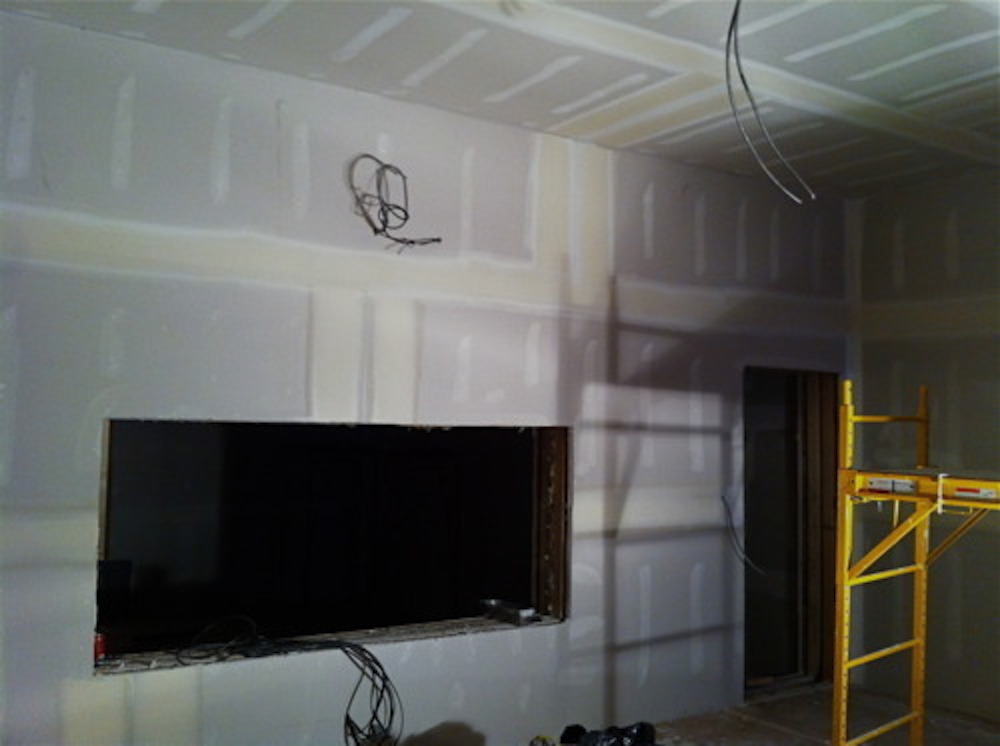
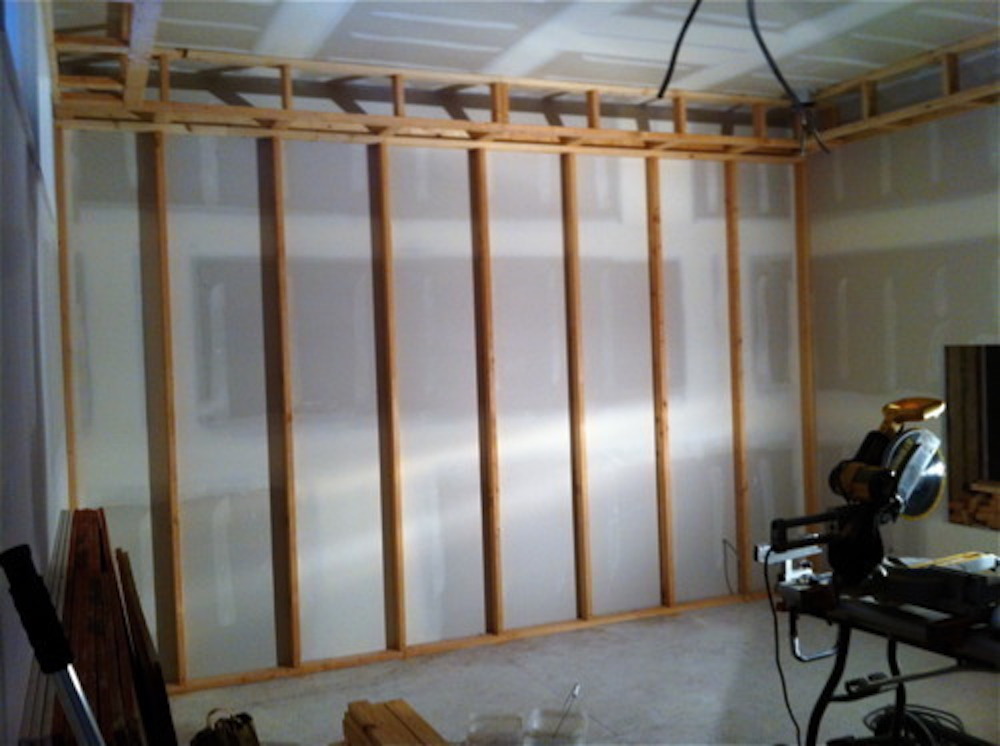
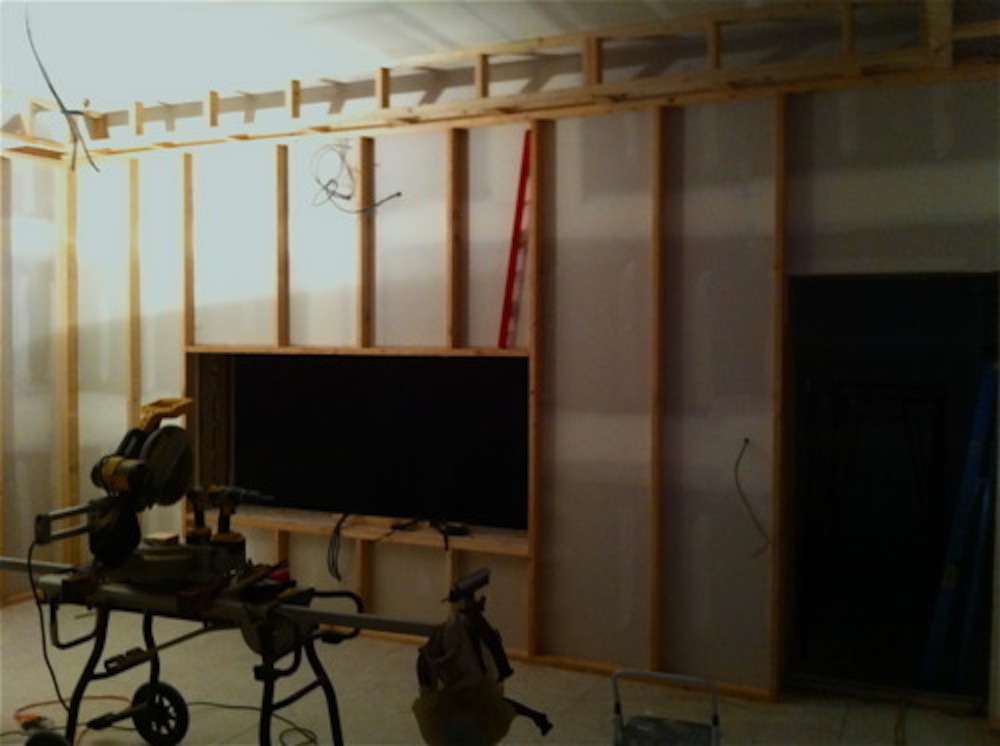
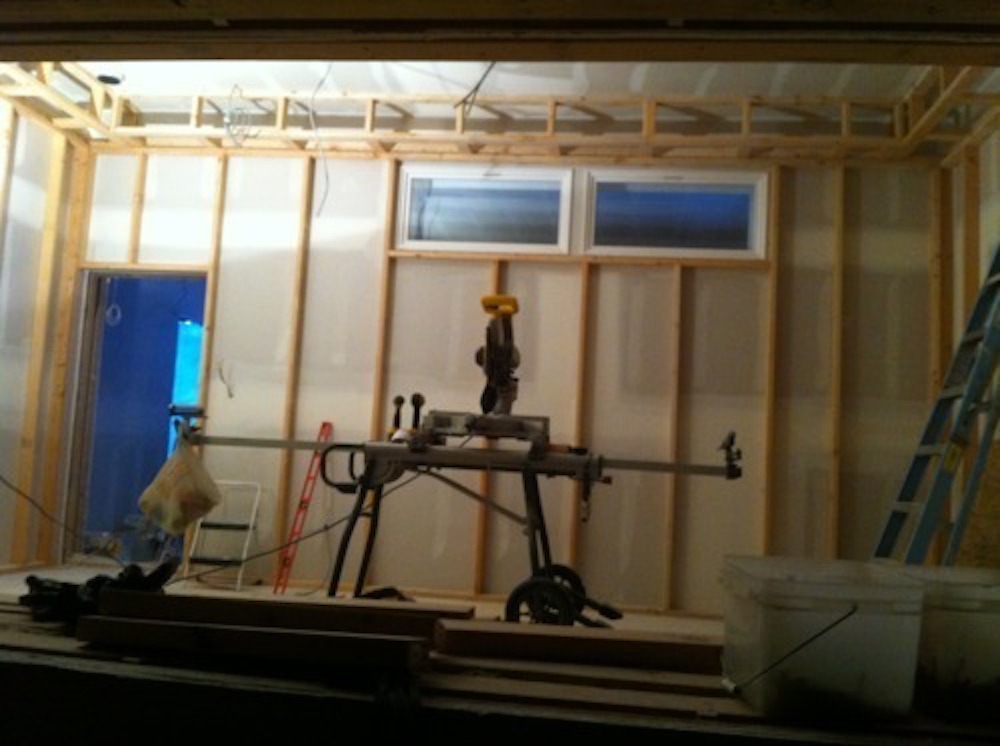
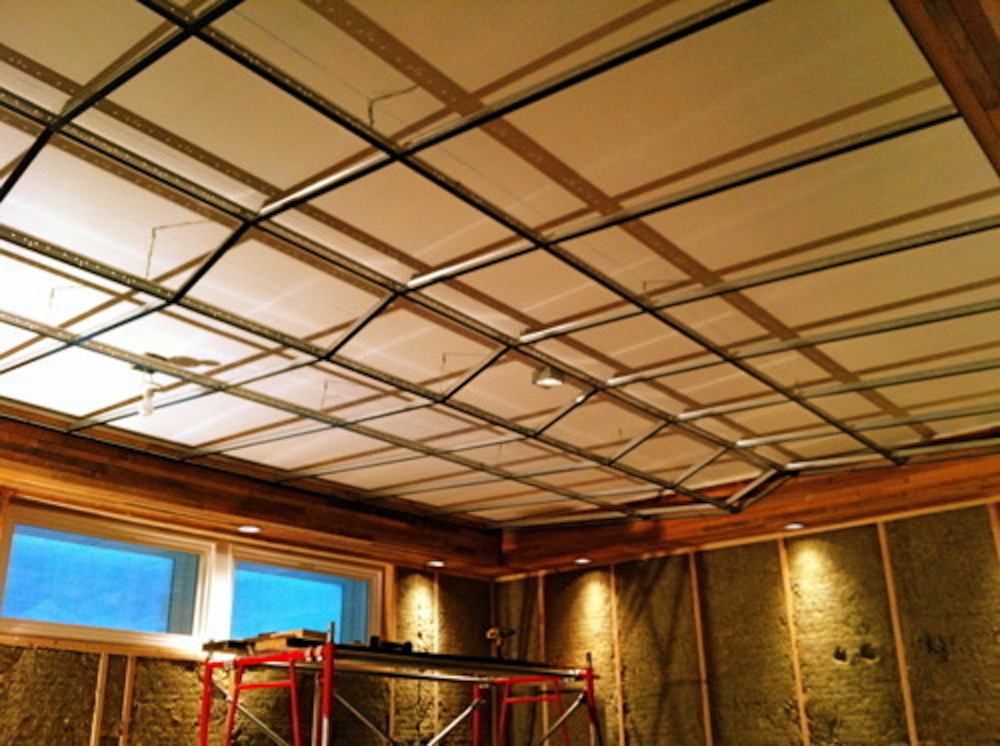
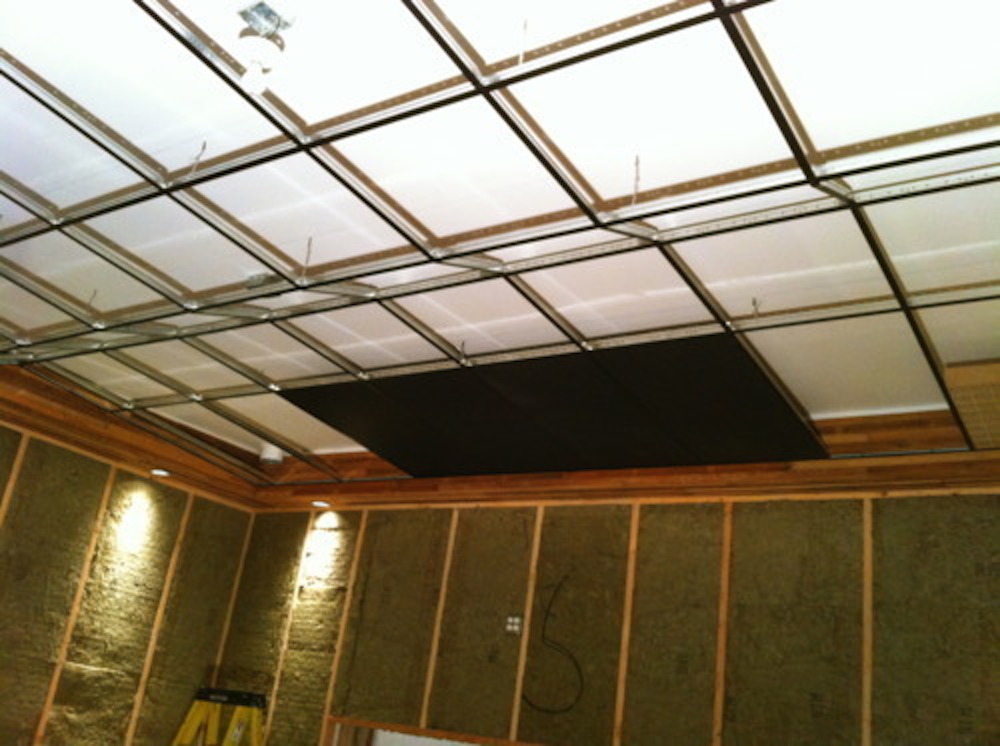
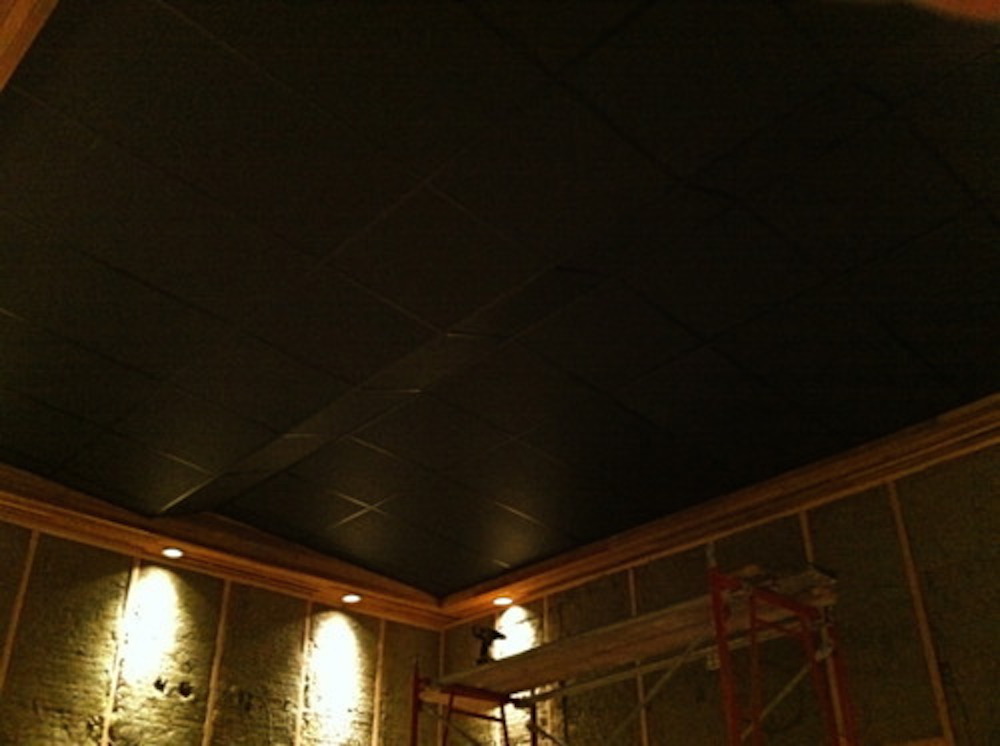
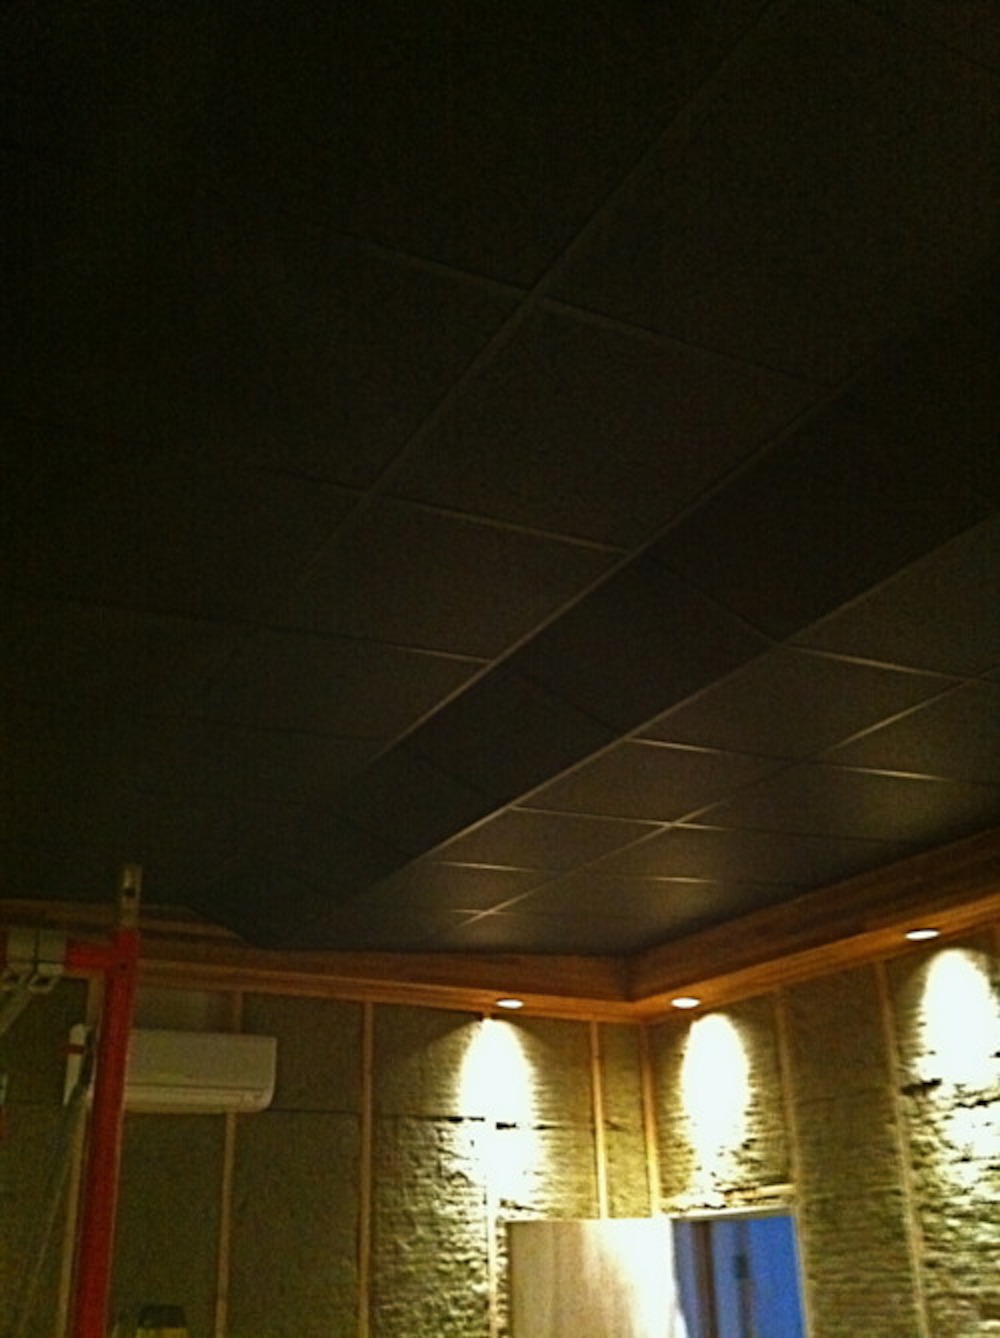
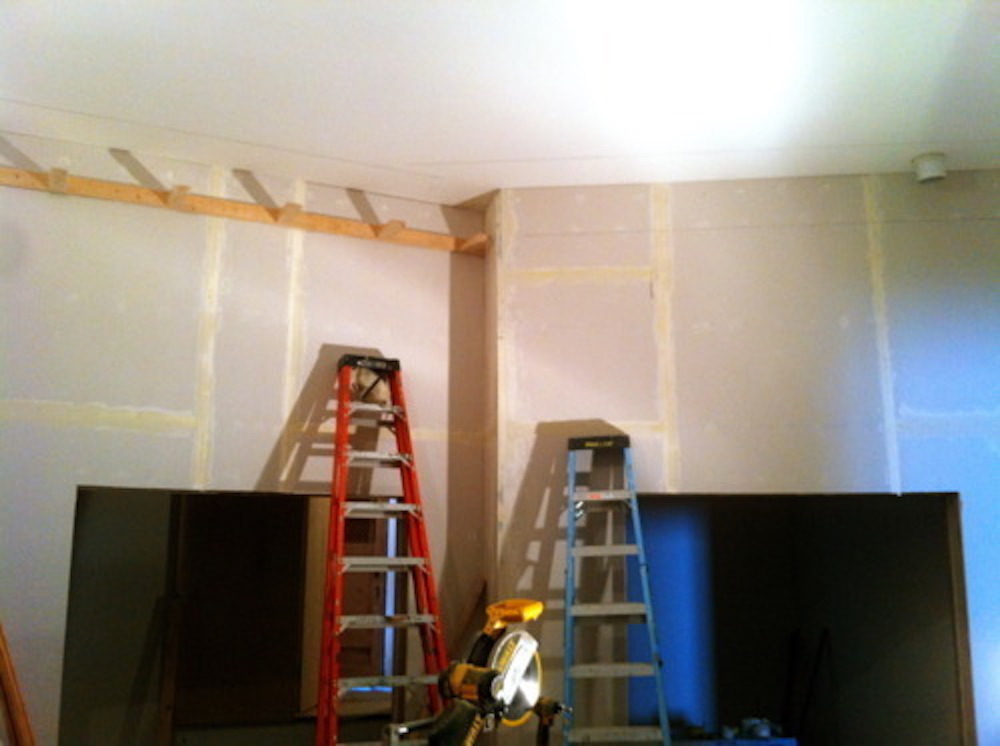
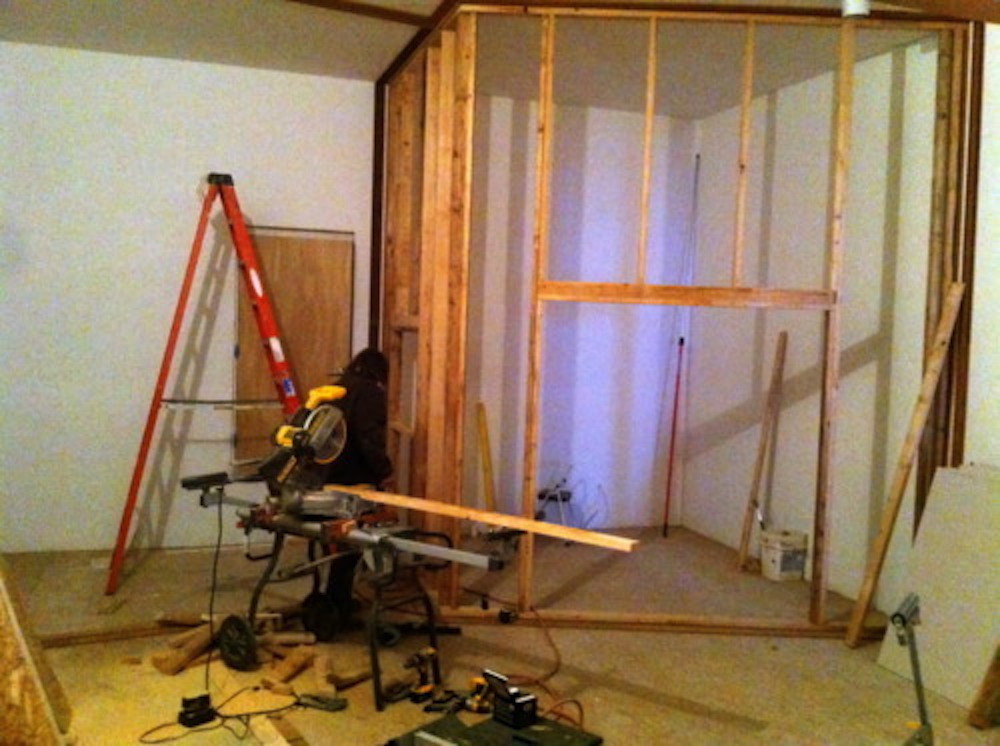
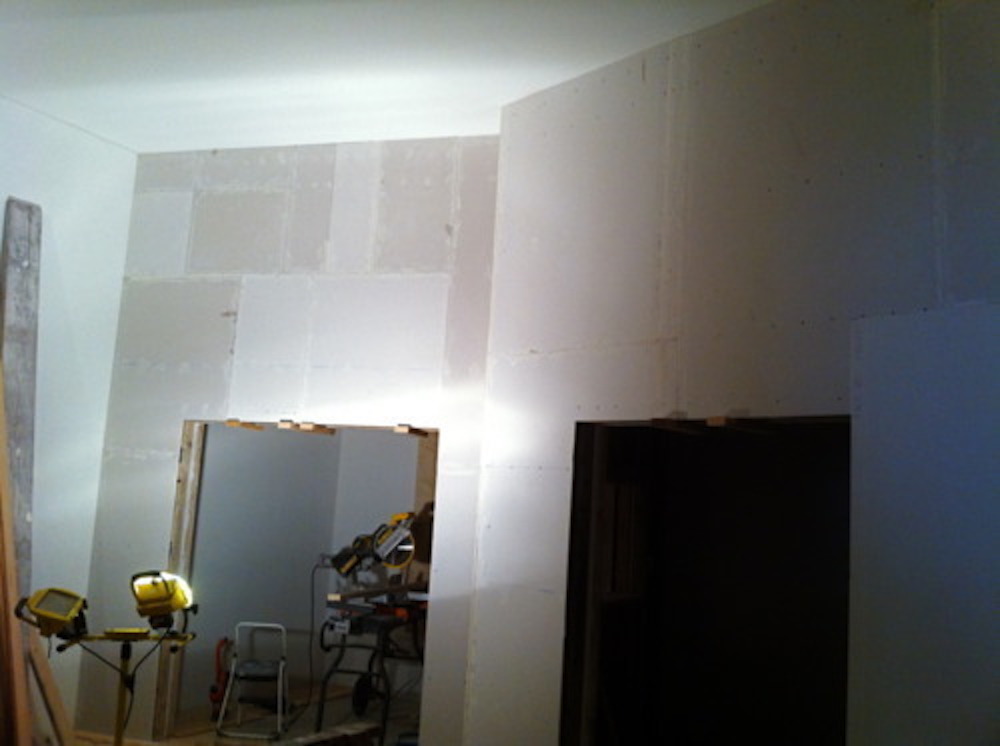
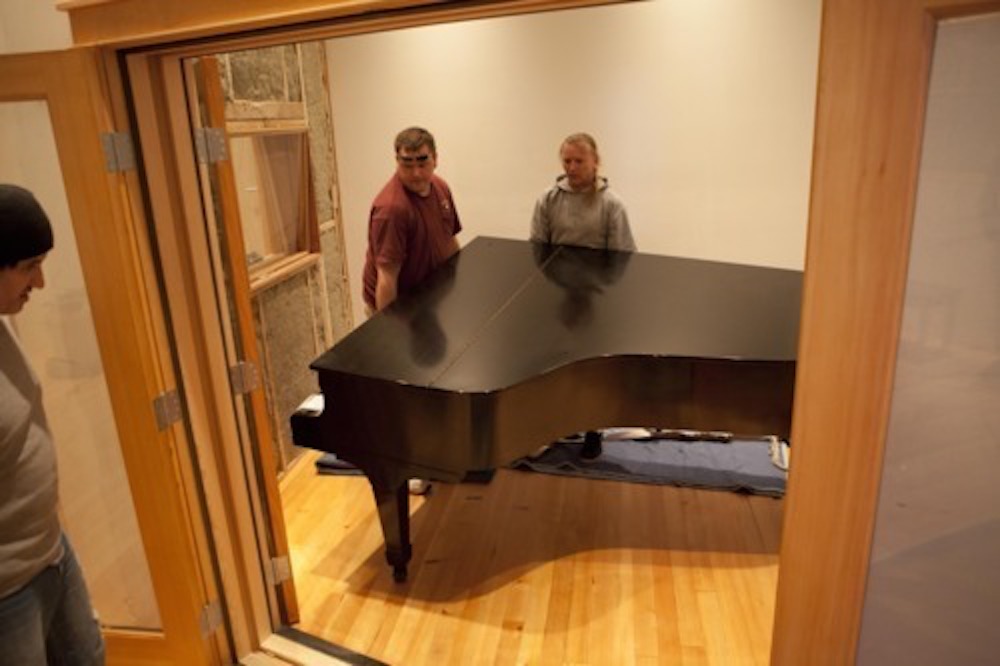
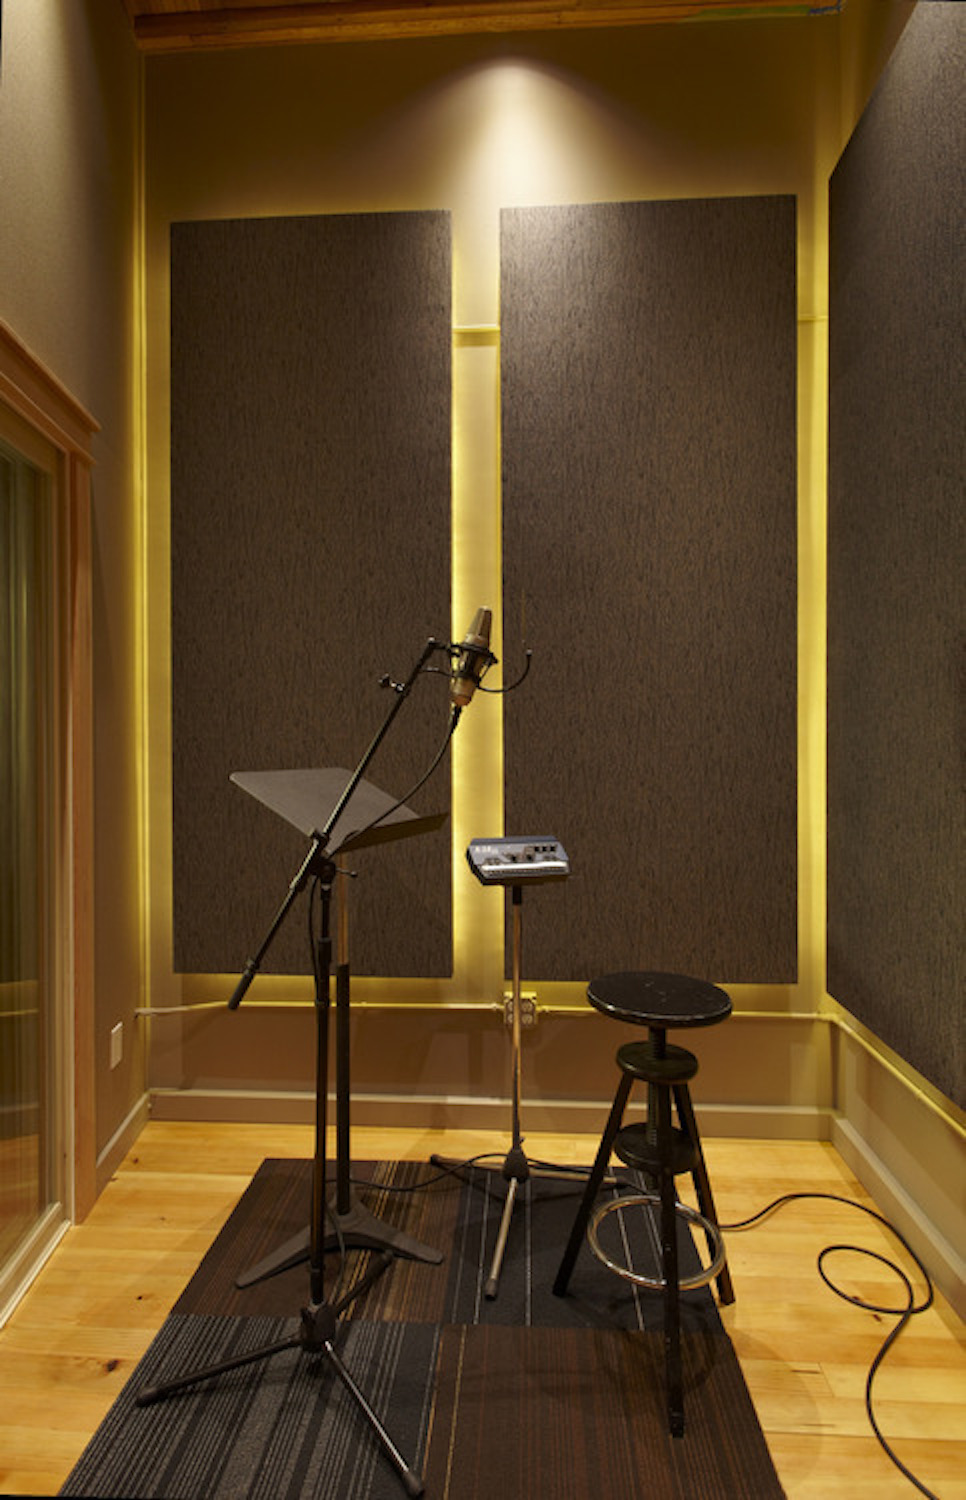
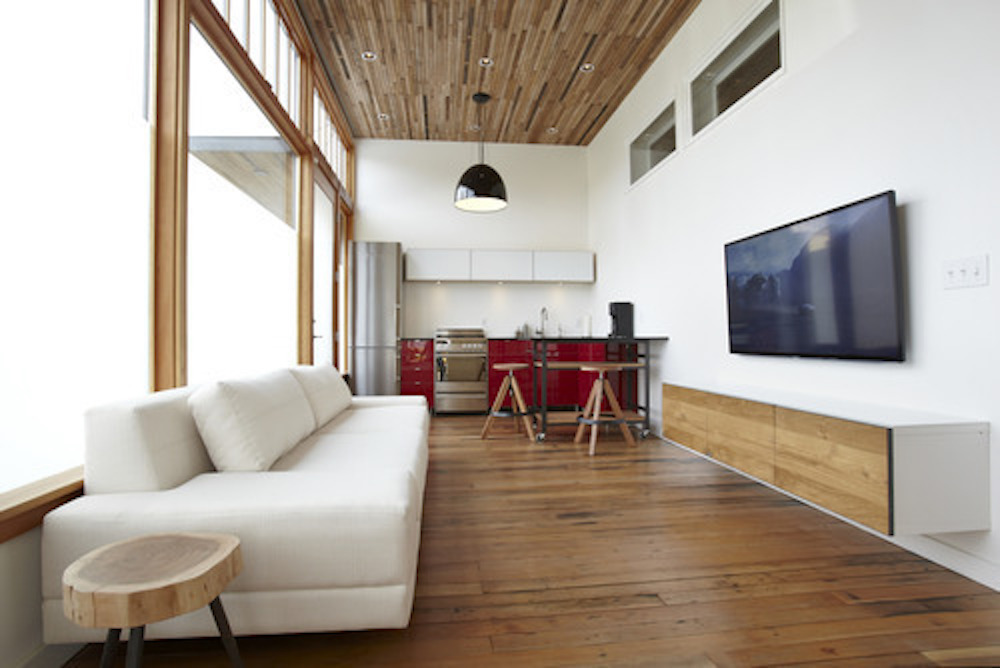
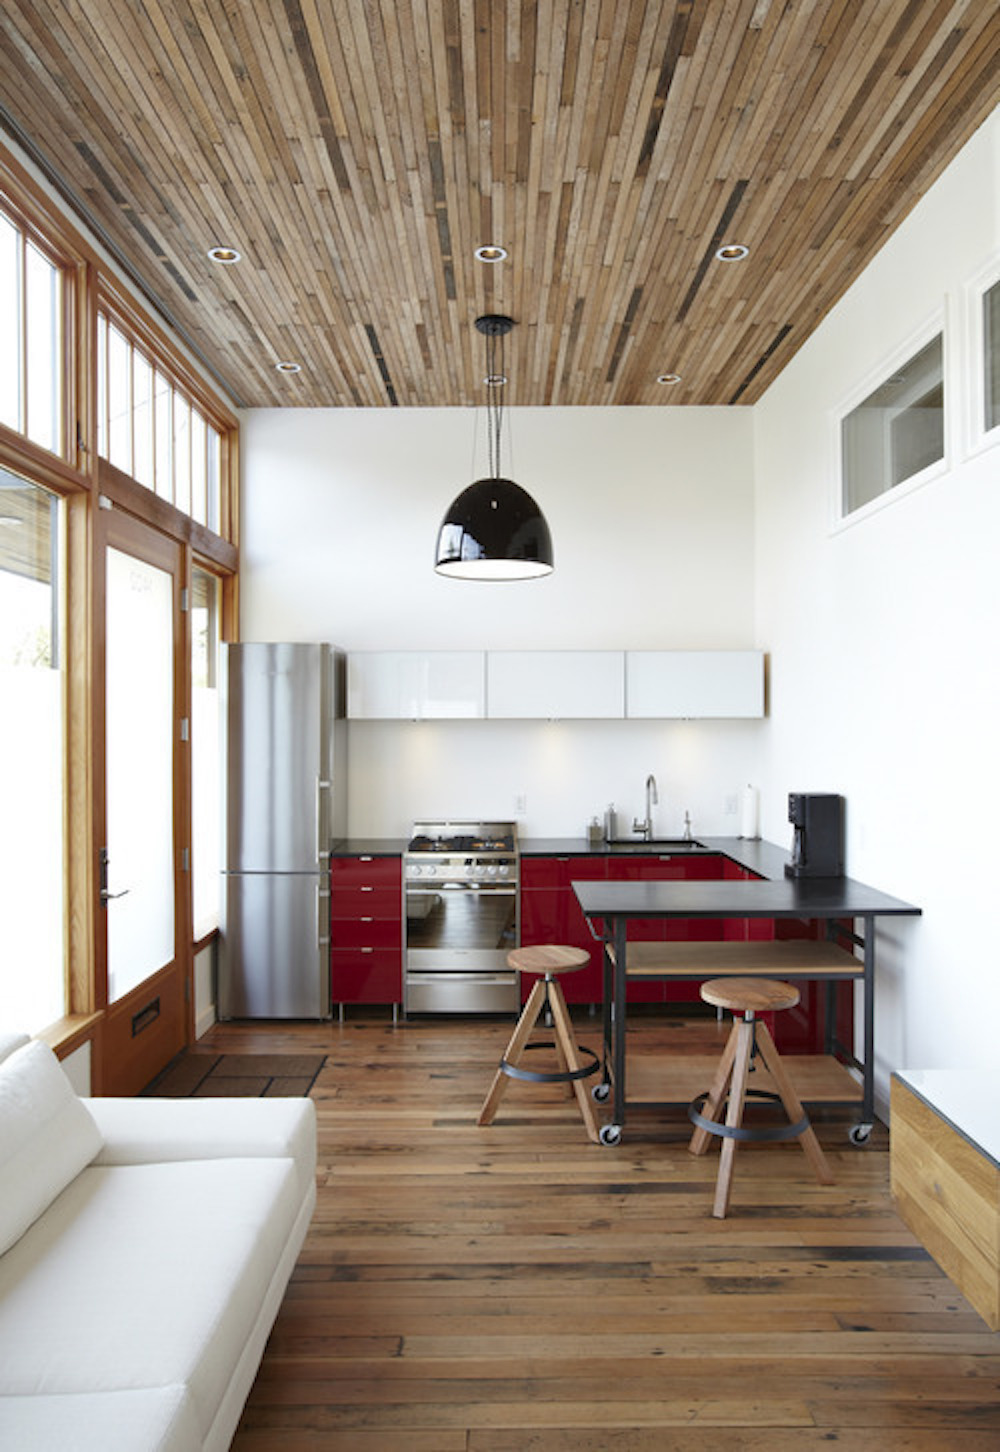
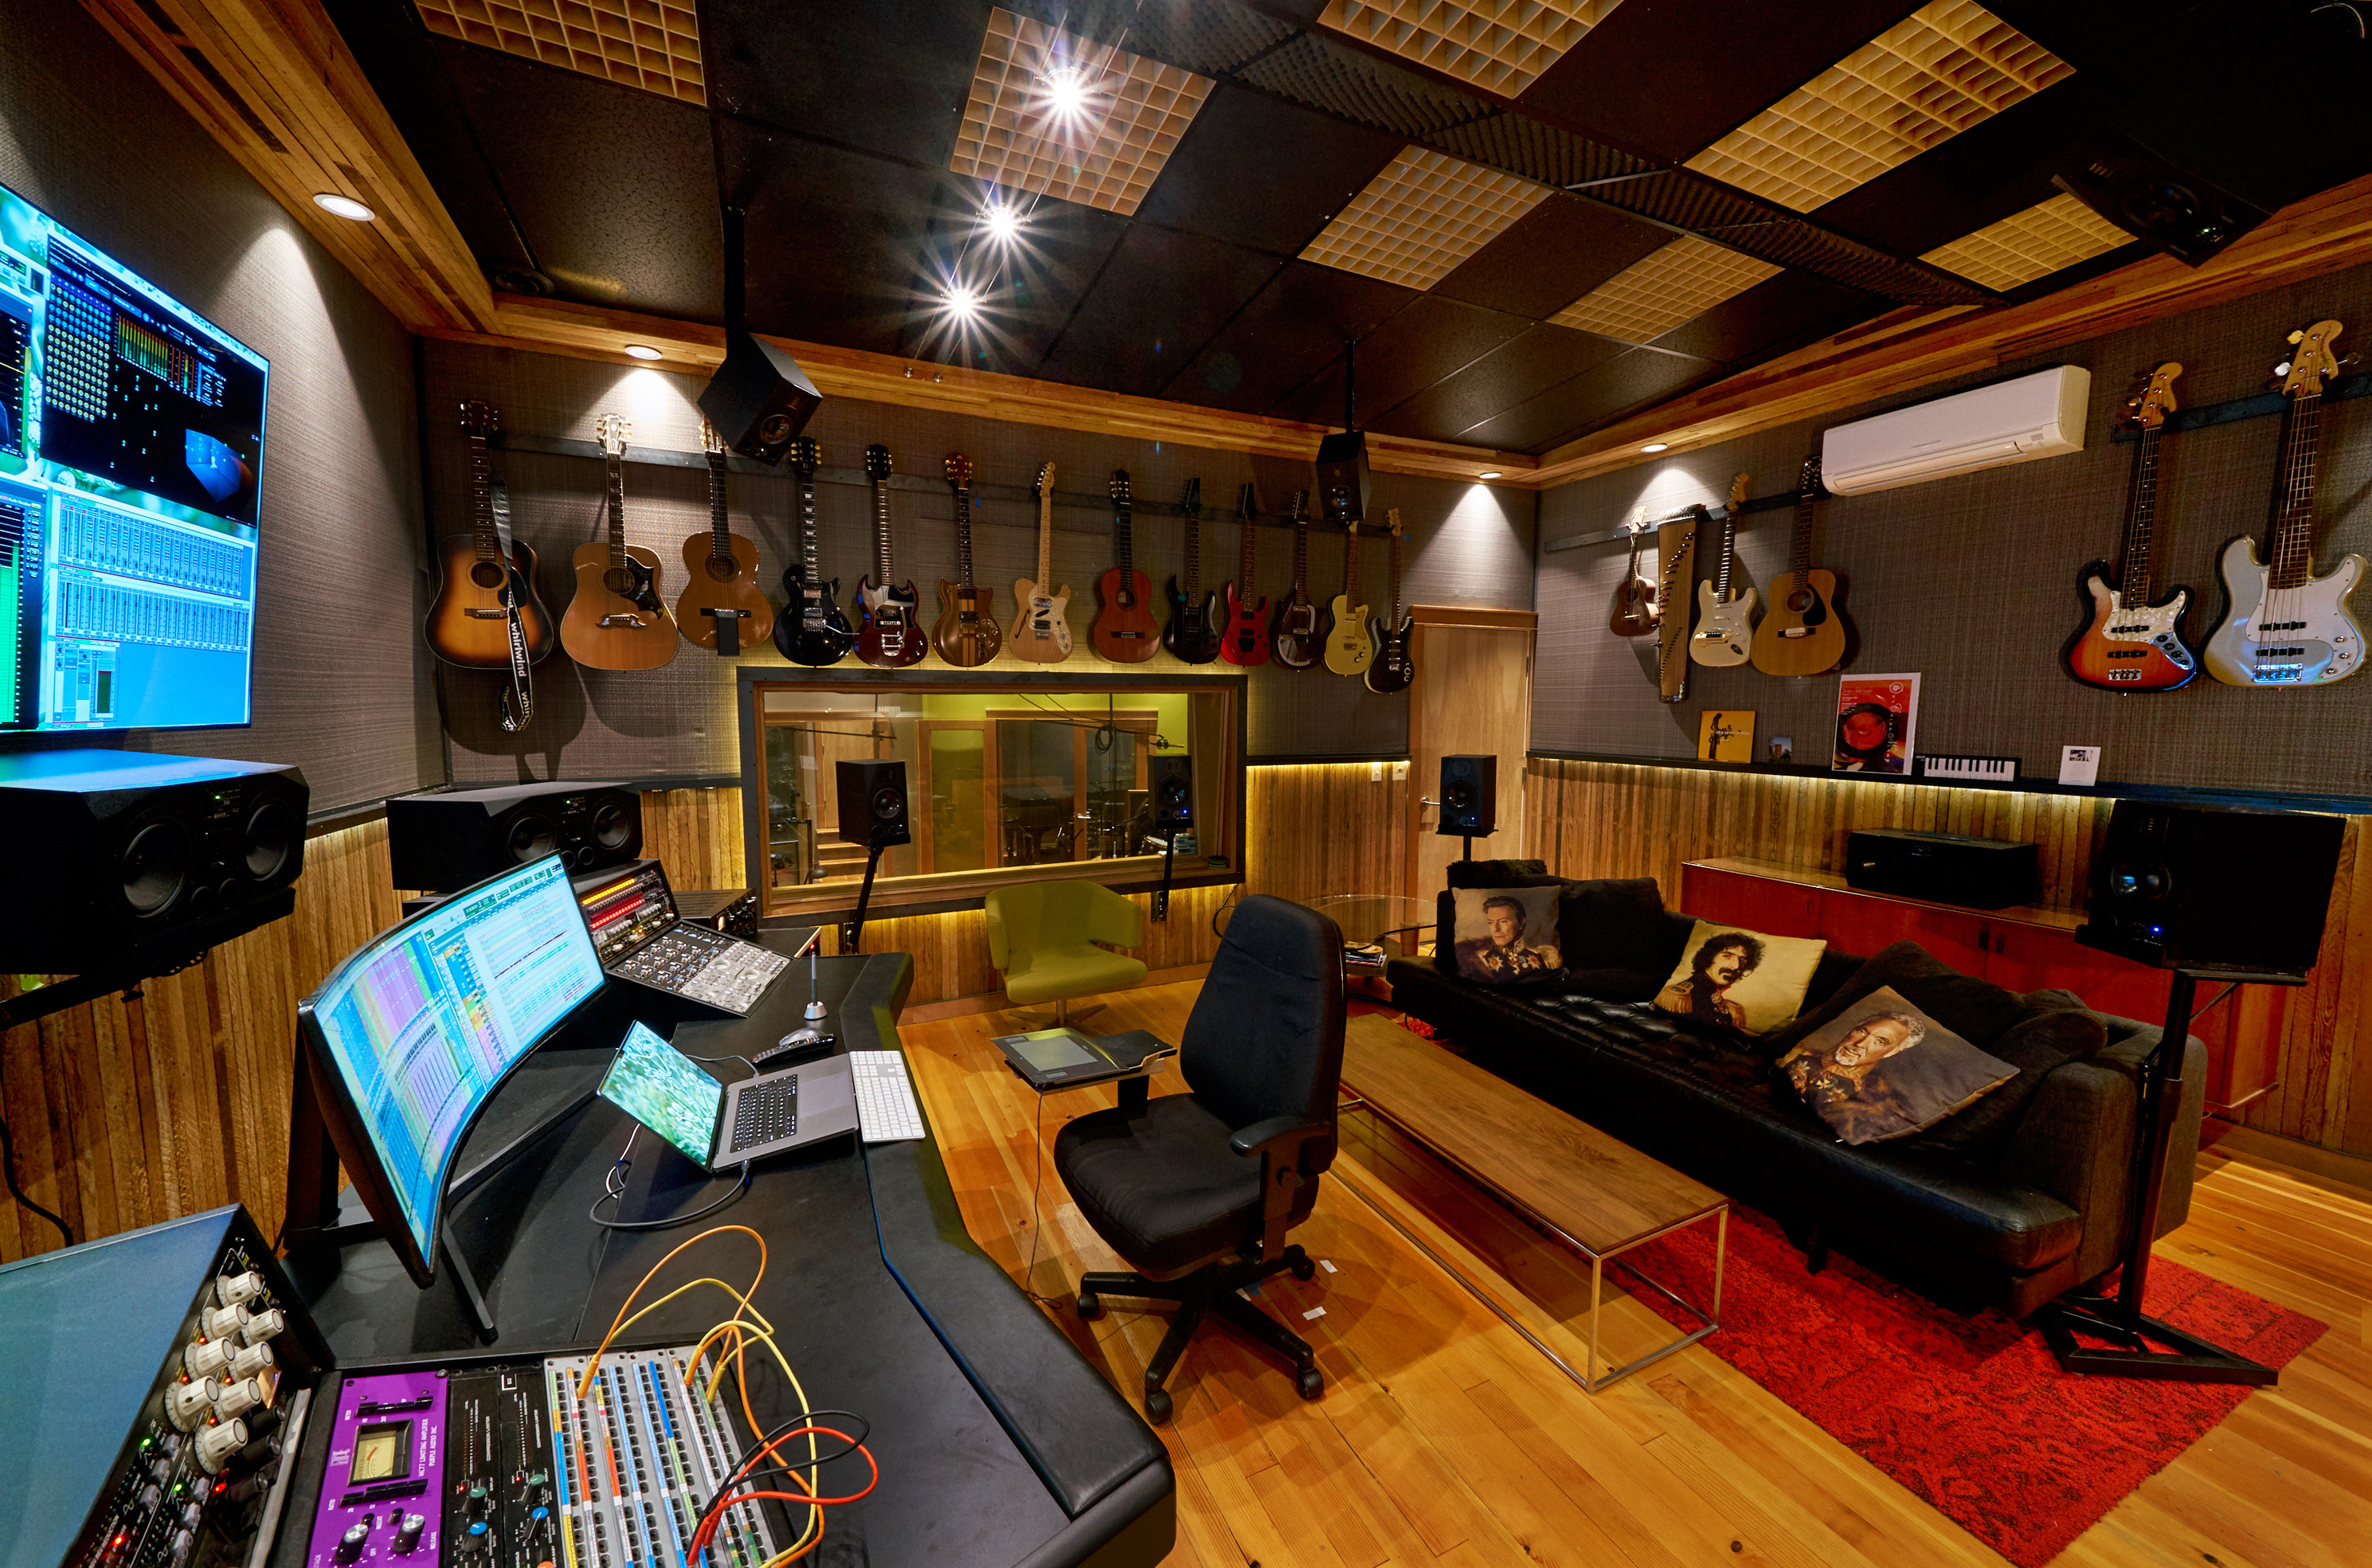
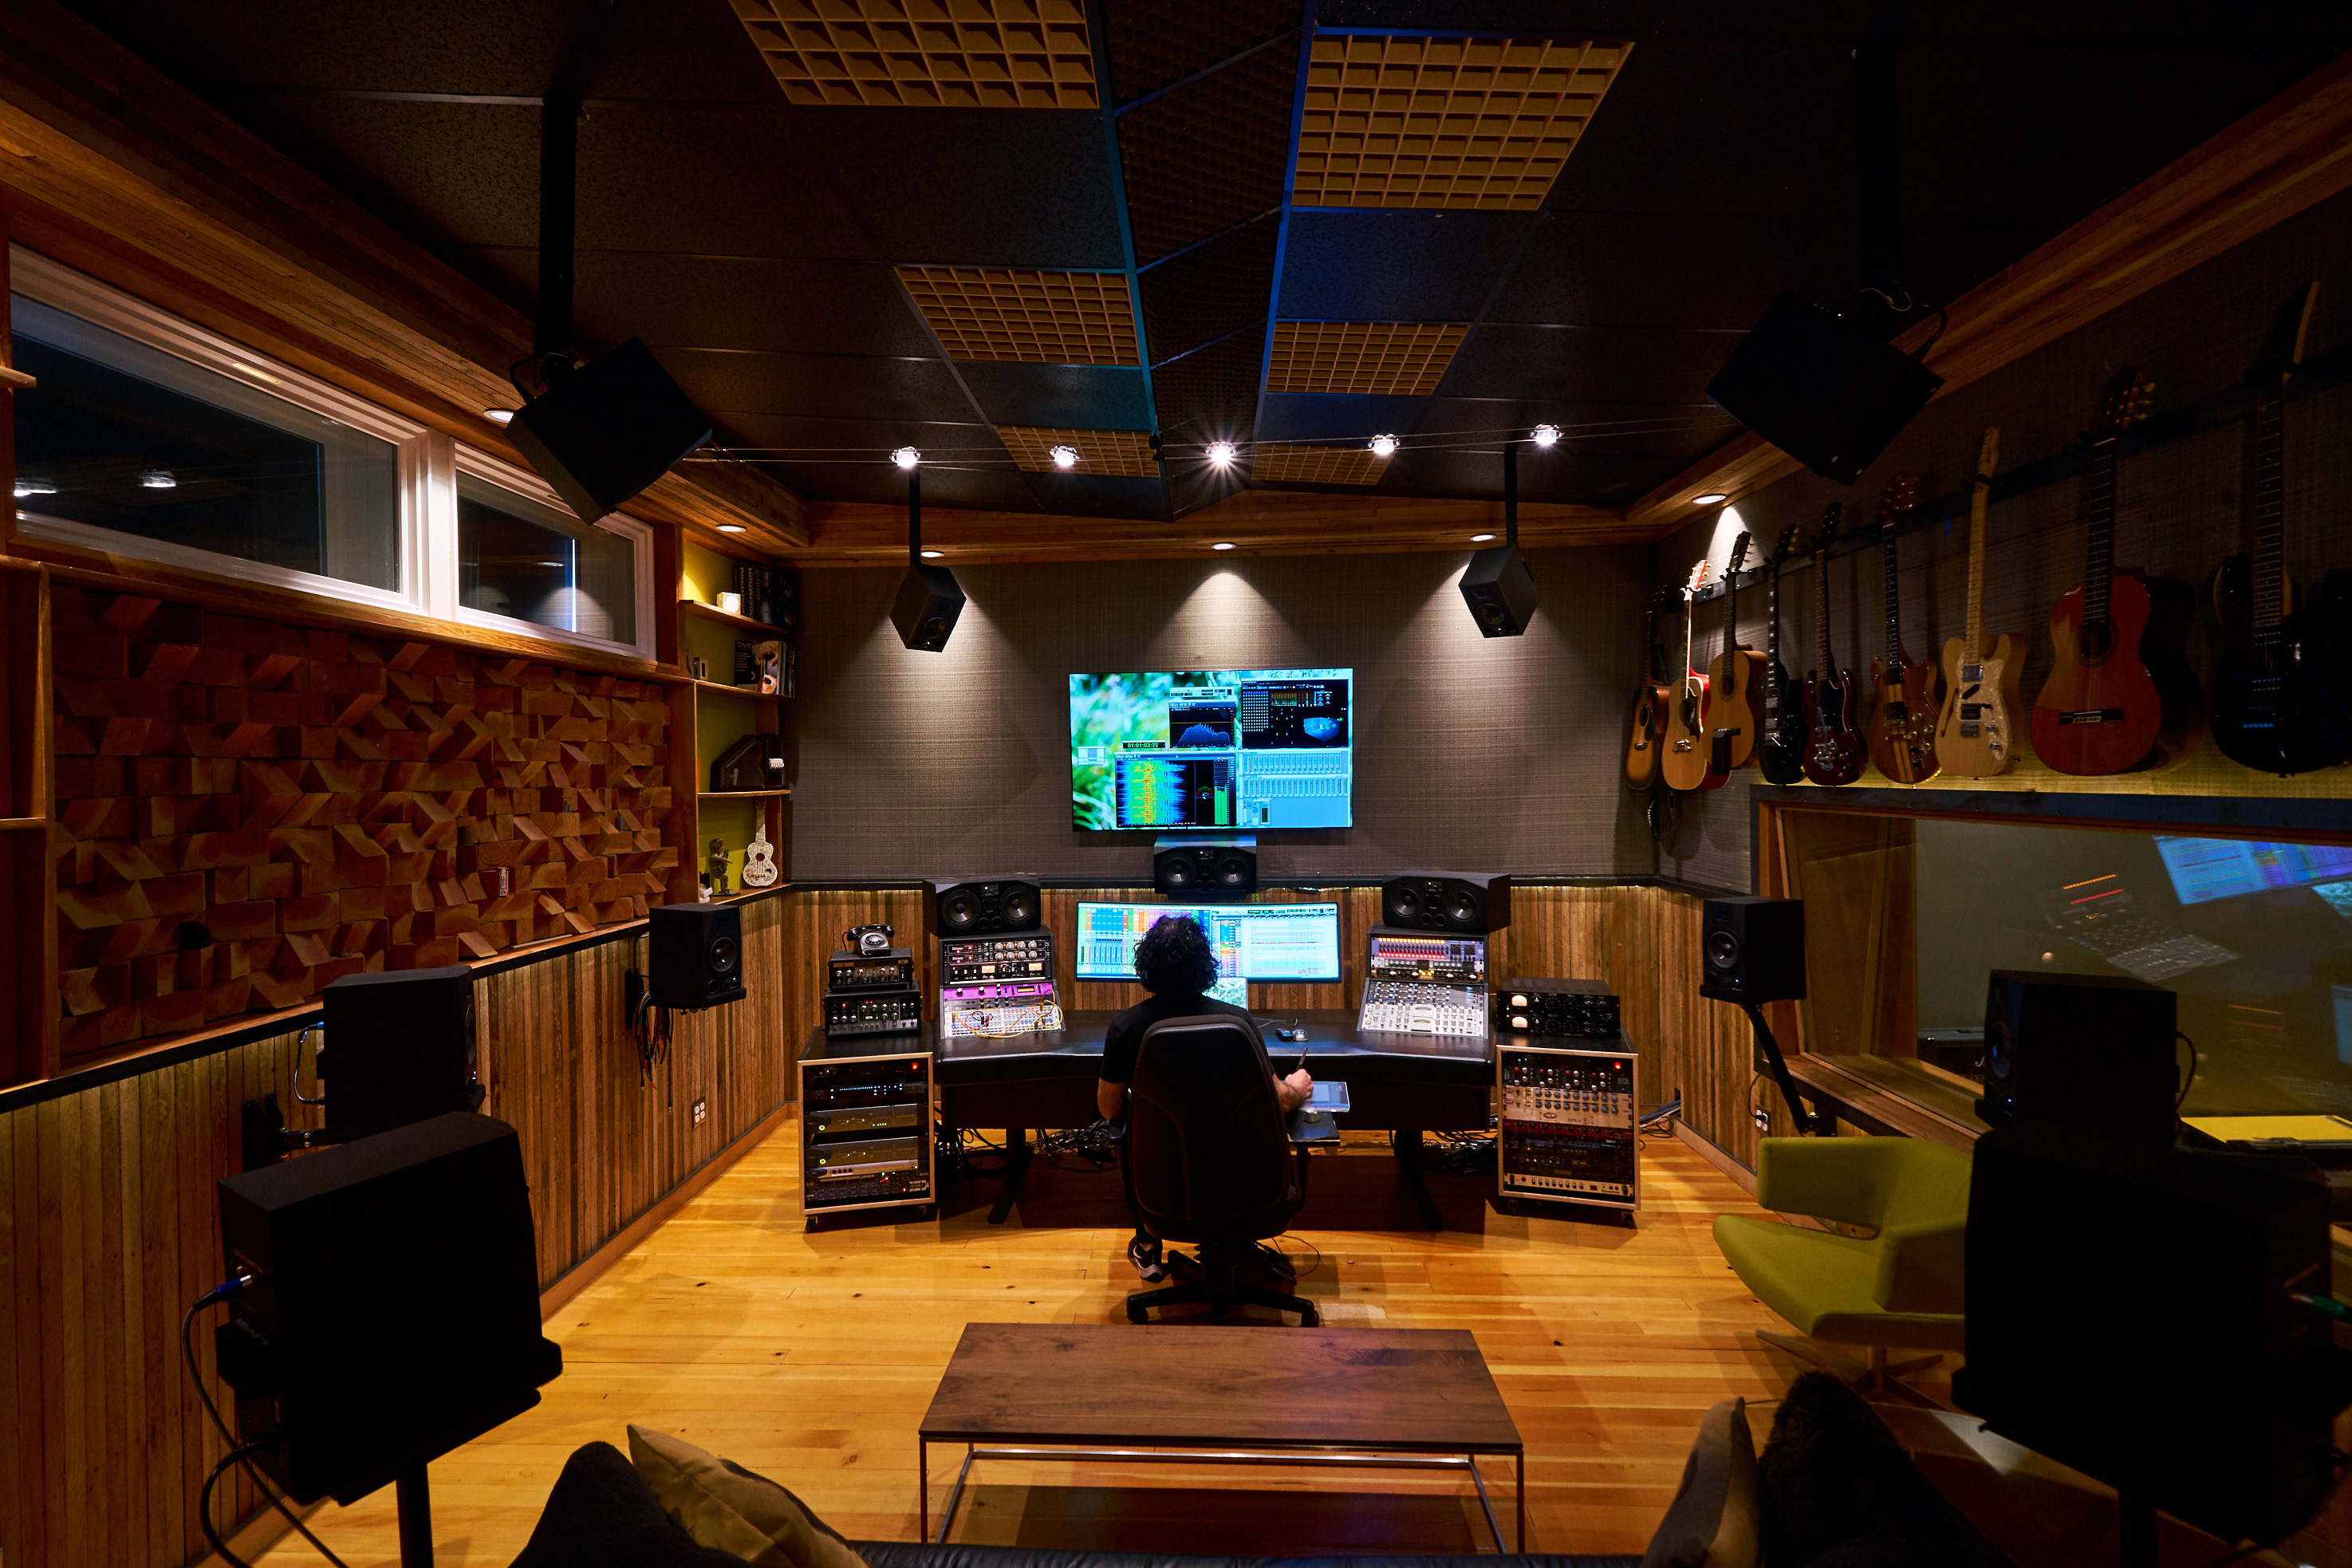
This is a blog on the building of my reletively new recording studio.

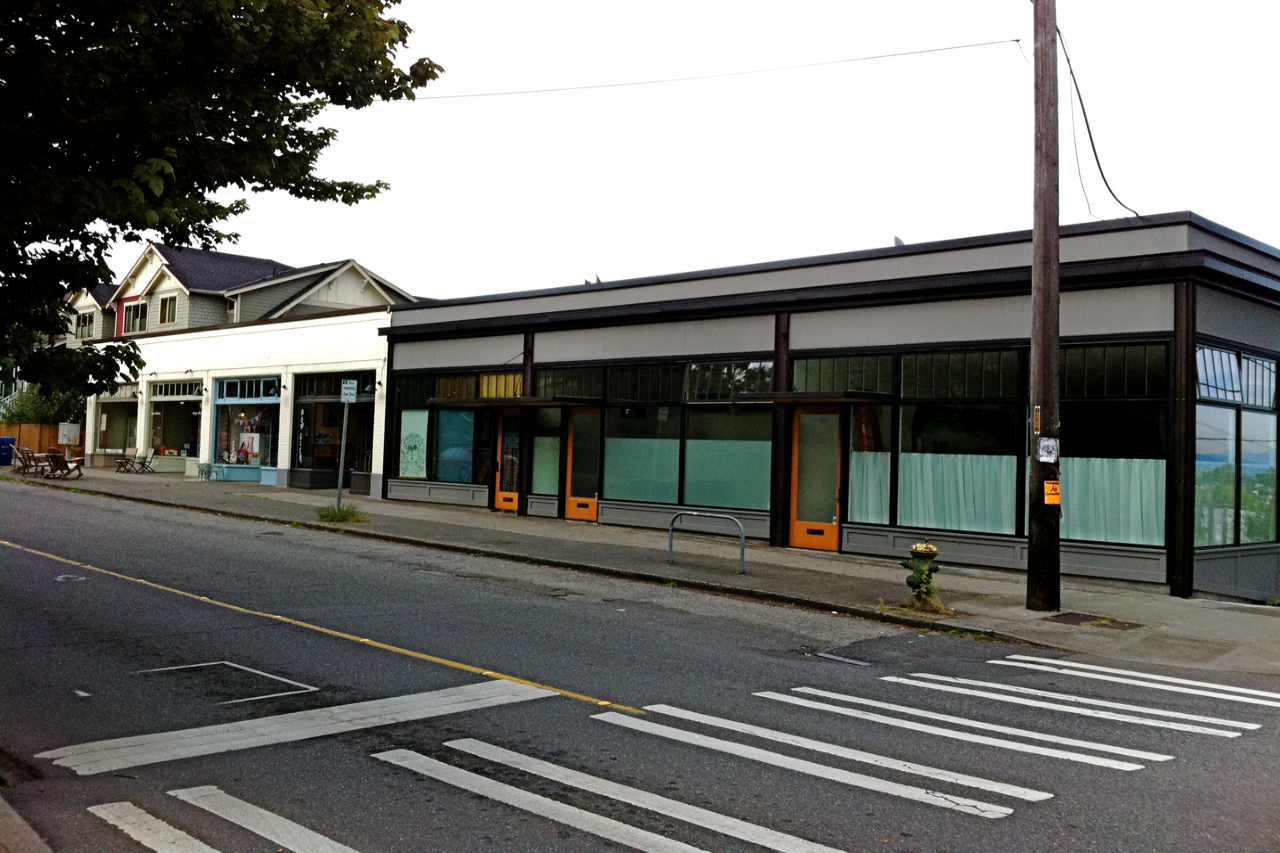
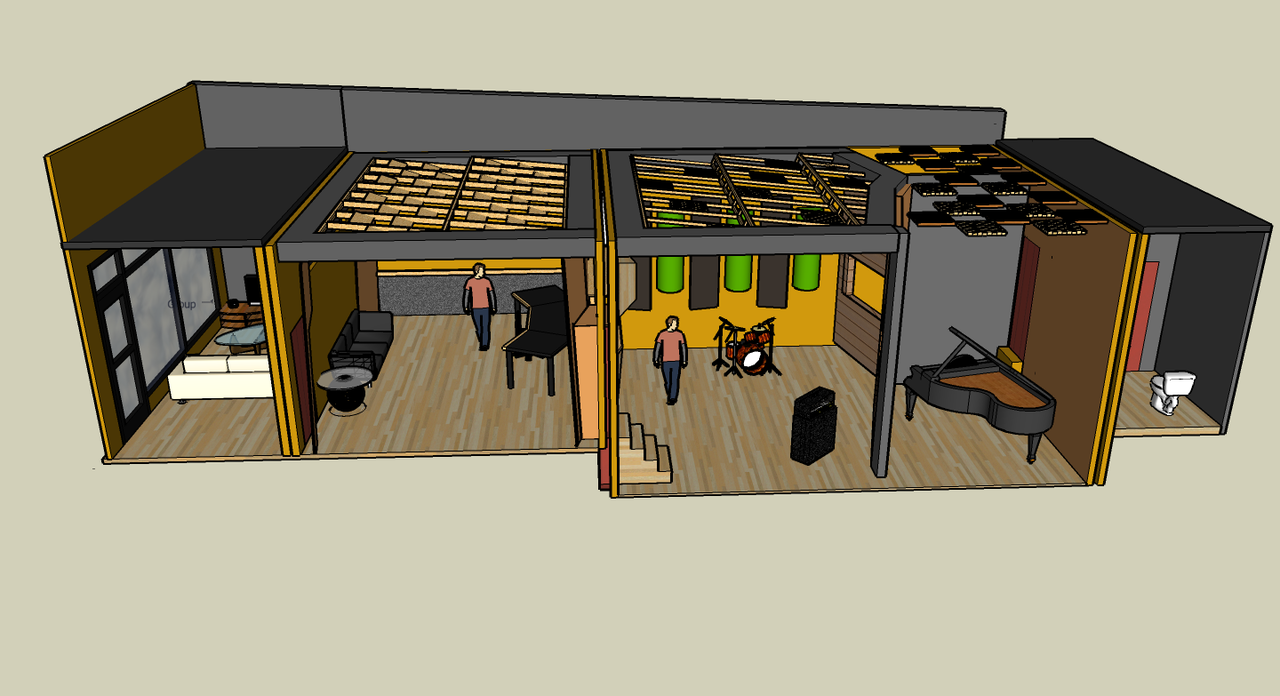
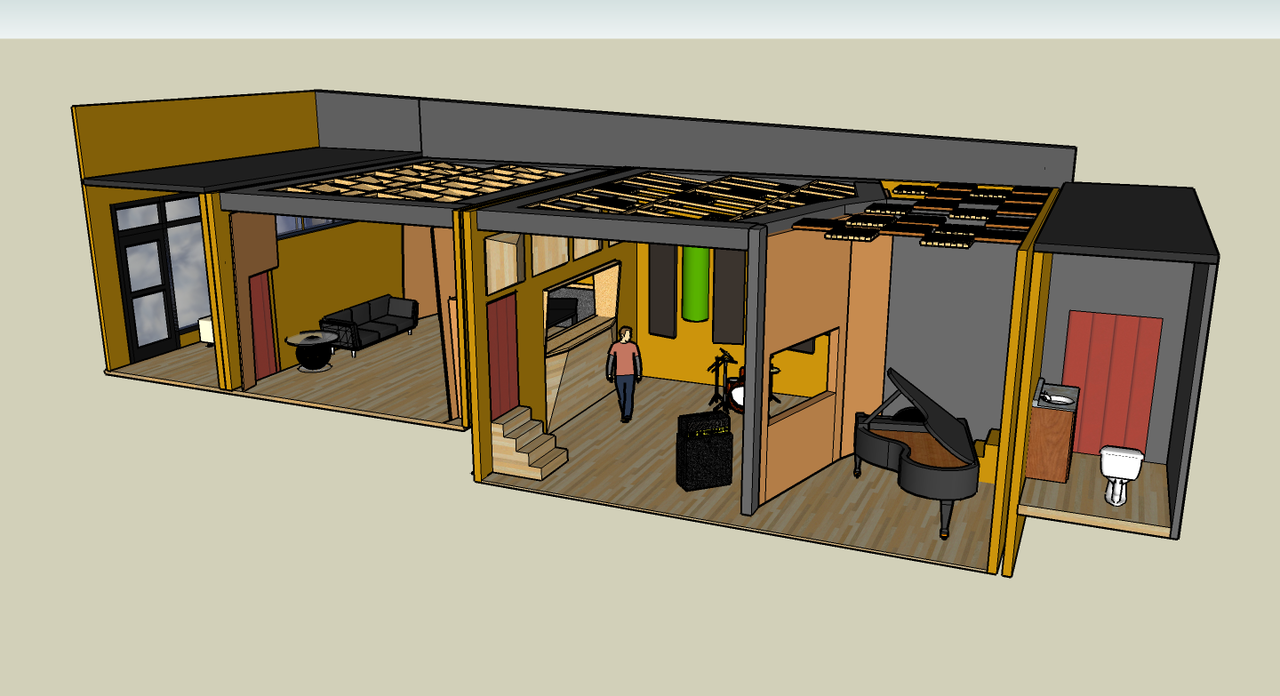
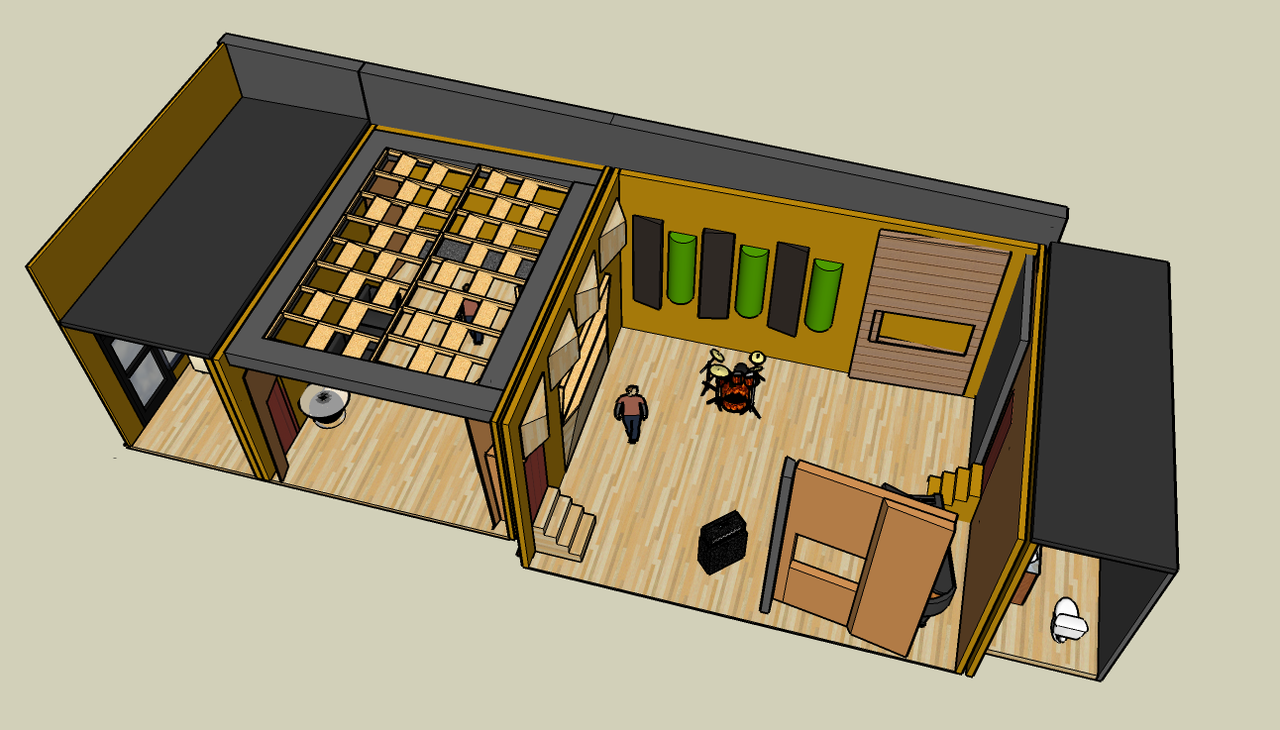
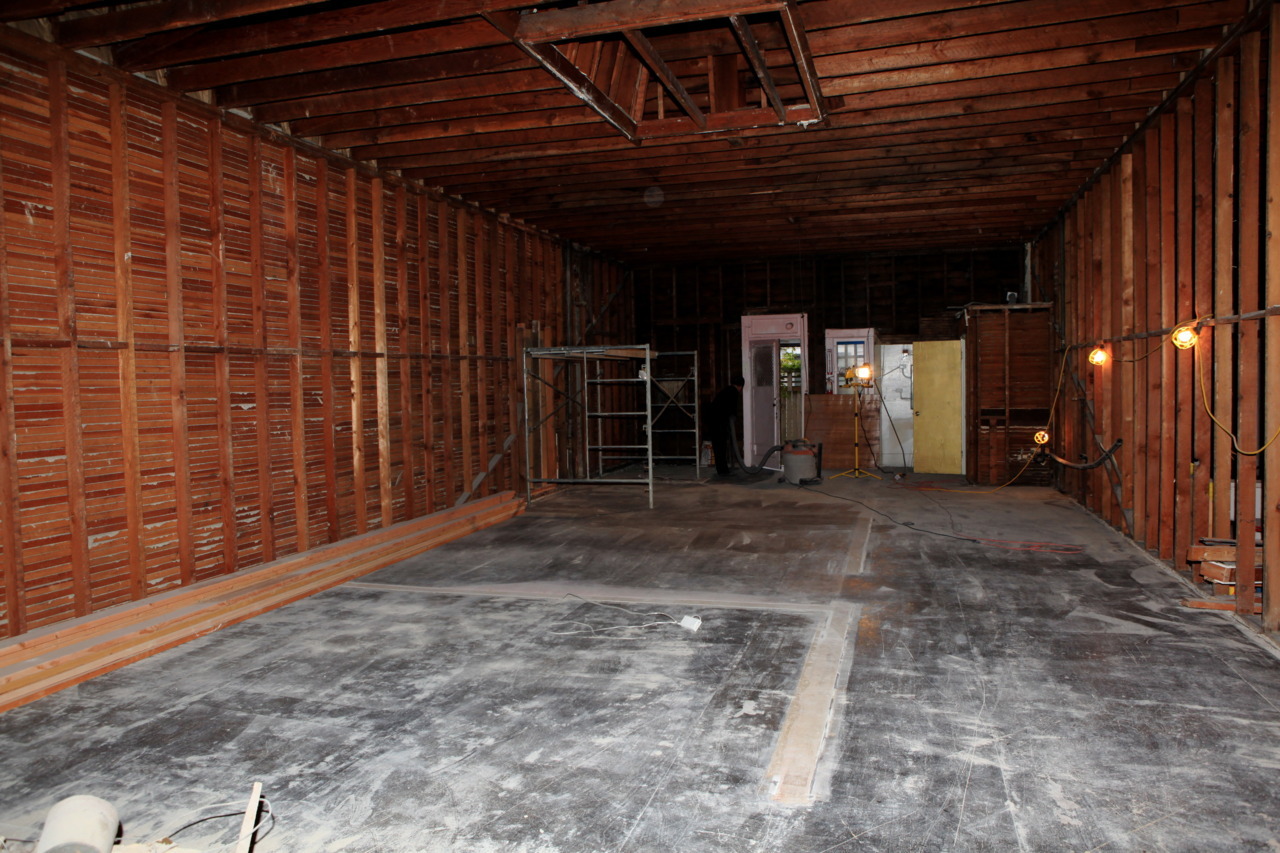
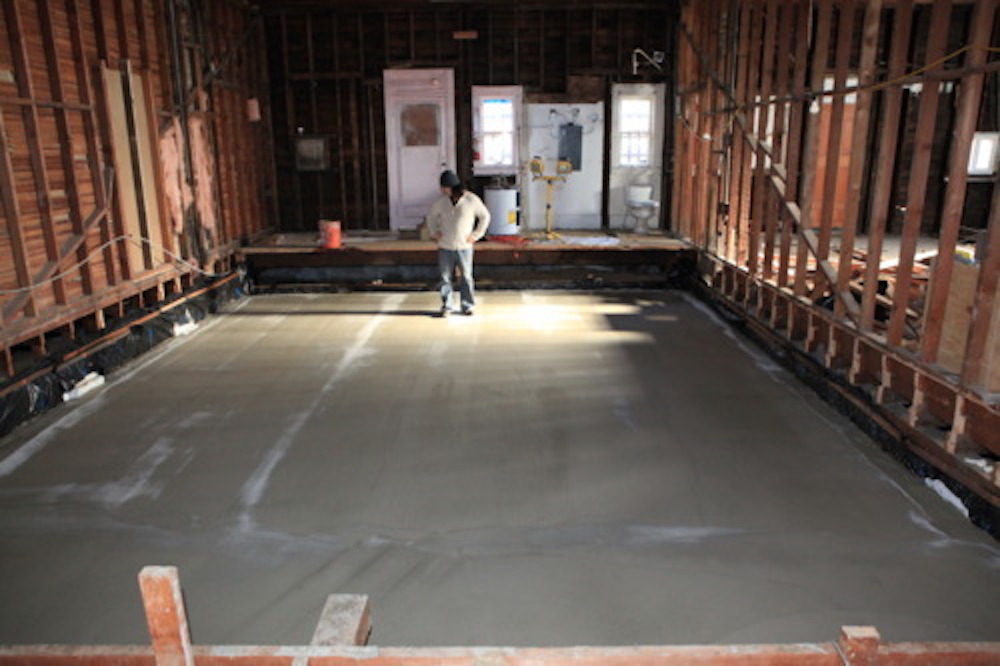
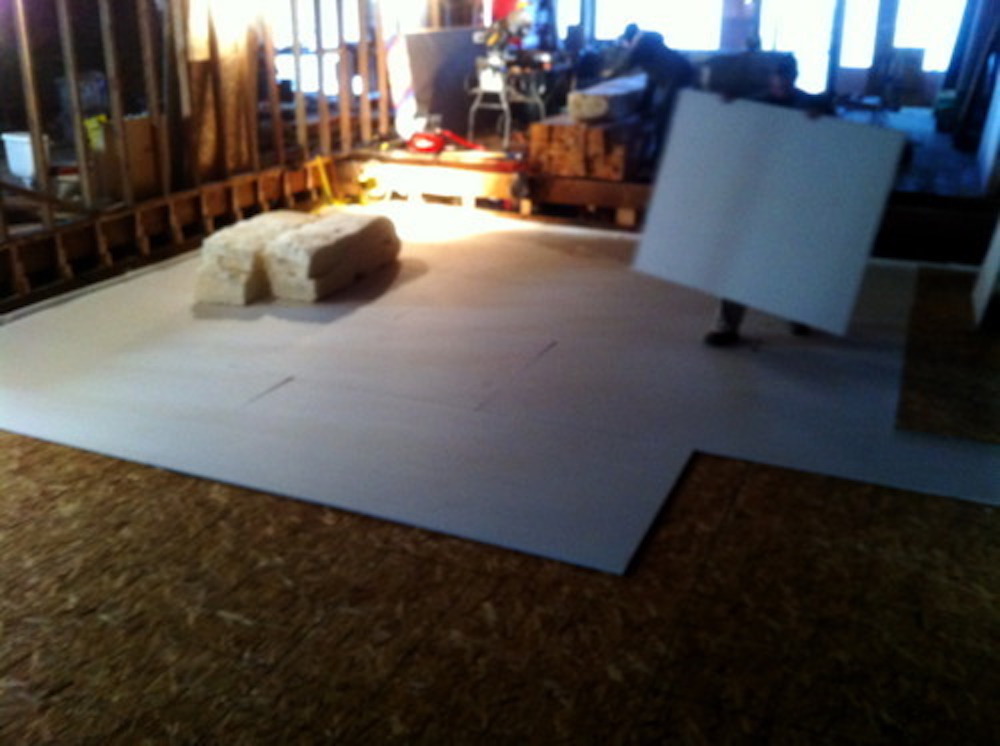
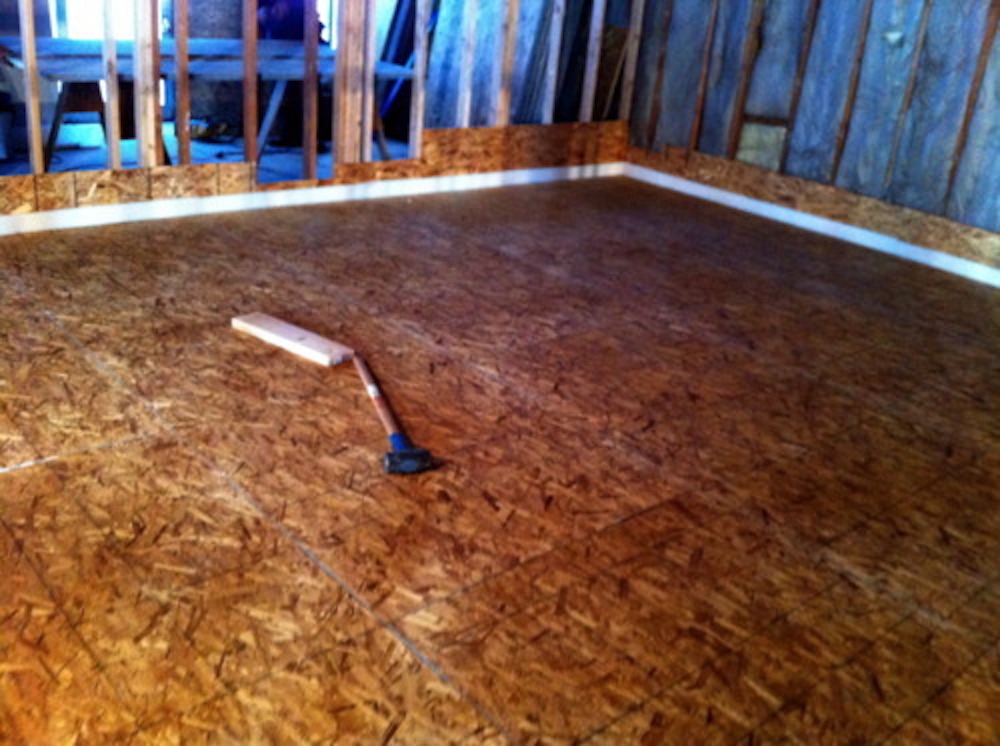
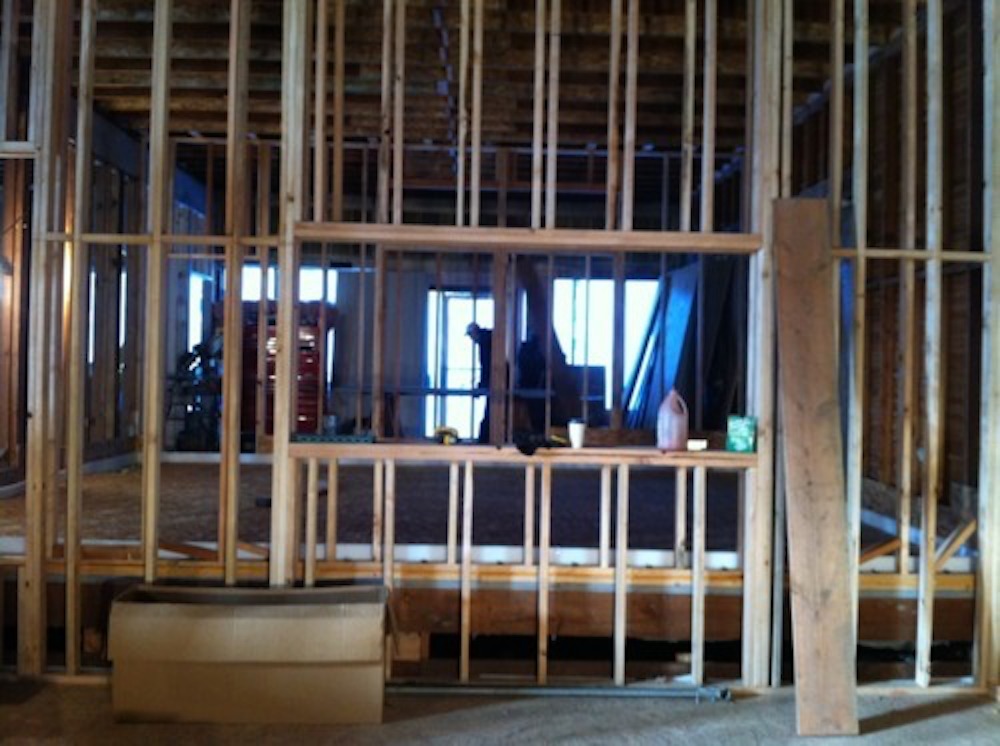
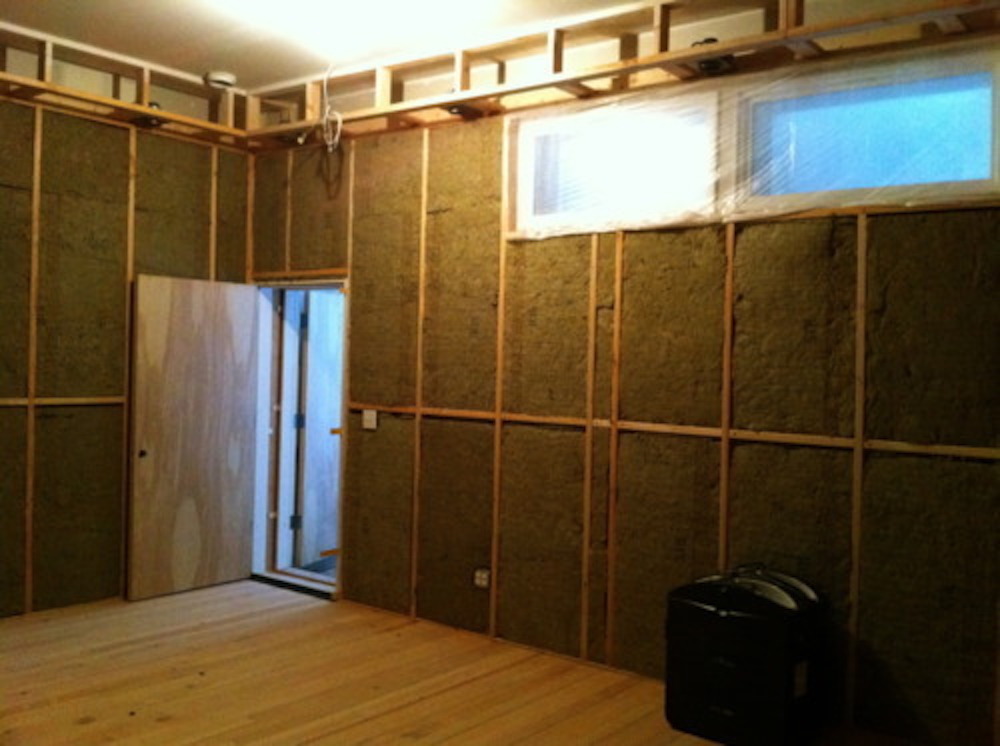
Hopefully it will be of interest to some of you. It is a modest 1400 sq’

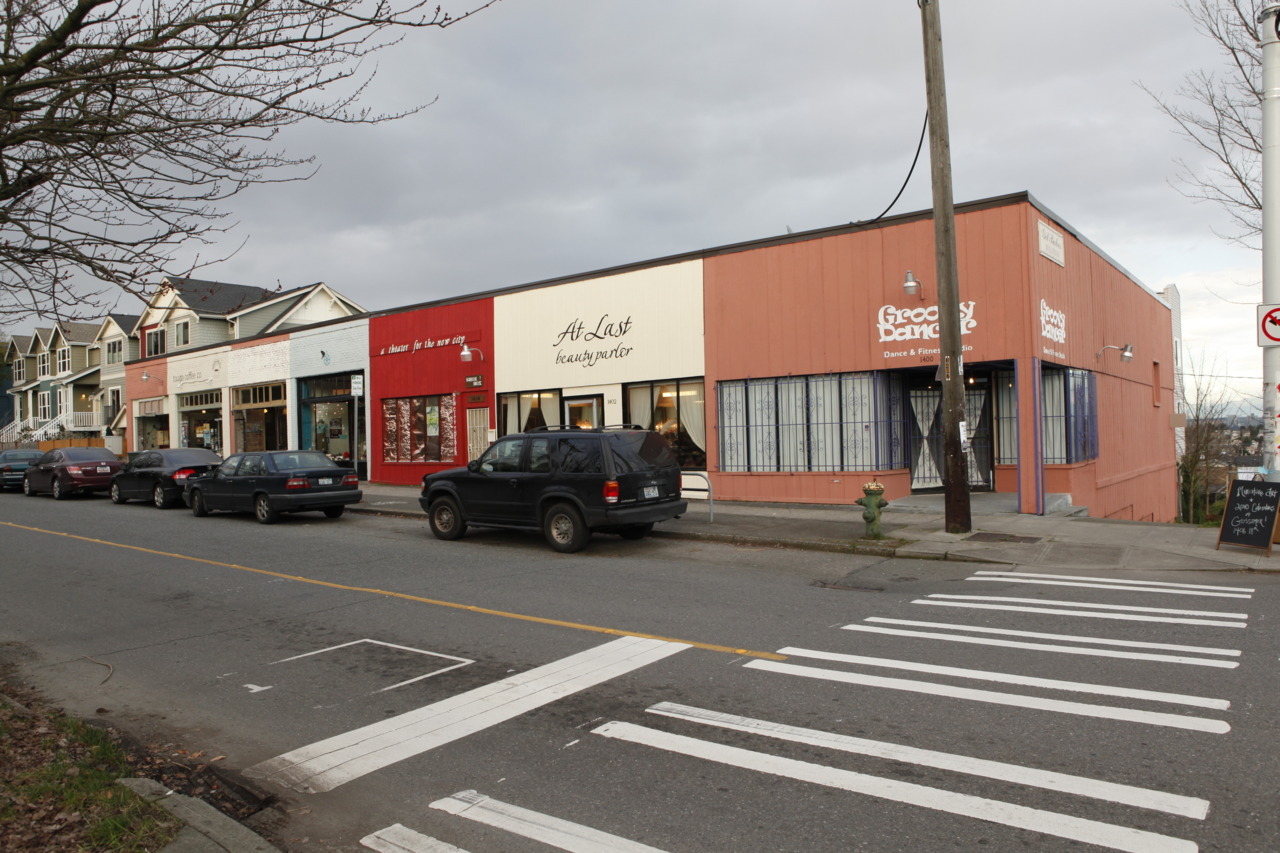
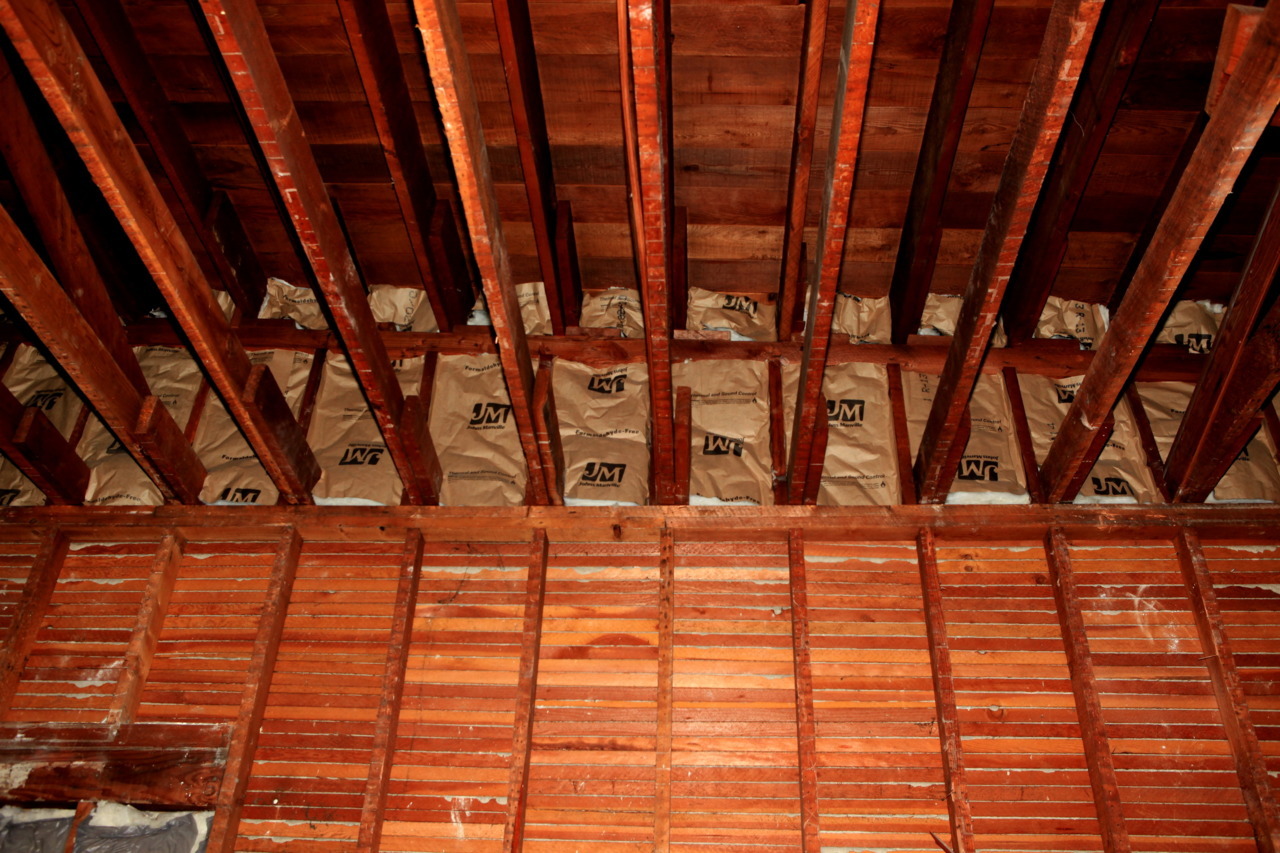
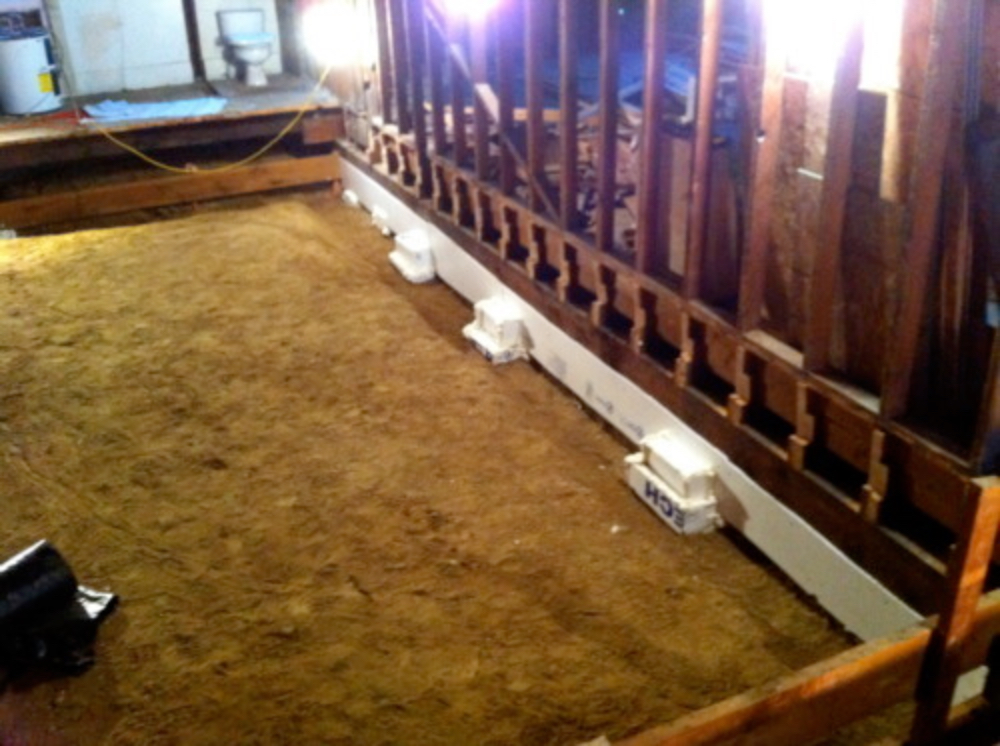
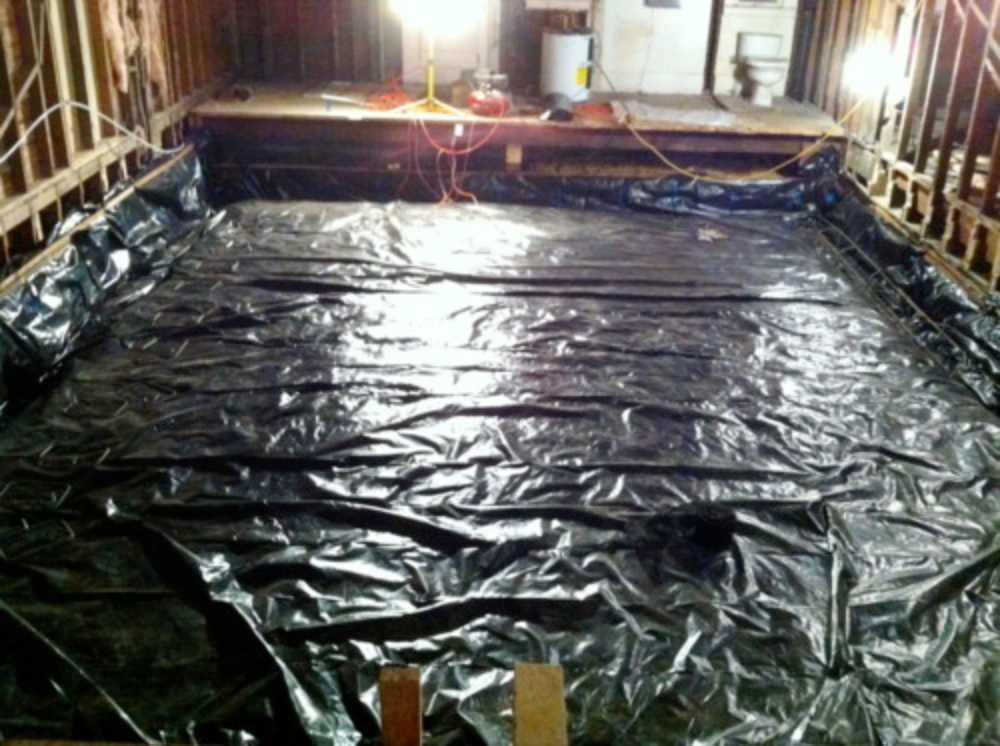
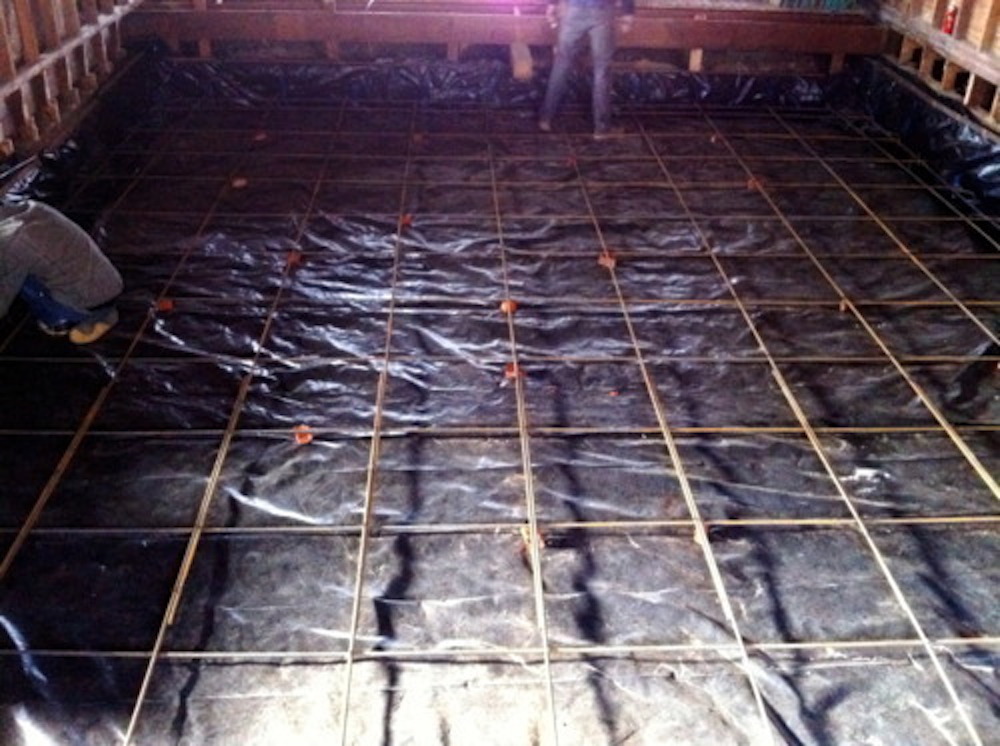
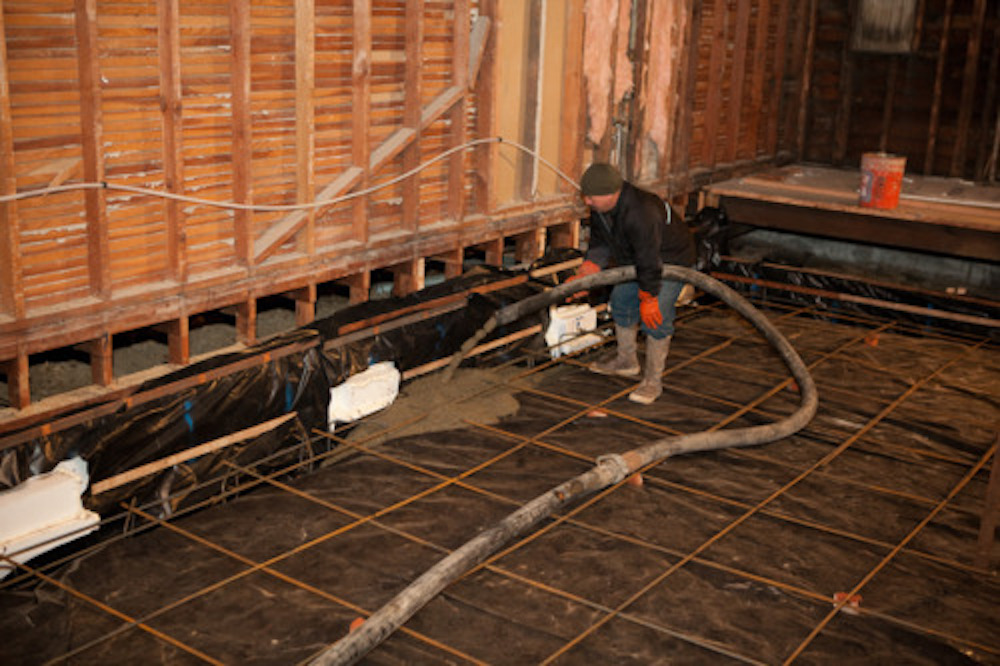
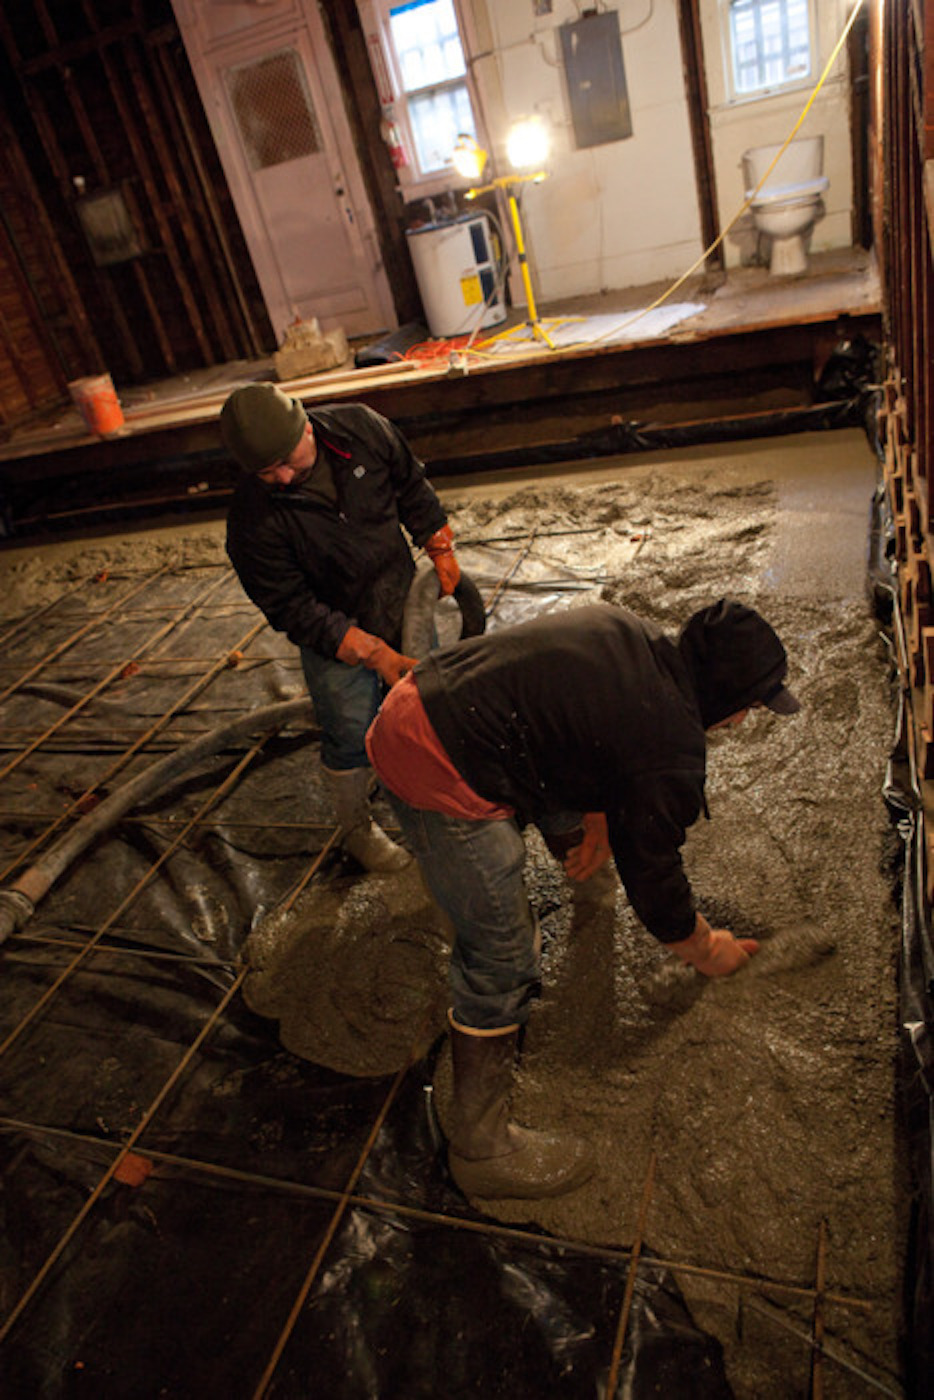
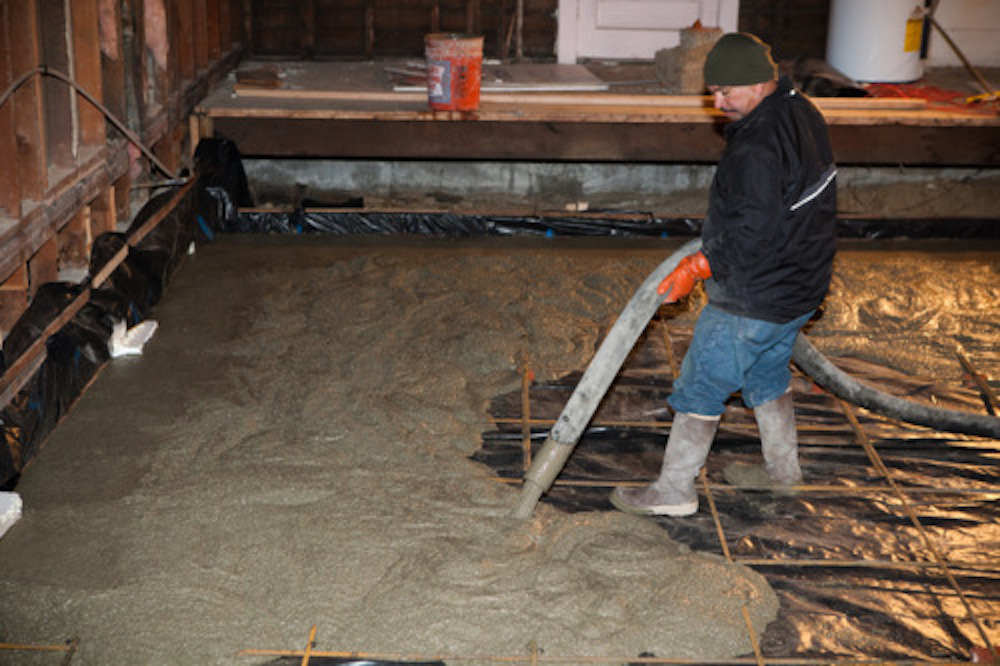
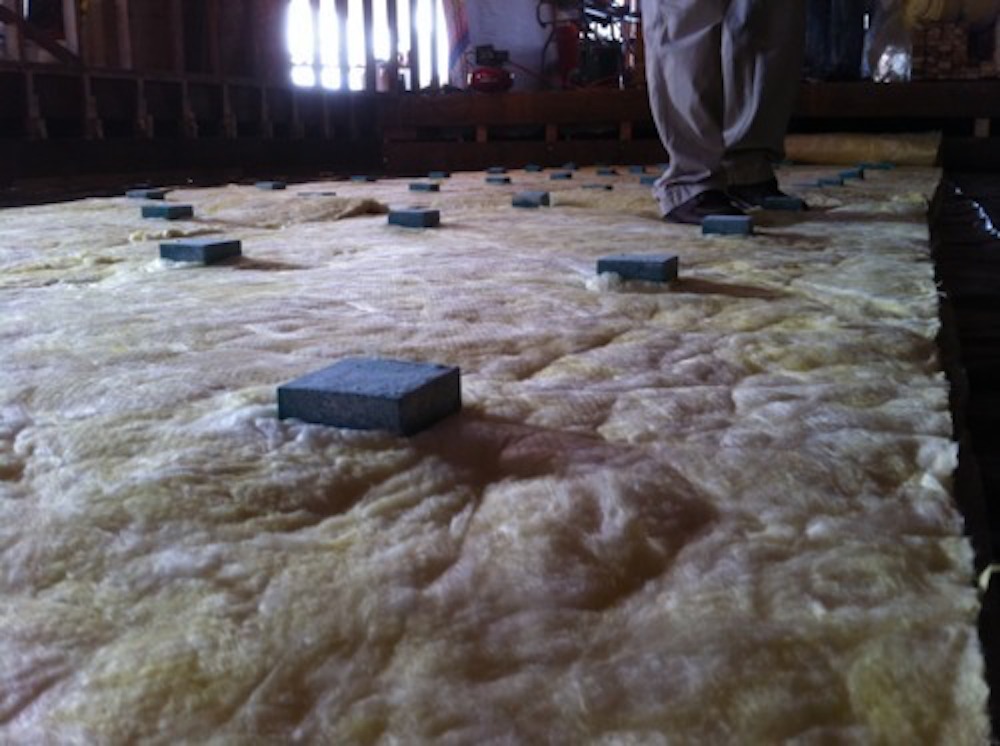
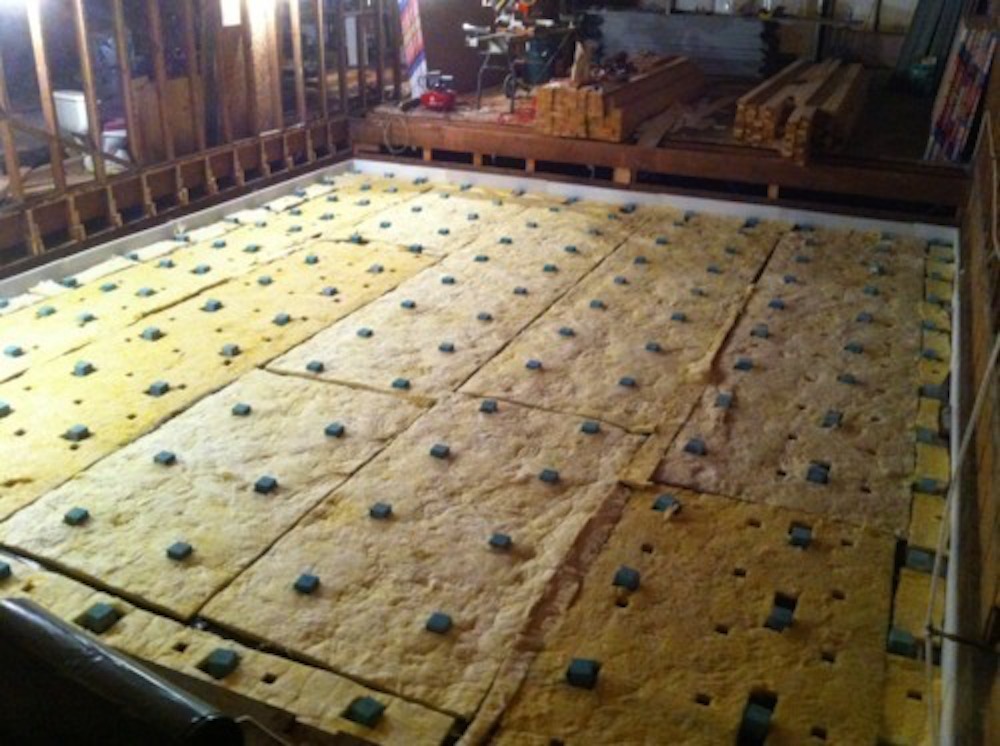
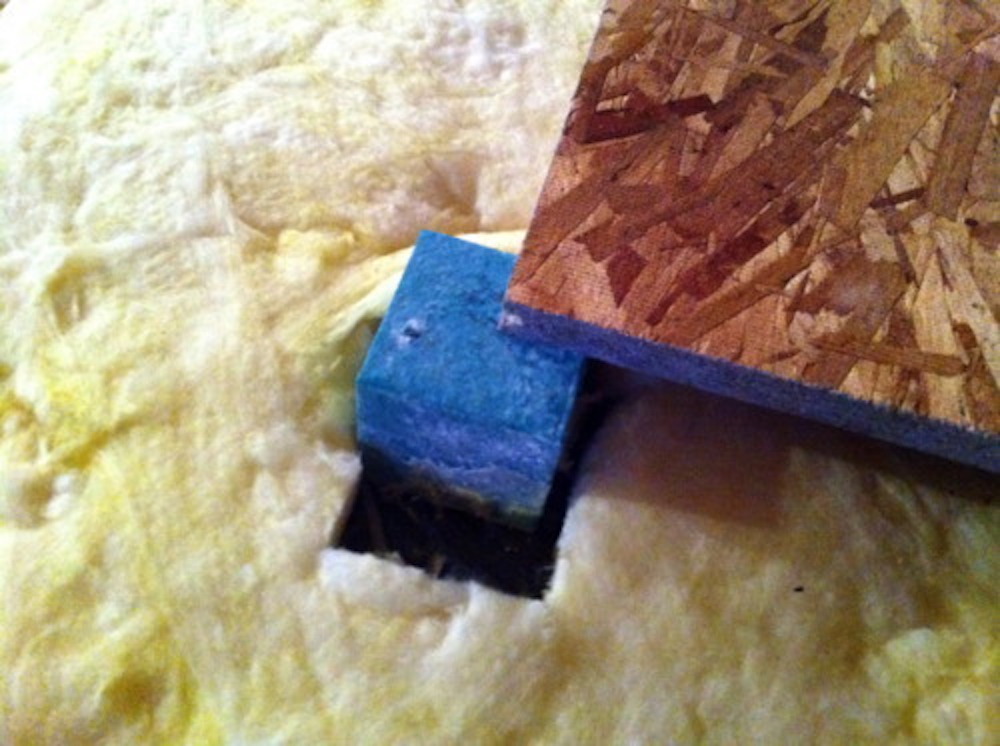
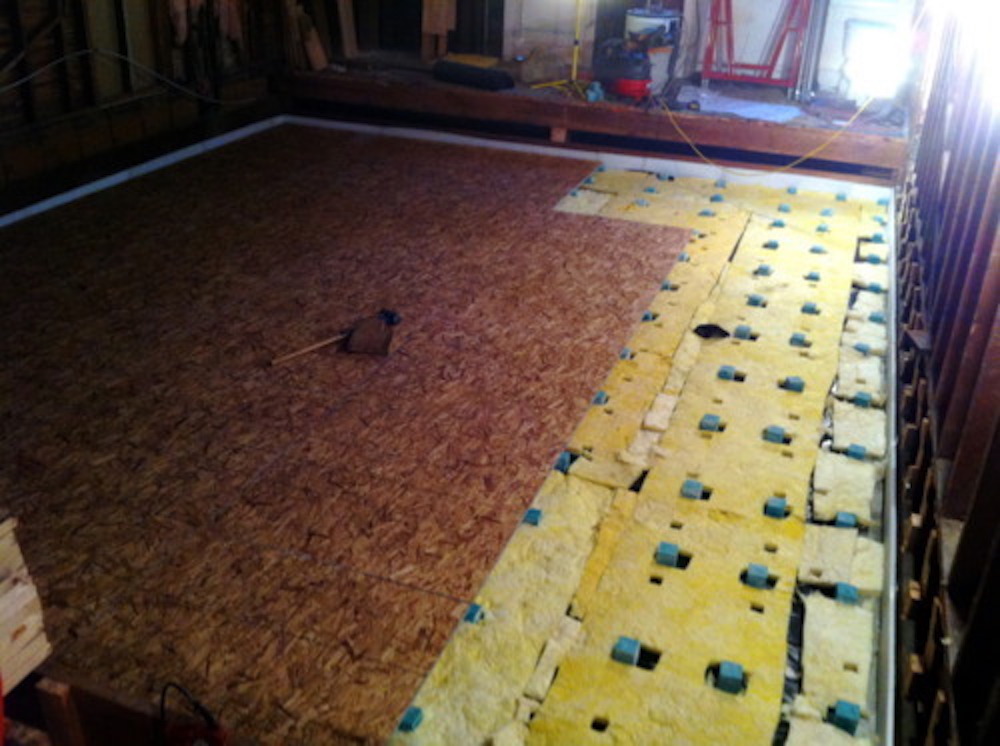
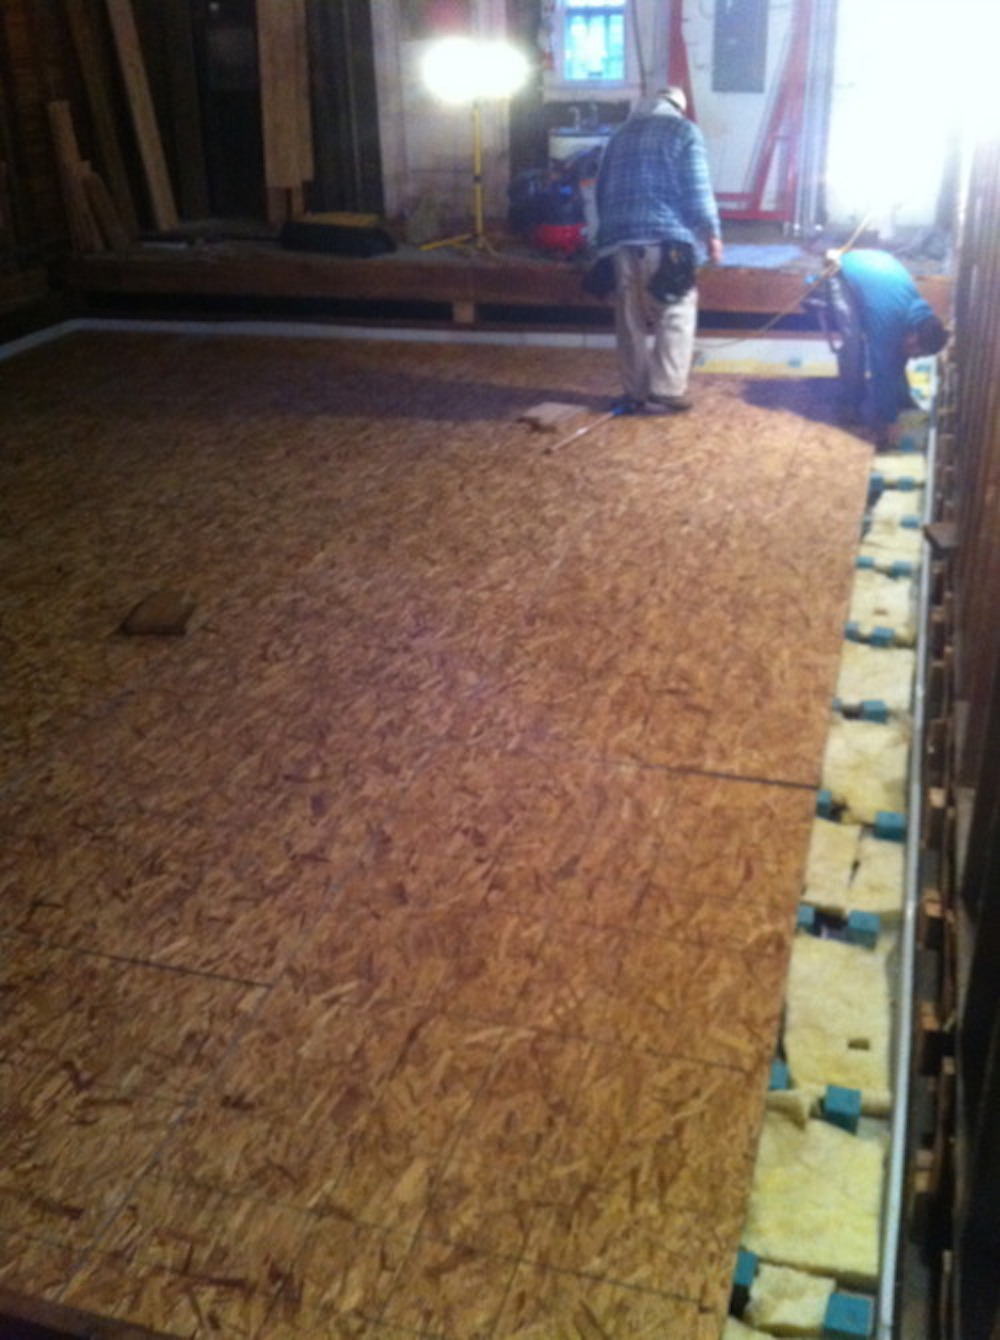
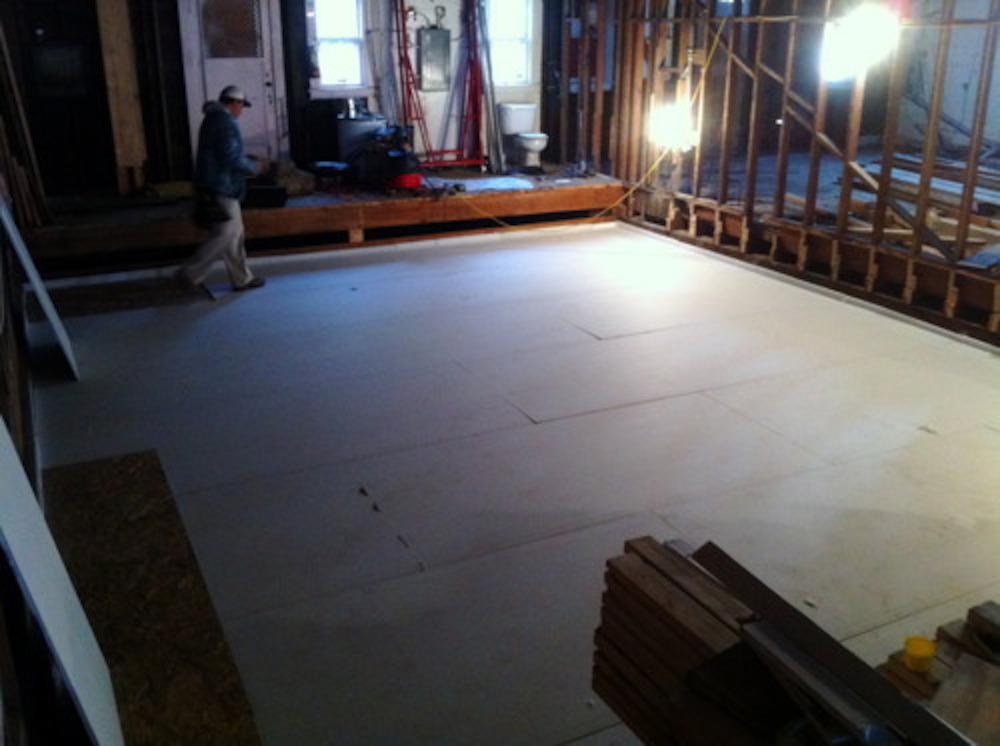
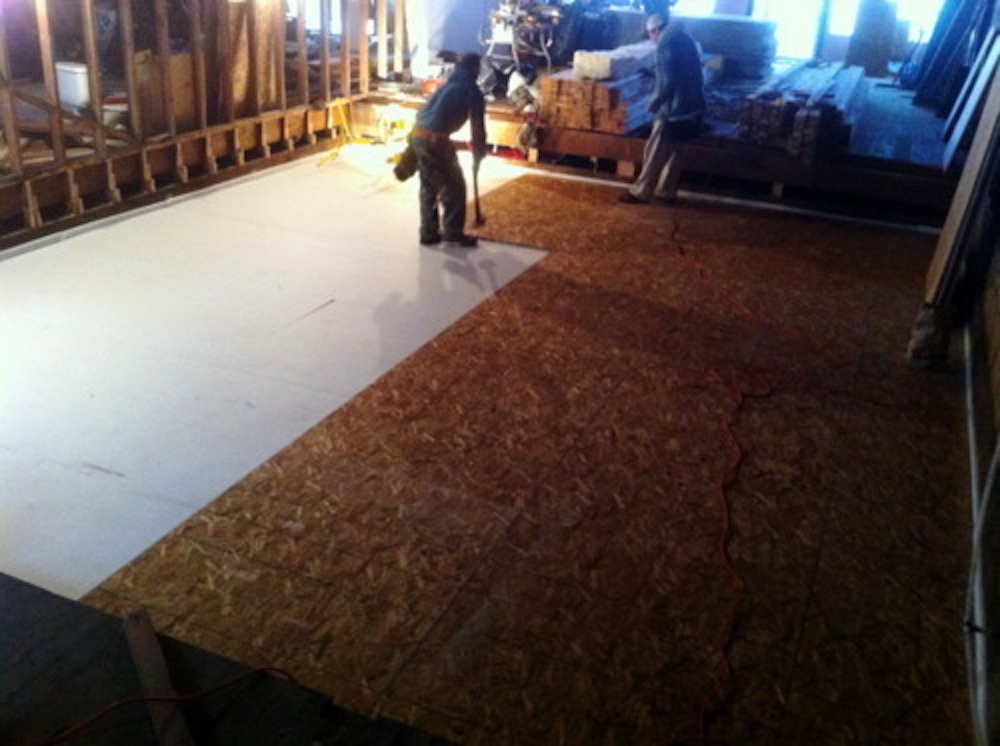
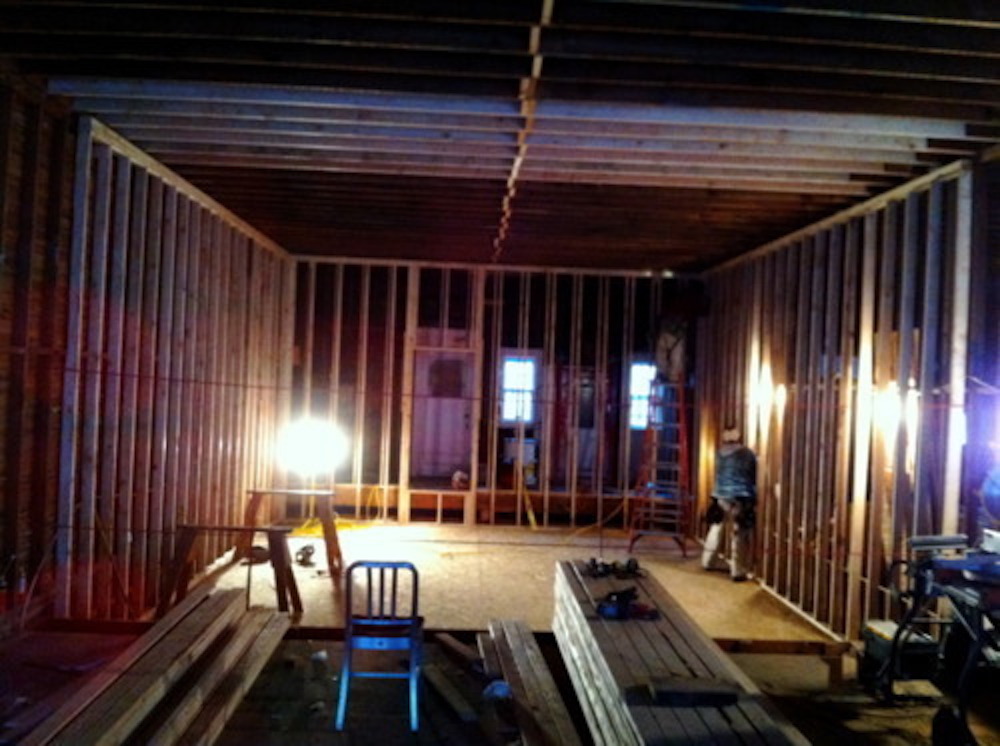
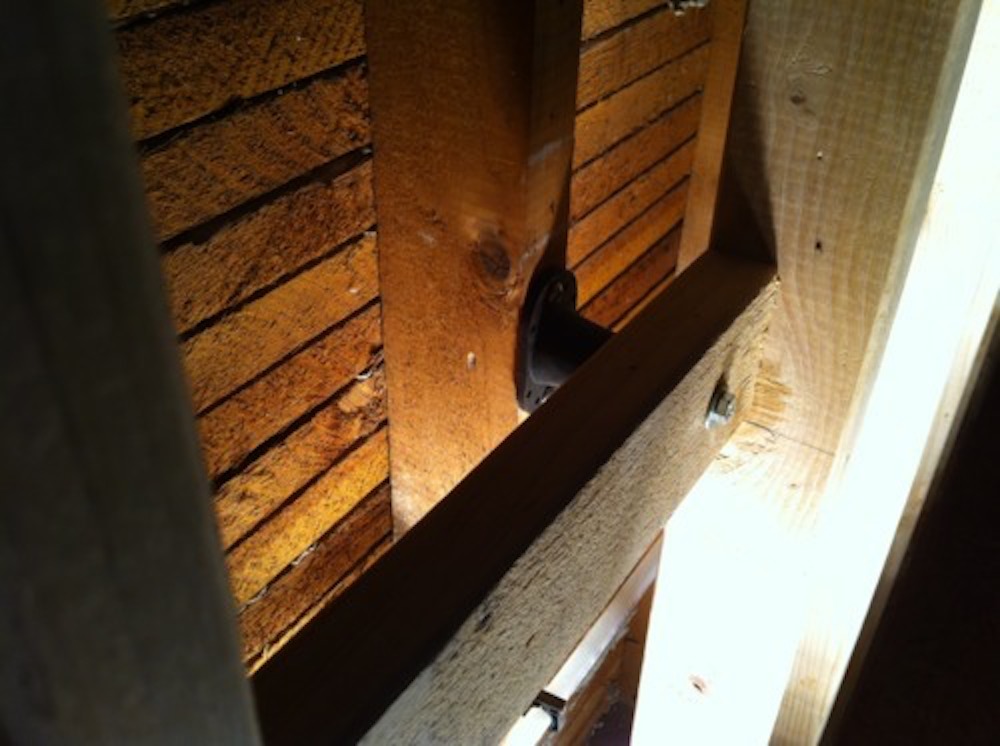
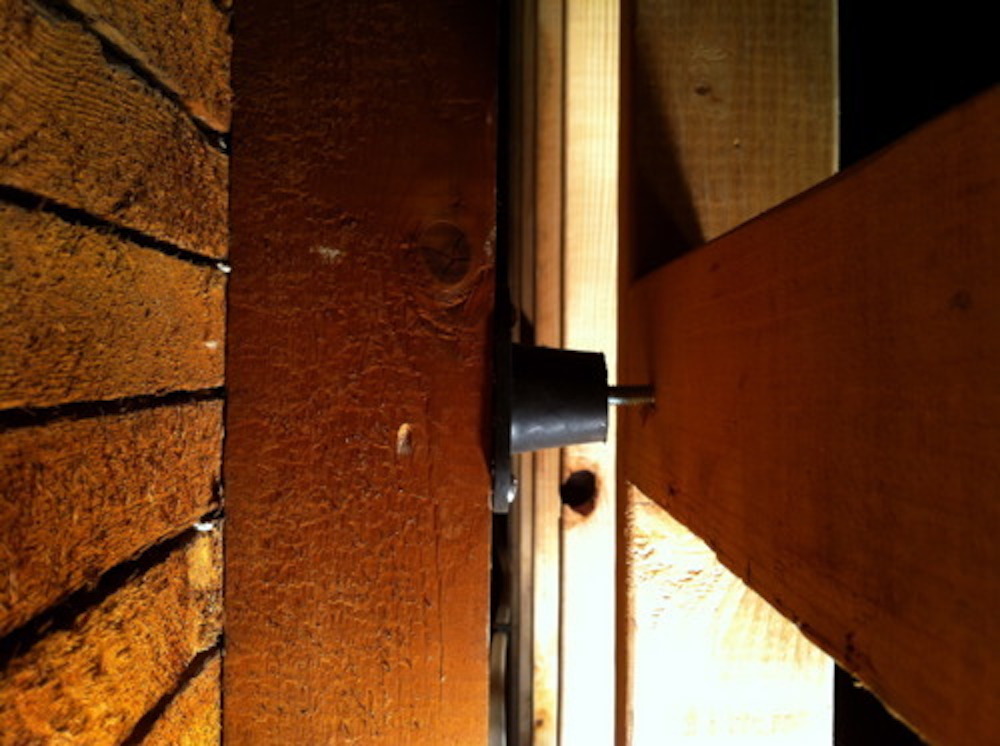
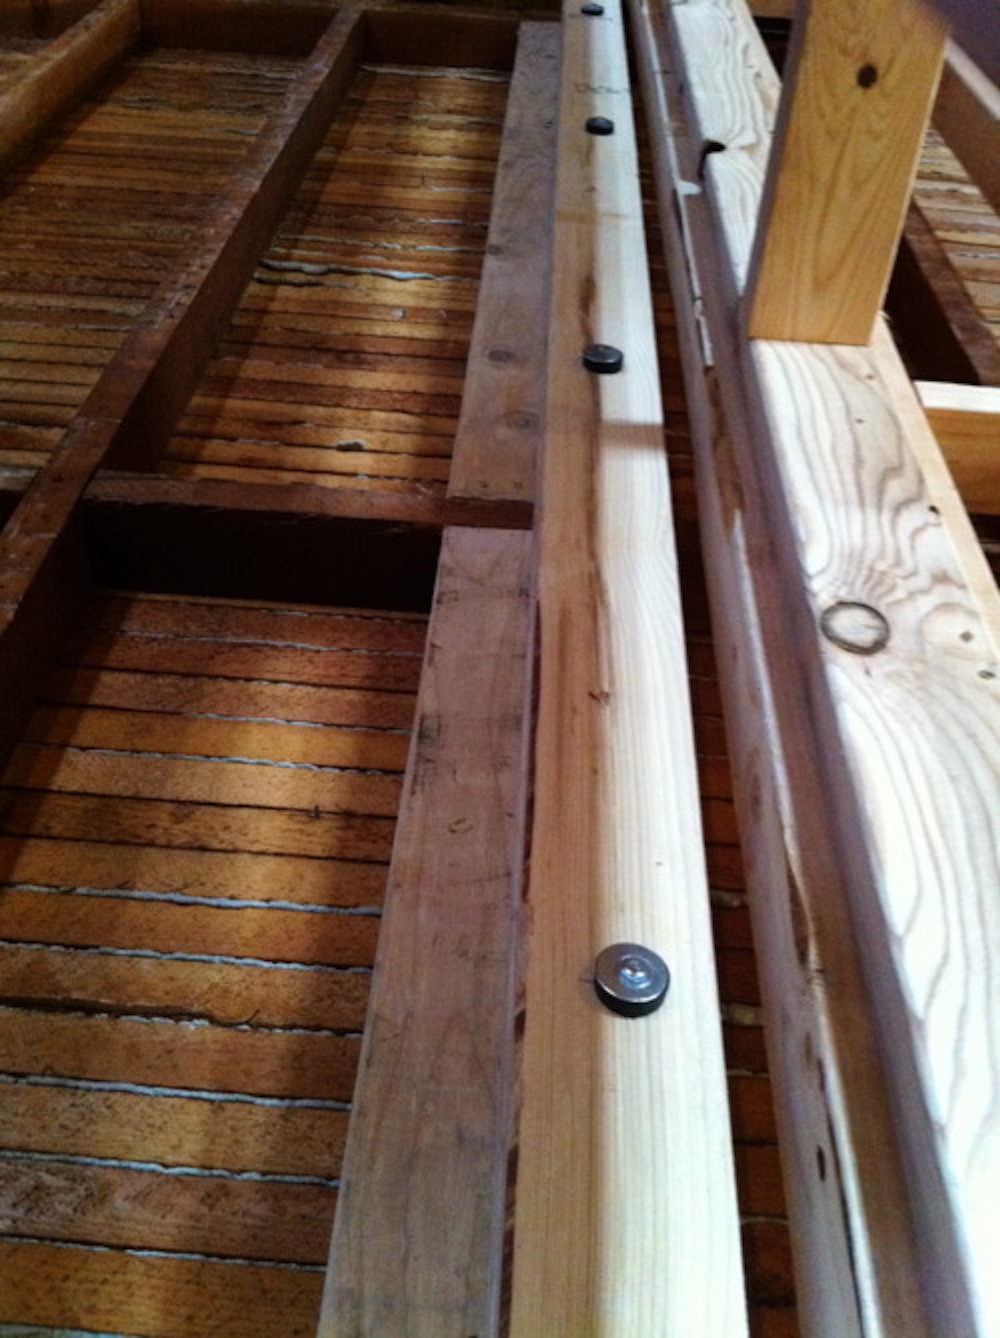
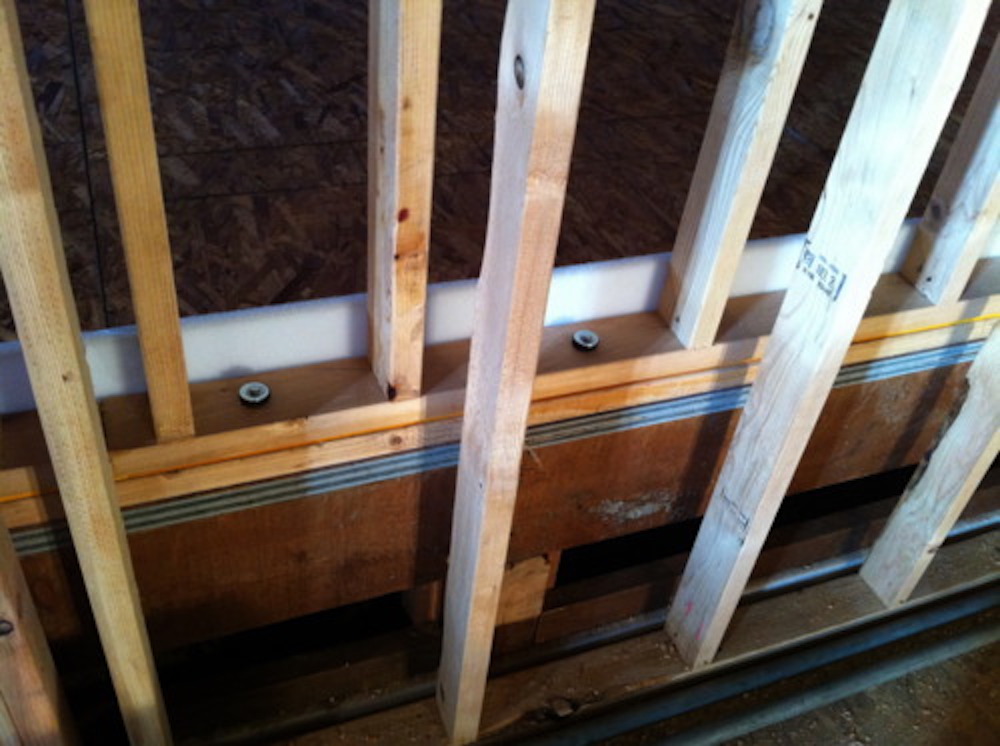
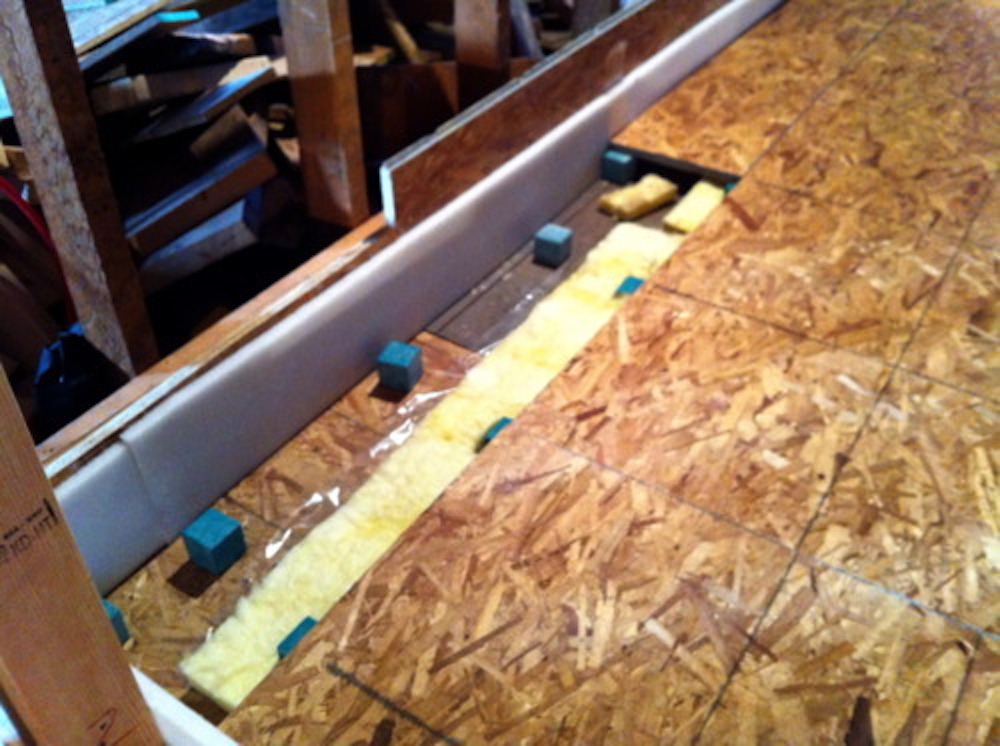
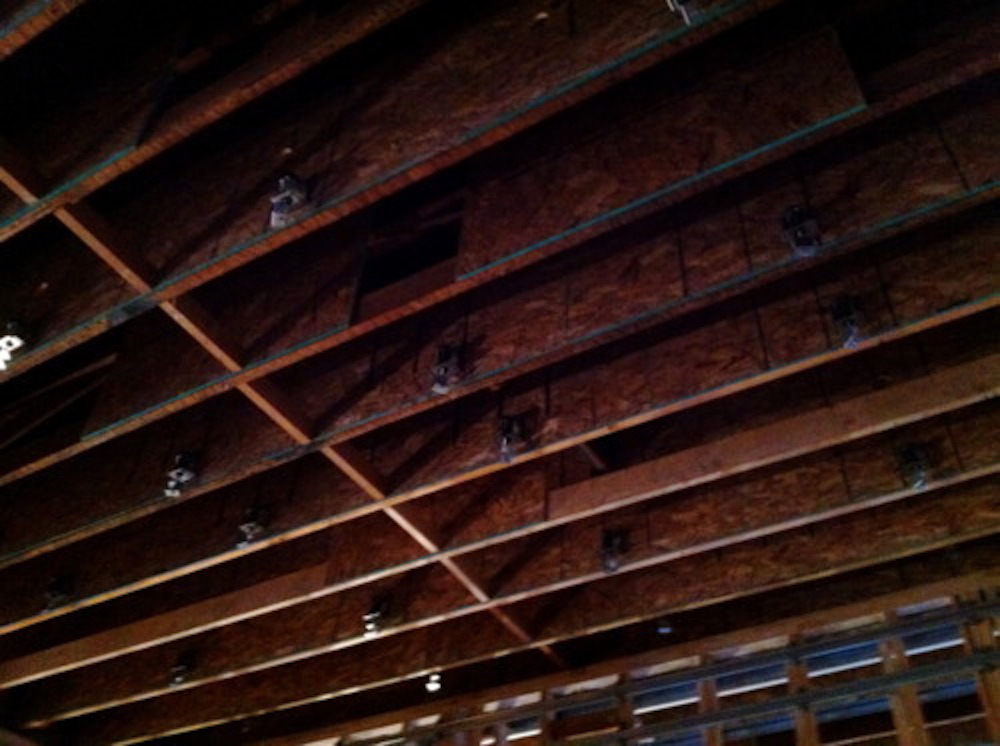
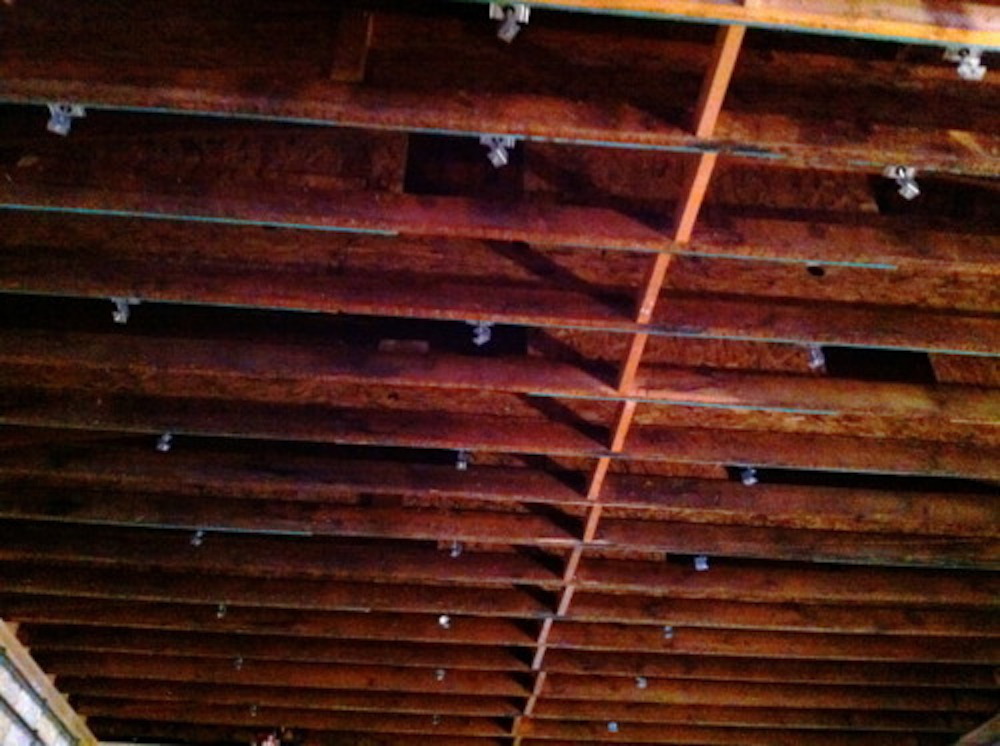
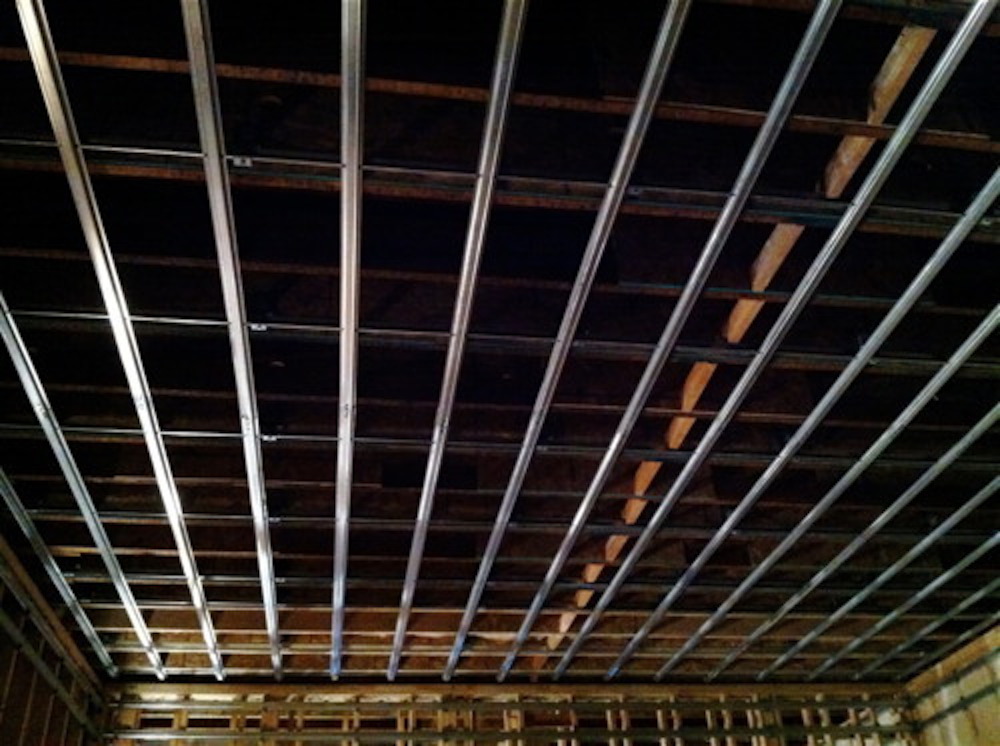
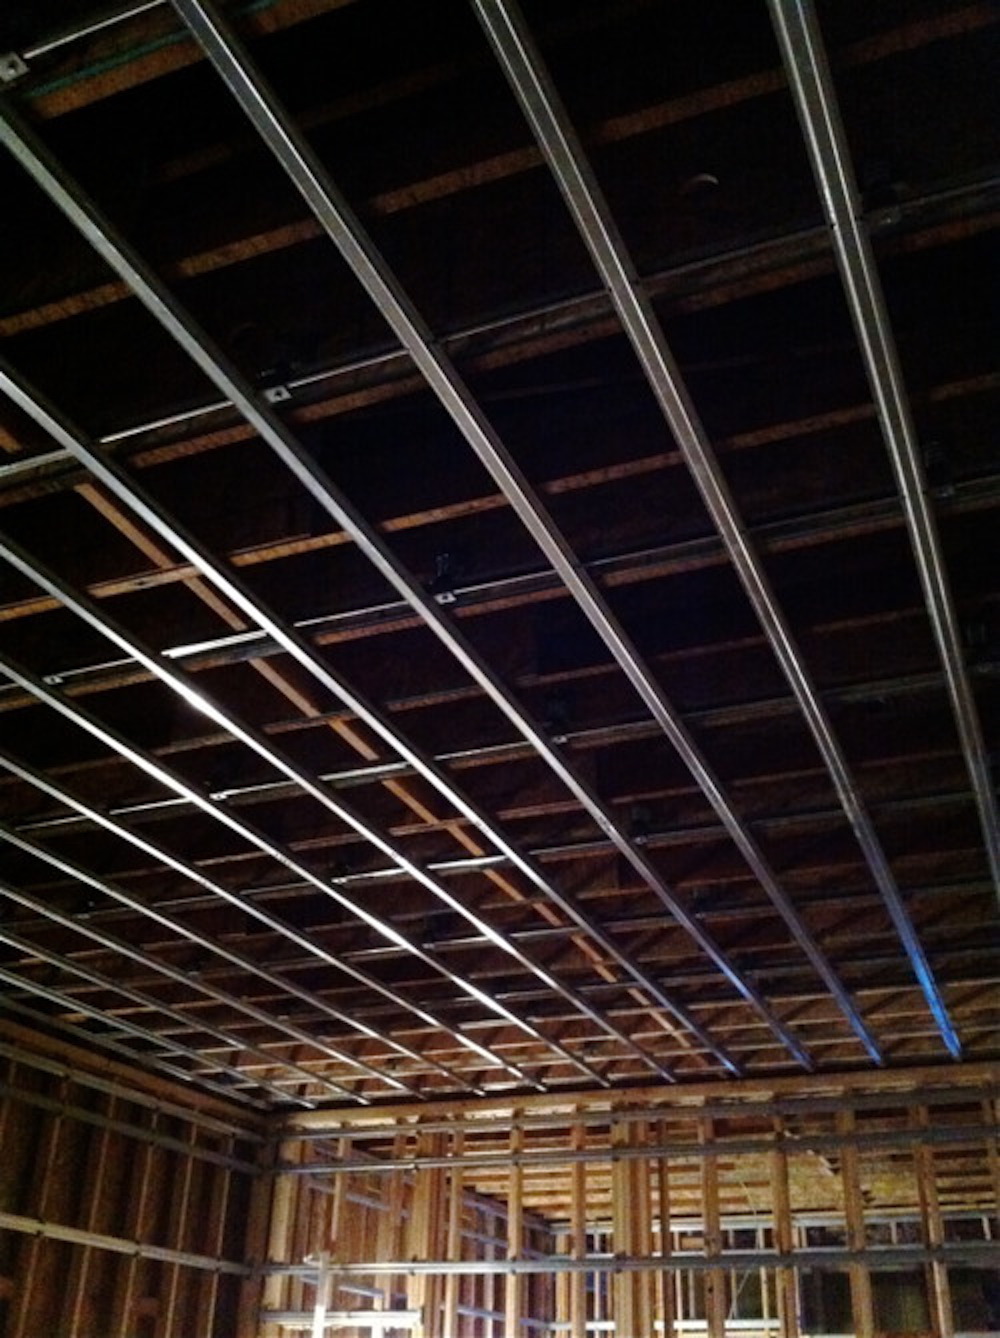
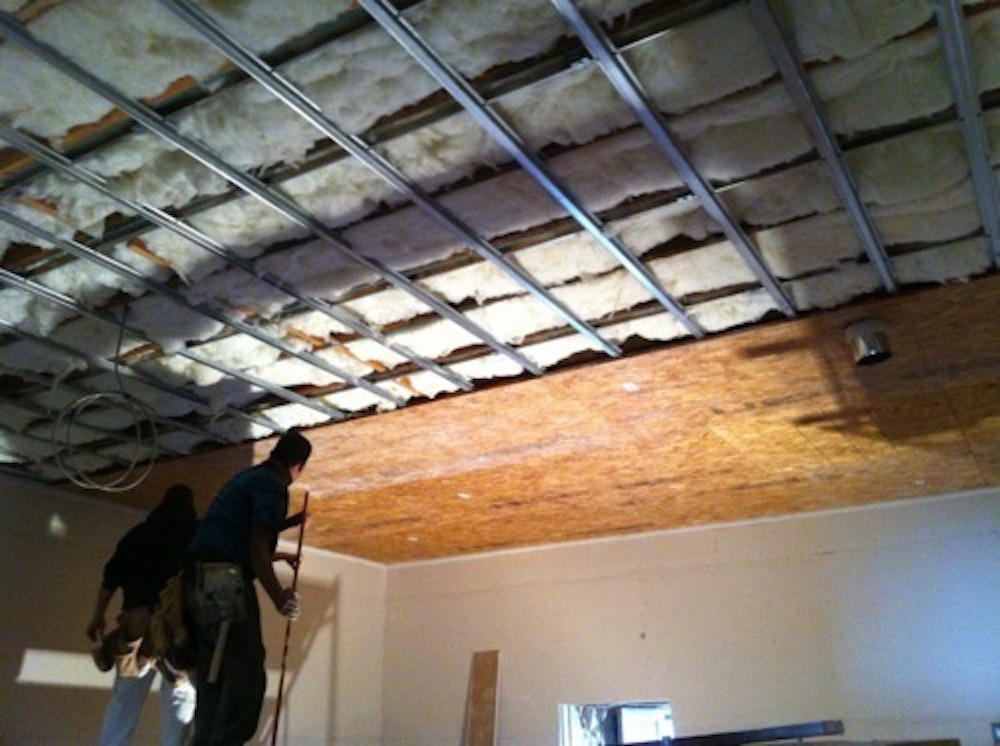
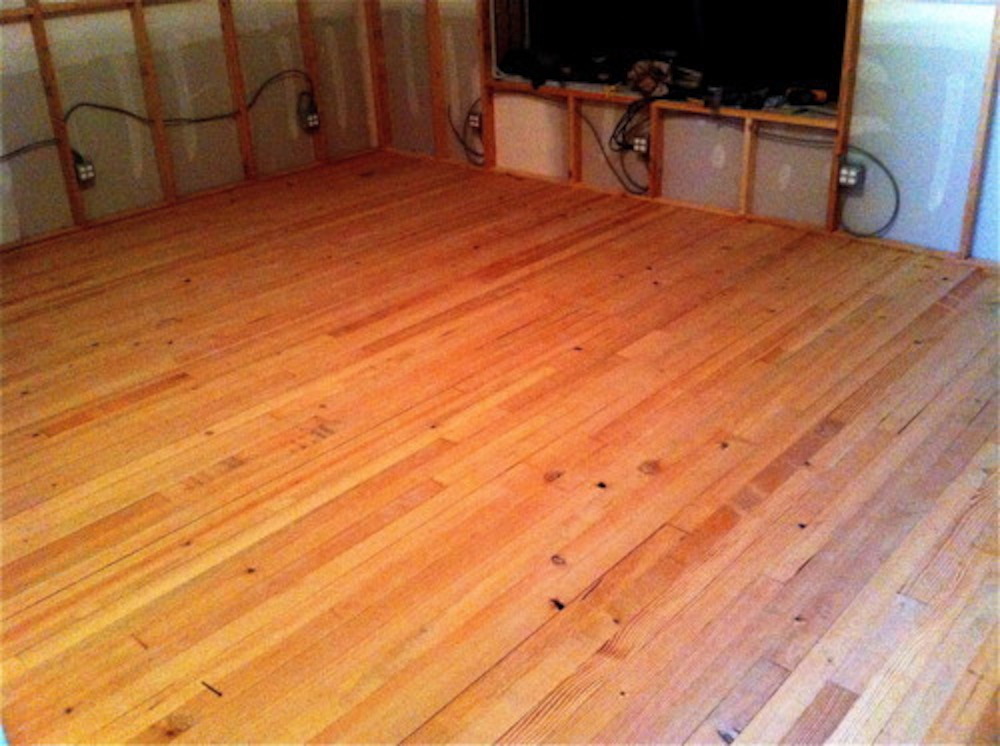
space but the challenge was that it is situated between two other

businesses that share a wooden floor therefore I needed to achieve

at least 65 db of noise reduction for it to work. A challenge indeed.

Stay tuned for further developments.


Nov 2010

Dec 2010

Jan 2011

Feb 2011

Mar 2011

Apr 2011

May 2011

Mar 2023

Nov 2010

The Building  Nov 7th 2010


Here is our building. Karen will convert the 1400sq' corner space for her photo studio & I will convert the next space over. We also plan on renovating the exterior of the whole strip.


Exterior of building after renovation.  July 2011


This is the space for the recording studio.


Studio Sketches  Nov 8th 2010


Here are some rough sketches (Google sketchup) of the general idea and layout of the rooms. It will be interesting to see how close to this we get. The live room will sit on a concrete slab and have a floating floor atop of that. The control room will also have a floating floor on top of the existing wooden floor. I am not sure if the collapsible iso booth thing will work 100% but it would be great for flexibility.


Angled south view of the studio.


Top south view of studio


Demolition  Nov 8th 2010


Demolition is the first order. One of my goals is to re-use as much of the existing material as is feasible. It can slow the process down a bit but it’s definitely worth it some of the time. Apart from re-using as much of the timber framing as I can I plan on salvaging the lath and using it as a decorative finish.


This was a hair salon. I plan on re-using some of the mirrors and donating the rest.


Down to the studs. Being a 100 year old building, all the walls were lath & plaster. I am keeping the lath to re-use as a finish. Not sure how yet.


None of the centre walls are load bearing so they will be removed.


Salvage  Nov 10th 2010


Some of the material we are saving. Going to be interesting to see how we end up using the lath. Maybe as diffusers or a cool finish on one wall. Open to suggestions. Note the old Knob & Tube wiring system. The knobs could make interesting handles for cabinet doors?


I might use the lath as acoustic treatment or decoratively under the awnings.


Happy about saving the mirrors.


Ancient knob & tubing wiring


Hidden Treasures  Nov 21st 2010


1st stage of the demolition is pretty much done. Notice the cool transoms (windows)  above the windows and door. You can’t see them from the outside as they have been hidden by the awful siding job from about 50 years ago.  We were so excited too find these when the walls were first exposed. We knew they used to be there after seeing the historical photos, but assumed they had been removed. The original glass is even intact.  The second phase of this project will be restoring the the outside.  We are hoping to bring back the look shown in the historical picture (circa 1937). Probably a good time to mention the fact that we are working on Karen’s space at the same time. She has the space on the South part of the building. Notice her transoms wrap around west & South.  We are hoping the extend the windows down the south side of the building.  First things first… got to get the interiors done.


Uncovered the transoms (small windows above the big windows). They were hidden for the past 30 years or so.


I considered keeping the original transoms but they are too far gone and not energy efficient so I will donate them.


A view of how the transoms were covered up.


Photo of the building in 1937. We plan on using a lot of the original features when we remodel the exterior.


Karen's space & transoms.


Another view of Karen's space.


Ceiling Structure  Nov 21st 2010


Next job is to flatten & strengthen the roof and ceiling joists so that it can bear the weight of the new suspended ceilings. Sadly we also have to remove the skylight. It would have been great to have natural light in the live room but noise leakage would have been a problem. The method we are using to strengthen the joists is to tie them together with plywood all the way across the span. Another detail is to soundproof the pony wall above the ceiling line. Most of the sound leakage from business to business was through this area.


Sadly the skylight has to go.


Starting the joist strengthening.


More of the same.


Pony wall insulation to lesten sound travel from space to space.


Pony wall blocked in to further improve sound insulation.


Begining the skylight removal.


AProgress on the skylight removal.


Done.


Salvage The Antique Flooring  Nov 24th 2010


Another opportunity to salvage and recycle. We are pulling up the old fir floors and plan on re-using them by simply turning them over and nailing them back in over the new floating floors.


Turn them over & they look like new.


The pile growing. Just need to de-nail & store them for later.


Make 27' x  22' Hole In The Floor  Nov 27th 2010


Next job is to create a 27’ x 22’ hole in the floor. This is where the live room will be changing the ceiling height from 11’ to 14’. First we remove the sub floor, then the floor joists, divert any plumbing that is in the way then prepare the ground for the concrete slab to be poured.


Removing the subfloor. They used Fir planks 100 years ago not plywood.


Sub floor removal done.


Time to start the removal of the floor joists.


Progress On The Live Room Floor  Nov 29th 2010


The 27’ x 22’ hole in the floor is done. You will notice we have removed all the floor joists bar one. That is because I can’t decide whether to increase the control room by 18" to make it a W 21’ x L 15’ 6" x H 11’. This will of course reduce the length of the live room by 18" making those dimensions W 21’ x L 25’ x H 14’. Let me know if any of you have any thoughts on that.


Here is a closer look at what will be the live room. The centre beam still to be removed, some plumbing, diverted and the ground to be graded in preparation for the concrete pour. I am standing in a small hole in the ground. No idea why that is there but it won’t be this time tomorrow.


Dec 2010

Jan 2011

Feb 2011

Mar 2011

Apr 2011

May 2011

Mar 2023